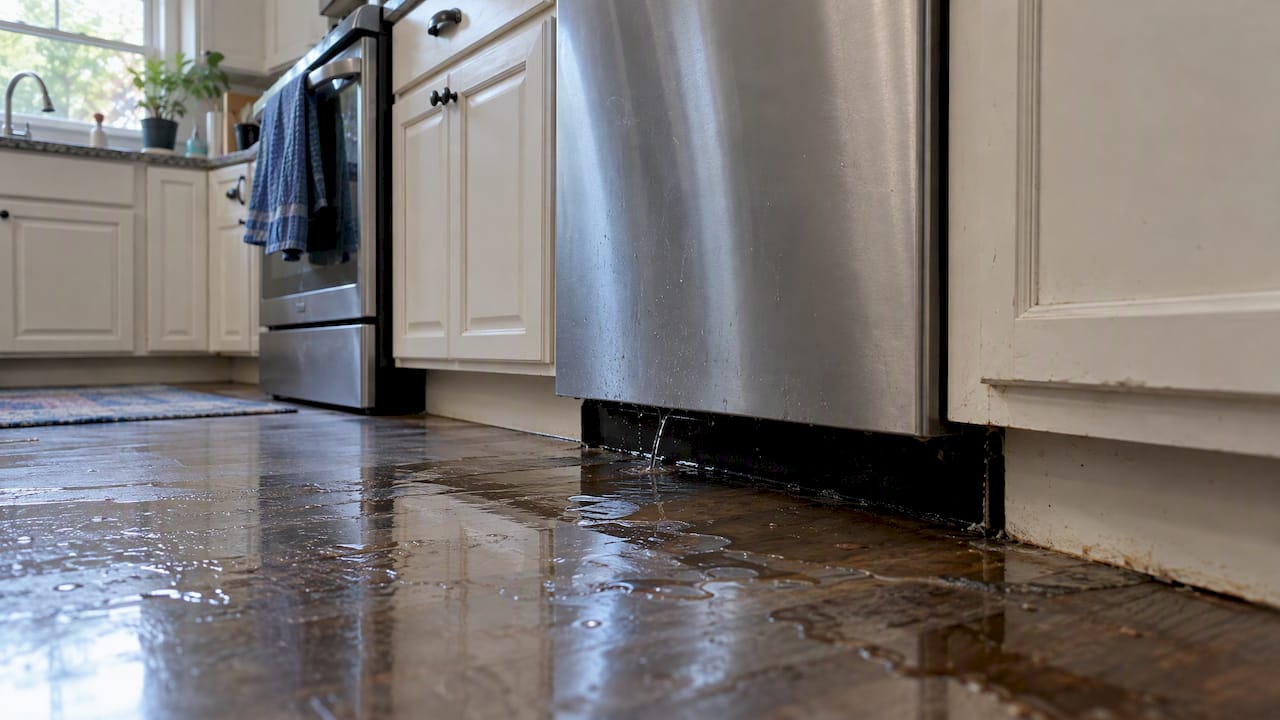

Stop the leak, shut off power to the area, and start documenting immediately. Most homeowner policies cover sudden, accidental appliance discharges, but they typically exclude damage from gradual leaks or deferred maintenance, so your actions in the first hours affect both the damage and the claim. If materials stay wet past 24 to 48 hours, mold risk climbs and professional drying becomes the safer bet.
TL;DR:
- If water reaches an outlet or electrical panel, do not touch the breaker; call an electrician, and avoid fans or HVAC until you assess contamination.
- Dry wet materials within 24 to 48 hours to reduce mold risk; call a restoration professional sooner for soaked subfloors, drywall, or hidden moisture.
- Insurers typically cover sudden, accidental appliance discharges, not gradual leaks or wear; keep timestamped photos, a written timeline, receipts, and contractor drying records.
- Particleboard cabinets and carpet padding often require replacement after saturation, while tile usually survives; quick professional drying may salvage hardwood flooring.
- Inspect hoses twice yearly and replace them every 5 to 7 years, even if they look intact; braided stainless steel resists bursting better than rubber.
Table of Contents
- What to do in the first 0 to 4 hours to limit water spread and preserve a claim
- How to assess how bad the water damage is and when mold becomes a real threat
- When to call a restoration contractor and what their process looks like
- How homeowner insurance commonly treats dishwasher leaks and how to file effectively
- Practical maintenance and upgrades that reduce future leak risk
- How The Clean Genius responds to dishwasher leak damage
- Author Jim’s short practical checklist and why prompt action matters
- How The Clean Genius can help now
- FAQ
- Sources
What to do in the first 0 to 4 hours to limit water spread and preserve a claim
The choices you make in the first few hours decide whether this is a quick cleanup or a multi-week restoration job.
- Shut off the dishwasher’s water supply at the valve, usually under the sink, then switch off the circuit breaker for that kitchen zone.
- Pull plugs on any nearby appliances or power strips sitting in or near standing water before you touch them.
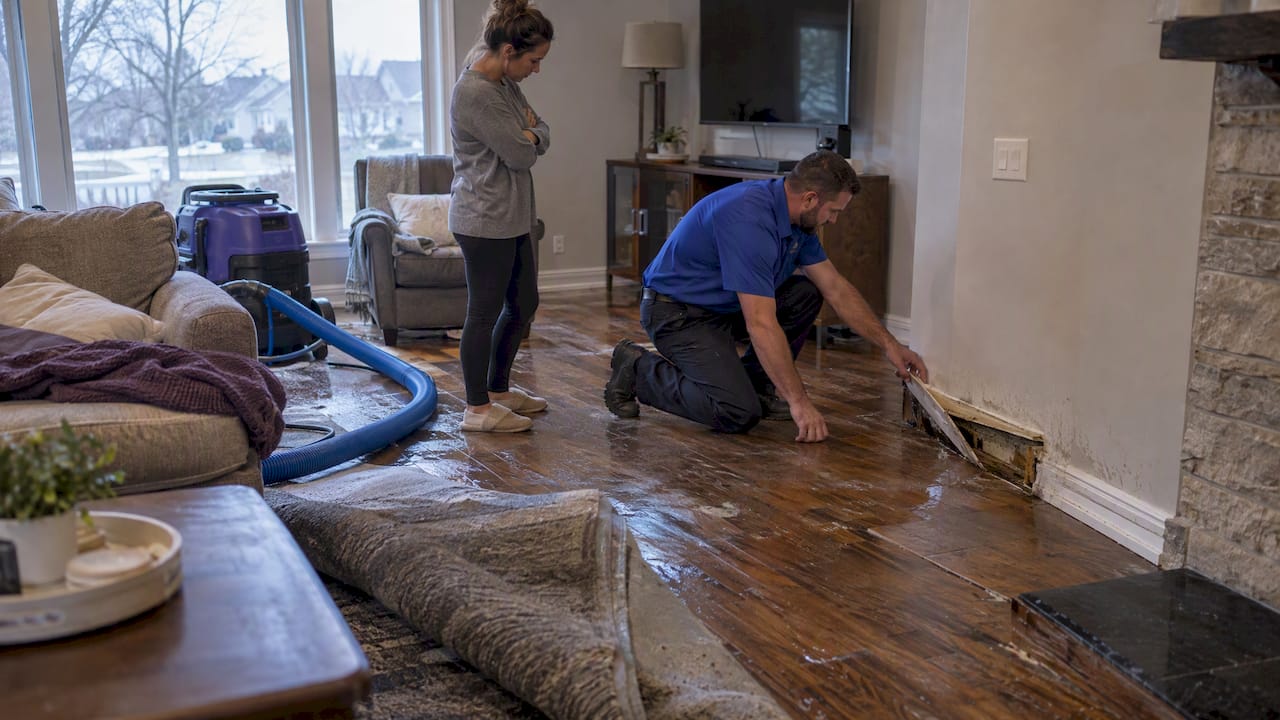
- Soak up standing water with towels, a mop, or a wet/dry vacuum, and move rugs, cushions, and electronics out of the wet zone right away.
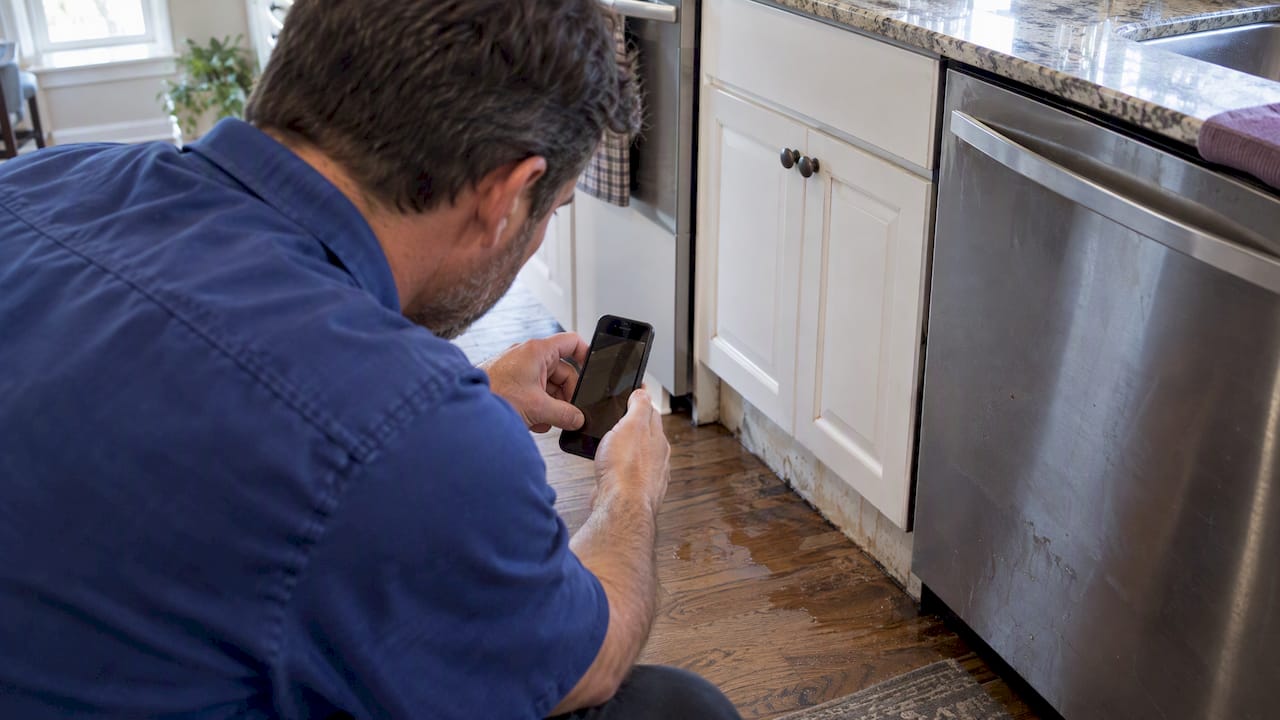
- Photograph or video every affected surface with a timestamp, then keep a written log of what you did and when.
- Save receipts for towels, a shop vac rental, or any paid help, since documentation of mitigation steps supports your claim.
A few judgment calls matter as much as the checklist:
- Call an electrician instead of touching the breaker yourself if water has reached an outlet or panel.
- Hold off on running fans or your HVAC system until you know whether the water is clean, since circulating air before assessing contamination can spread contaminants rather than dry the space safely.
- Treat any water that looks discolored or smells off as contaminated and stop DIY cleanup immediately.
- Call a restoration professional once water has been sitting more than a few hours, has reached a finished basement below, or has touched drywall and subflooring.
Our emergency water damage response steps page walks through this same sequence in more detail if you want a reference while you work.
Pro Tip: Snap photos before you start mopping up. Adjusters want to see the damage as it happened, not just the aftermath.
How to assess how bad the water damage is and when mold becomes a real threat
What you can see is rarely the whole story. Water travels under cabinet toe kicks, into subflooring, and behind baseboards long before a stain shows up on a wall.
One of the clearest guidelines in water damage response is the 24 to 48 hour drying window: materials dried within that window generally avoid mold growth, while anything left wet longer raises the odds significantly. That single fact drives most of the urgency around fast extraction and drying.
Signs that moisture has traveled beyond what you can see include a musty smell that lingers after surface water is gone, discoloration on baseboards or cabinet bases that appears a day or two later, and flooring that feels soft or springy underfoot. Professional assessment typically uses moisture meters and sometimes infrared imaging to find saturation that a visual check misses entirely, especially inside wall cavities and under cabinet toe kicks.
- Tile and solid surface flooring usually survive a dishwasher leak with proper drying.
- Cabinet bases made of particleboard or MDF swell and often need replacement once saturated.
- Carpet pad rarely survives a significant water event and is typically discarded rather than dried.
- Drywall that’s been wet for more than a day or two often needs to be cut out rather than dried in place.
- Hardwood flooring can sometimes be salvaged with fast professional drying, though cupping or warping may require board replacement. Our guide to water-damaged hardwood floors covers what’s typically salvageable.
When to call a restoration contractor and what their process looks like
Some situations call for a professional without much debate: standing water that hasn’t been addressed within a few hours, a soaked subfloor, any sign of electrical involvement, visible mold growth, or water that’s been sitting for more than a day.
A typical professional restoration job for a dishwasher leak follows a fairly predictable sequence:
- Inspection and water categorization, where a technician identifies the scope and whether the water is clean, gray, or contaminated.
- Containment, if the leak has spread toward other rooms or a finished basement below.
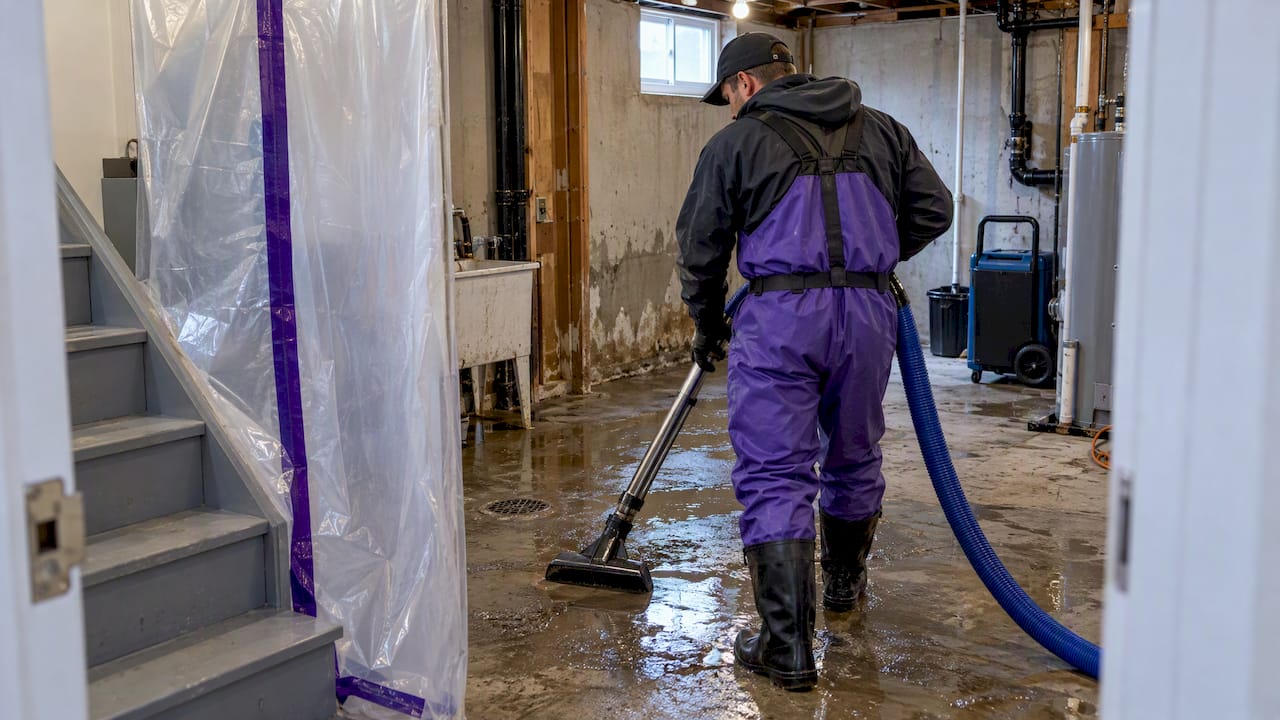
- Water extraction, using pumps or extraction vacuums to remove standing water quickly.
- Structural drying, with air movers positioned to circulate air across wet surfaces and industrial dehumidifiers pulling moisture out of the air and materials.
- Moisture monitoring, checking materials daily with meters until readings return to normal, dry baselines.
- Demolition and rebuild, only if materials like drywall, subflooring, or cabinetry didn’t dry in time and need replacement.
Restoration crews typically avoid removing drying equipment until moisture readings hit acceptable targets, since pulling equipment too early risks trapped moisture and hidden mold later.
Timelines vary with the scope of the leak. A contained kitchen leak caught quickly might dry in three to five days with air movers and dehumidifiers running continuously. A leak that reached a finished basement, soaked carpet pad, or sat unnoticed for a day or two can stretch into a week or more, especially if demolition and rebuild are needed. Our breakdown of dehumidifiers in water restoration explains why that equipment runs for days rather than hours.
A professional crew should hand you documentation you can use for insurance: daily drying logs, moisture readings at each check-in, before-and-after photos, and an itemized invoice. Keep all of it together with your own photos and notes.
Pro Tip: Ask your restoration contractor for a copy of the moisture log before the job closes out. Adjusters sometimes ask for it after the fact, and it’s easier to get it while the crew is still on site.
How homeowner insurance commonly treats dishwasher leaks and how to file effectively
Coverage usually comes down to one distinction: how sudden was the leak.
Standard homeowners insurance policies typically provide coverage for sudden and accidental discharge of water from a household appliance like a dishwasher, but they generally do not cover damage caused by gradual leaks or wear-and-tear.
Insurance Information Institute
That means a hose that burst overnight is a different conversation than a slow drip from a worn gasket that’s been seeping for months. Insurers look for evidence of how long the leak was happening, which is exactly why your photos, timestamps, and mitigation log matter so much.
A solid claim file typically includes:
- Dated photos and video from the moment you discovered the leak.
- A written timeline noting when you noticed the issue and what you did immediately after.
- Receipts for mitigation supplies, equipment rentals, or paid cleanup help.
- A contractor’s repair or replacement estimate for the dishwasher itself.
- Drying logs and moisture readings if a restoration company was involved.
Insurers generally cover repair or replacement of damaged materials, like flooring or drywall, under the sudden-and-accidental provision, but they may apply separate sublimits or exclusions for mold remediation depending on the policy. Contacting your agent early, right after you’ve stopped the leak and documented it, helps you understand what’s covered before you’re deep into repairs. Our water damage insurance claim checklist walks through exactly what to gather before you call.
If a claim gets denied, ask for the specific reason in writing, and consider a second opinion from an independent adjuster or a restoration contractor who can document the cause more precisely. A denial based on an assumption of gradual wear can sometimes be appealed successfully with better evidence of how suddenly the failure actually occurred.
Practical maintenance and upgrades that reduce future leak risk
A little routine maintenance goes a long way toward preventing the next leak, and it also strengthens your position if you ever need to show an insurer you took reasonable care of the appliance.
- Inspect supply and drain hoses twice a year for cracking, bulging, or loose clamps.
- Check the door gasket for debris or warping every few months, since a quick wipe-down often prevents a seal failure.
- Make sure the dishwasher sits level, since an uneven unit stresses seals and can cause pooling.
- Run an empty rinse cycle occasionally and watch underneath for any sign of dripping.
- Replace supply hoses every 5 to 7 years even if they look fine, and consider upgrading to braided stainless steel hoses, which resist bursting better than rubber.
- Install a water-sensing alarm near the dishwasher, or an automatic shutoff valve that cuts supply the moment it detects moisture.
- Keep dated notes and receipts for every inspection, hose swap, or repair.
A broader plumbing maintenance routine around the kitchen and home pairs well with dishwasher-specific checks. This home plumbing maintenance checklist covers related habits like checking shutoff valves and inspecting other appliance connections on a similar schedule.
Pro Tip: Write the hose installation date on a piece of masking tape and stick it to the hose itself. It’s a cheap way to know at a glance when a 5 to 7 year replacement is due.
How The Clean Genius responds to dishwasher leak damage
When a dishwasher leak gets past the mop-and-towels stage, we answer calls 24/7 and send a technician out for an on-site inspection, usually followed immediately by water extraction and a drying plan tailored to the materials involved. Our teams bring moisture meters and industrial dehumidifiers to track drying progress daily, and where mold has already taken hold, we use Pure Cloud dry-fog technology for non-toxic remediation rather than harsh chemicals.
Beyond extraction and drying, we handle contents that need to be moved, dried, or assessed separately, and we coordinate directly with your insurer so the paperwork lines up with what adjusters expect. With over 25 years of combined experience and more than 400 five-star reviews across Chicagoland, our crews document every job with drying logs, moisture readings, and photos you can hand straight to your claims adjuster. Before you call, have your policy number and photos ready so we can start the inspection with a clear picture of what happened.
Author Jim’s short practical checklist and why prompt action matters
Shut off the water, document everything, extract what you can safely, and call a professional the moment you see a red flag like standing water, a soaked subfloor, or anything that’s been wet longer than a few hours. That’s the whole plan, and most of the damage I’ve seen homeowners deal with comes down to skipping one of those four steps, usually documentation.
I push hard on photos and timelines because insurers decide coverage based on how sudden the failure looks, and a thin paper trail makes that argument harder to win. The 24 to 48 hour drying window isn’t a scare tactic either. It’s the difference between a weekend cleanup and a mold remediation job. If water has been sitting that long, or you’re seeing any sign of hidden moisture, that’s when I’d pick up the phone and call a restoration crew rather than keep mopping.
— Jim
How The Clean Genius can help now
If you’re dealing with a dishwasher leak that’s gone beyond towels and a wet vac, we handle the whole process: fast water extraction, structural drying with professional-grade dehumidifiers, mold remediation if moisture sat too long, and direct coordination with your insurance company so the claim moves without you chasing paperwork.

Before you call, have a few things ready:
- Photos or video of the affected area, ideally timestamped from when you first noticed the leak.
- Your homeowner insurance policy number.
- Access information if you won’t be home, like a gate code or a key location.
We serve homeowners in the local area with 24/7 emergency response. Visit our water damage restoration page to see how the process works or to reach our team directly.
This article is general information, not a substitute for advice from a qualified financial advisor. Consult a qualified financial professional about your own circumstances before acting on anything here.
FAQ
Why is my dishwasher leaking out the side?
A side leak usually points to a damaged door gasket, a latch that isn’t sealing tightly, or a hose connection near the side panel that’s come loose. Check the gasket for cracks or trapped food debris first, since that’s the most common and easiest fix.
What is the average lifespan of a dishwasher?
Most dishwashers last several years with regular use and basic maintenance, though components like hoses and gaskets often wear out sooner. Replacing supply hoses every 5 to 7 years regardless of how they look helps avoid a leak before the appliance itself reaches the end of its life.
How do I get rid of standing water at the bottom of a dishwasher?
Shut off the water supply and power first, then use towels or a wet/dry vacuum to remove the water manually. If water keeps collecting after you’ve cleared it once, the drain hose, pump, or float assembly likely needs a technician’s attention rather than repeated manual bailing.
Do plumbers fix dishwasher leaks?
Plumbers can often address supply line and drain hose issues, but internal dishwasher components like the inlet valve, float assembly, or pump seal may require an appliance repair technician instead. If the leak has caused water damage to flooring, cabinetry, or walls, a restoration professional handles that part separately from the appliance repair itself.
Will my insurance cover a dishwasher leak?
Sudden and accidental discharges from a dishwasher are typically covered under standard homeowner policies, while slow leaks tied to wear and lack of maintenance are generally excluded. Documenting the leak with photos and a timeline as soon as you find it gives you the best chance of a straightforward claim.