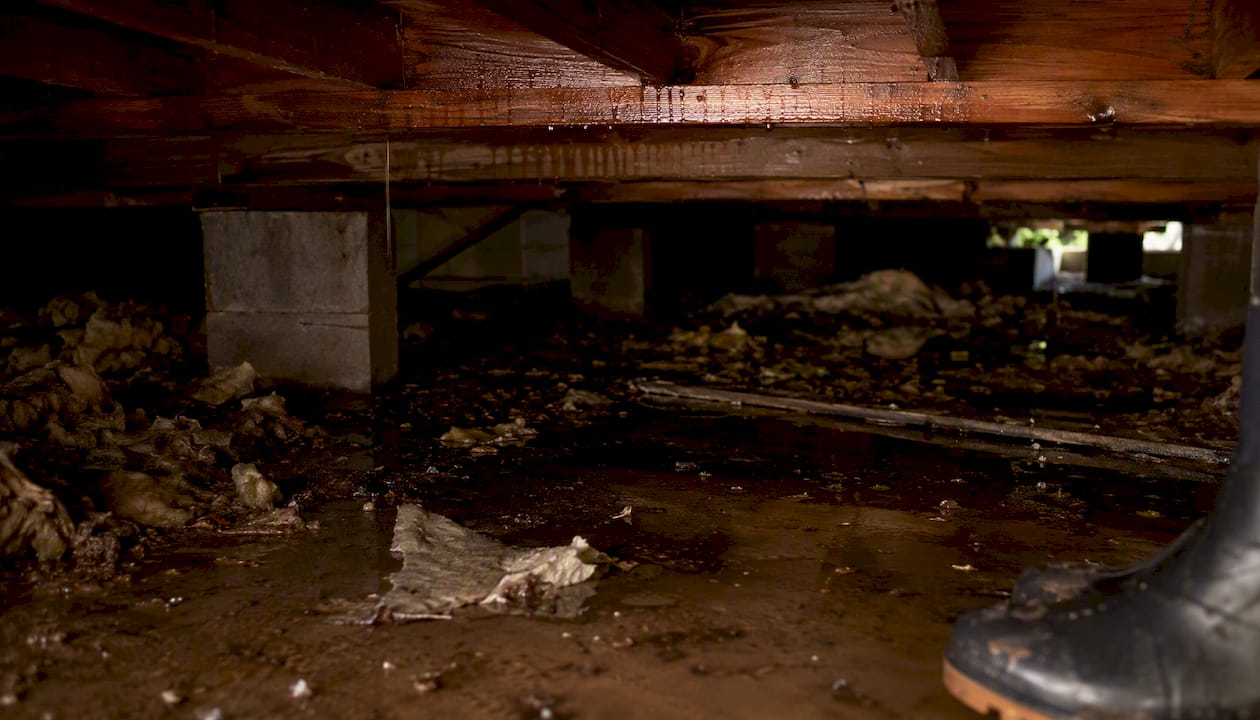

When you find water in your crawl space, the first 48 hours determine whether you’re dealing with a cleanup or a reconstruction. Cut power to the affected area at the breaker, stop the water source if you can (shut off the main valve for a burst pipe, or divert surface runoff), photograph everything before touching it, and start removing standing water as soon as possible.
Here’s the emergency sequence to follow right now:
- Cut power to the crawl space and any circuits running through it at the breaker panel.
- Photograph all visible damage before moving anything — timestamps matter for insurance.
- Move valuables stored above the crawl space away from wet flooring.
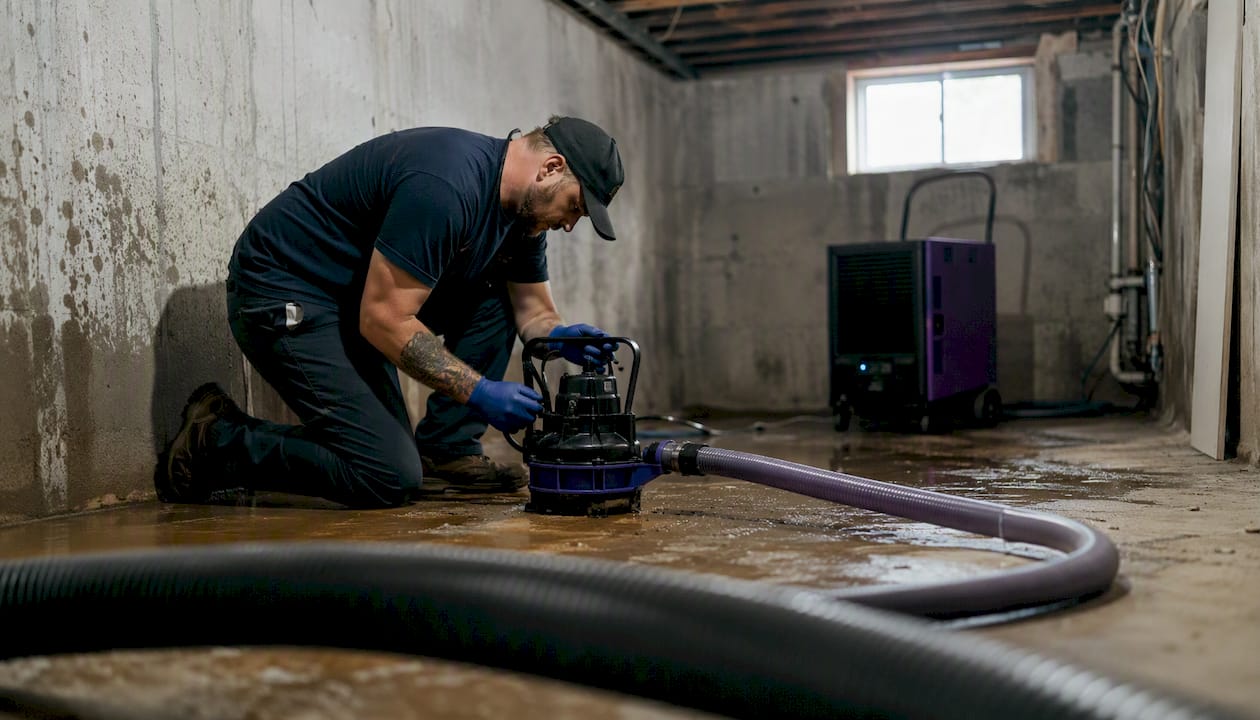
- Remove standing water: use a wet/dry vacuum for small puddles, a portable submersible pump for anything deeper than an inch or two.
- Begin drying: once you’ve confirmed the water is clean (not sewage or chemical), place a dehumidifier at the crawl space entry and open vents to promote airflow.
- Notify your insurer and keep every receipt from this point forward.
The EPA recommends drying water-damaged areas within 24–48 hours to prevent mold from taking hold. That window is your hard deadline.
Pro Tip: If the water smells like sewage or shows signs of chemical contamination, do not run fans. Fans spread pathogens and spores. Prioritize safety and documentation, then call a certified restoration team.
Key Takeaways
Crawl-space water damage requires immediate action: the 24–48 hour drying window is the single most important factor in preventing mold colonization and limiting structural repair costs.
| Point | Details |
|---|---|
| Act within 24–48 hours | Dry all wet materials promptly within the recommended time frame to minimize mold growth risk. |
| Match method to contamination level | Clean water allows DIY; sewage or chemical contamination requires a certified professional. |
| Call a pro for serious triggers | Sewage, mold over 10 sq ft, sagging floors, or water present more than 48 hours all warrant professional help. |
| Fix the source before encapsulating | Installing a vapor barrier over an active water source traps moisture and accelerates rot. |
| Thecleangenius for Chicagoland emergencies | 24/7 certified restoration, dry-fog mold removal, and direct insurance coordination across the greater Chicago area. |
Table of Contents
- How to identify where the water is coming from
- Crawl space water damage cleanup: the first 24–48 hours
- How to recognize contaminated water and stay safe
- What water exposure damages and how fast it happens
- When should you call a restoration professional?
- What crawl-space cleanup costs and what insurance covers
- How to prevent crawl-space water from coming back
- Tools and equipment for the cleanup
- How to confirm the crawl space is actually dry
- What the EPA and CDC say you must do
- A restoration professional’s perspective on crawl-space water
- Thecleangenius is ready when the crawl space can’t wait
- Sources
How to identify where the water is coming from
Before you can fix a flooded crawl space, you need to know what caused it. The source determines your cleanup approach, your insurance coverage, and whether you can safely do any of this yourself.
Inspect for these four common sources:
- Plumbing leak: Look for water dripping from pipes, supply lines, or drain connections. A burst pipe usually produces a concentrated wet zone directly below the break.
- Groundwater seepage: Water appearing after heavy rain with no obvious pipe source, often entering through foundation cracks or rising through the soil. Check whether the water line on the walls follows a consistent height.
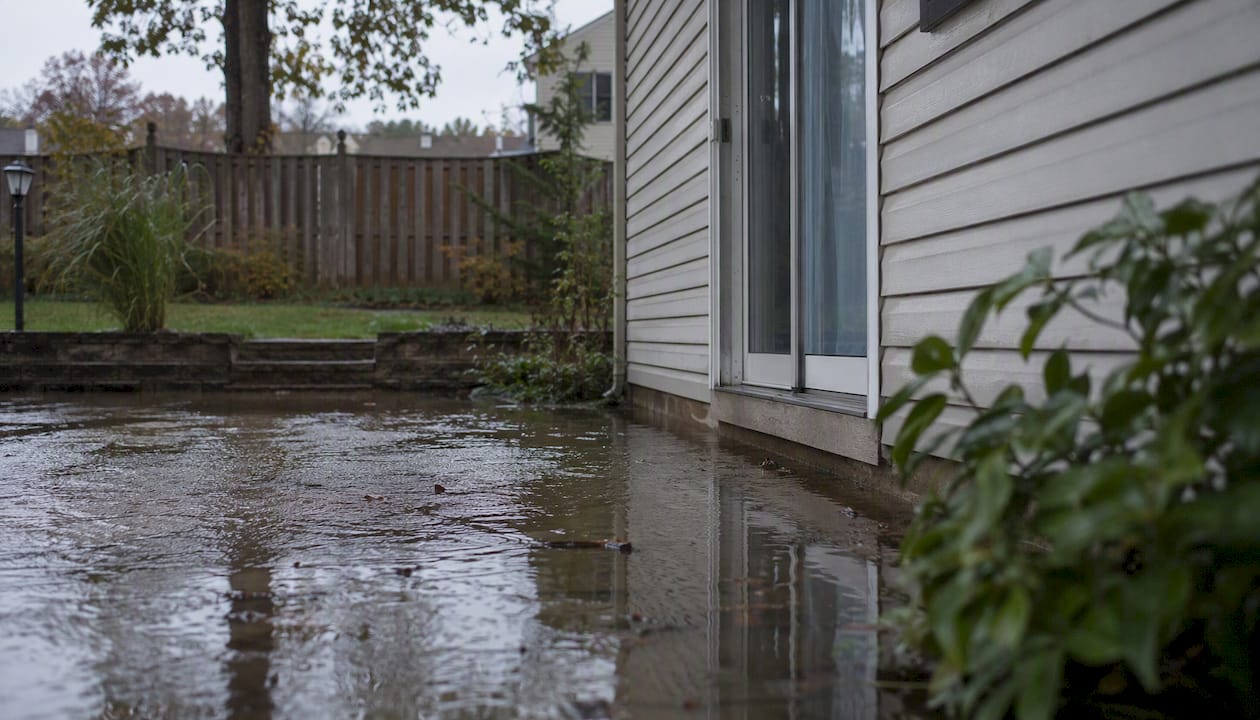
- Storm runoff and poor drainage: Trace water patterns toward the foundation. Clogged gutters, downspouts discharging too close to the house, or negative grading (ground sloping toward the foundation) are common culprits.
- Sewage backup: Dark or discolored water with a foul odor coming from a floor drain or cleanout. This is a Category 3 situation — stop and call a professional.
Estimating scope: Depth matters. Less than half an inch of clean water in a small area is manageable for most homeowners. More than an inch, water covering the full crawl space floor, or any sign of repeated intrusion (water staining at multiple heights, soft or springy first-floor flooring, persistent musty odors) signals a more serious problem. Visible mold on joists or sill plates means the water has been there longer than it looks.
Risk flags that change your next steps immediately: live electrical wiring near standing water, sewage contamination, visible structural rot or sagging, or water depth that makes safe entry impossible without waders and proper PPE.
Pro Tip: Mark the high-water line on a foundation wall with tape and photograph it with a timestamp. Contractors and insurance adjusters use that line to estimate duration and volume — it can directly affect your claim payout.
Crawl space water damage cleanup: the first 24–48 hours
Speed is the only variable you fully control at this stage. Here’s the sequence, in order of priority.
Step 1: Safety and source control
Never enter a crawl space with standing water until you’ve confirmed the power is off. Check the breaker panel and verify with a non-contact voltage tester if you have one. If you can’t confirm power is off, wait for an electrician.
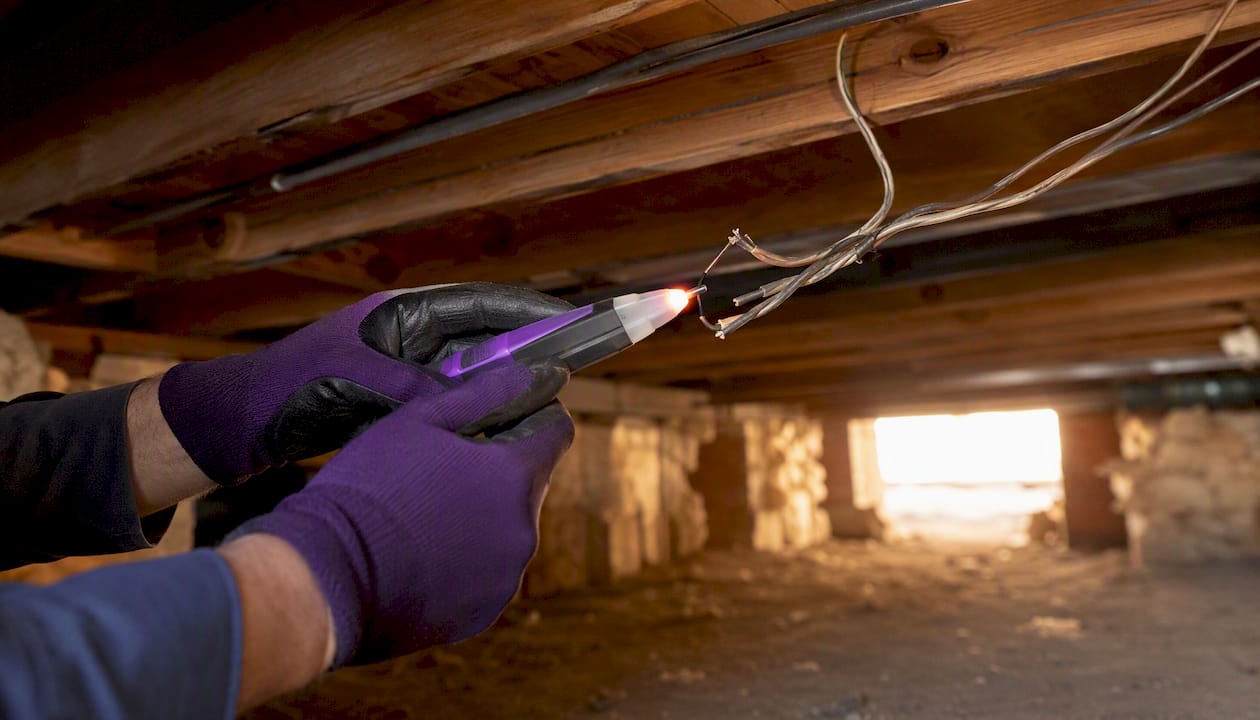
Once it’s safe to enter, stop the water at its source. For a plumbing leak, shut the main water supply valve. For surface runoff, temporarily divert downspouts or use sandbags to redirect flow away from the foundation. You cannot dry a space that’s still filling.
Step 2: Water removal
Match your method to the volume:
- Small amounts (puddles, damp soil): Mop, squeegee, and a wet/dry vacuum.
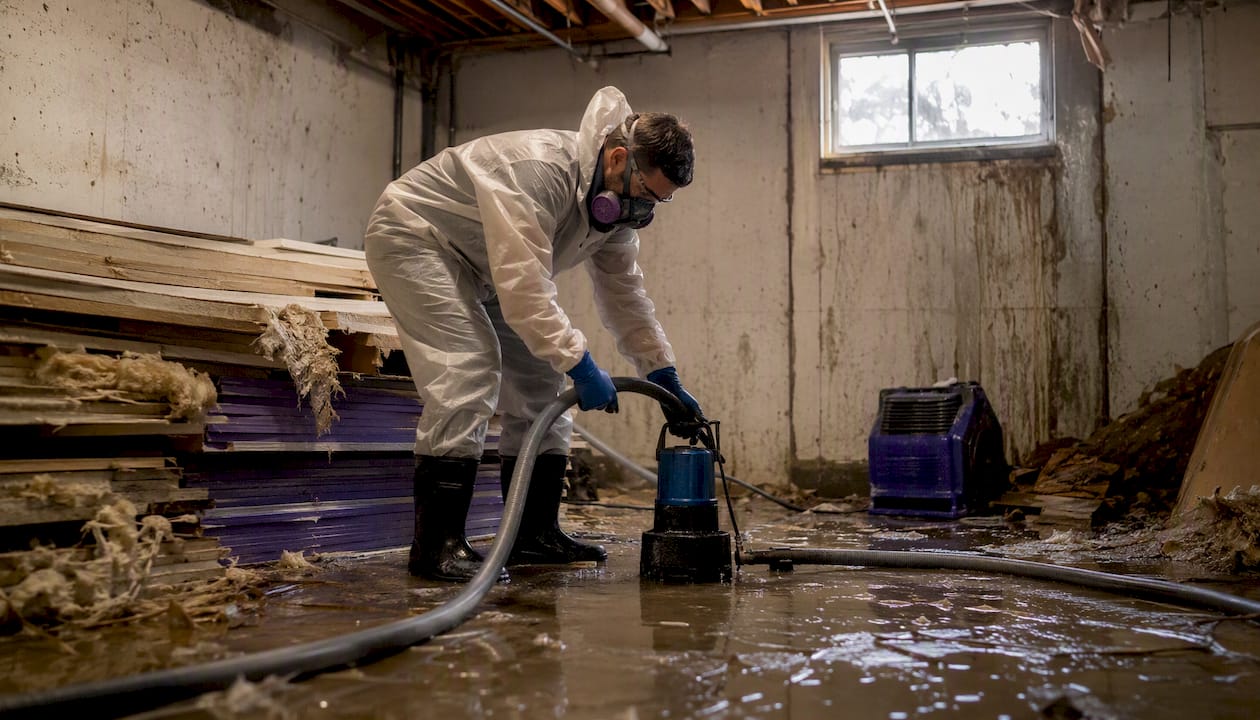
- Moderate standing water (up to a few inches): A portable submersible pump or a tank pump. Most hardware stores rent these.
- Large volumes: A contractor-grade submersible pump or a professional pump truck. At this scale, calling a restoration company is often faster and cheaper than renting and running equipment yourself.
Step 3: Remove wet materials
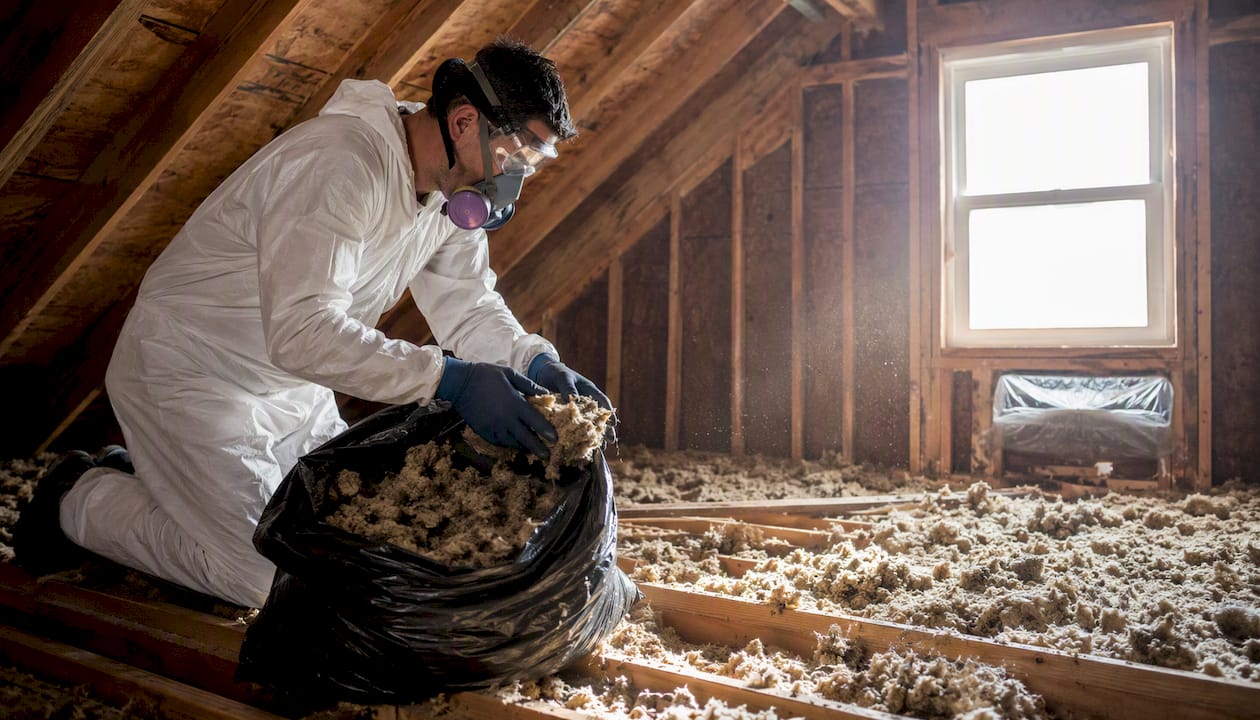
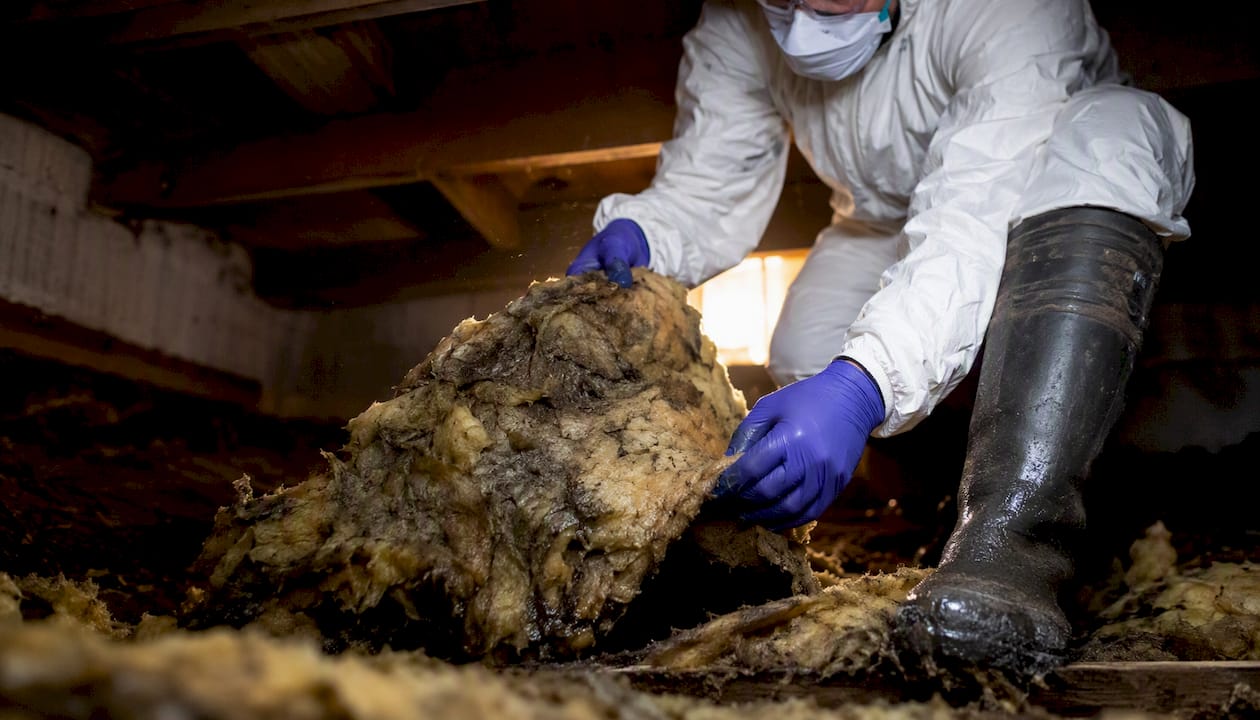
Wet fiberglass batt insulation cannot be dried effectively and must come out. It holds moisture against wood, accelerating rot and mold. Bag it in heavy contractor bags and remove it from the crawl space immediately. Any cardboard, stored paper goods, or saturated wood debris goes with it.
Step 4: Dry the space
Once the bulk water is gone and you’ve confirmed the source was clean water, position a dehumidifier at the crawl space access point and add axial fans to move air across wet surfaces, but only after confirming no contamination. Run the dehumidifier continuously and check readings every 12 hours.
Equipment you’ll need or want to rent:
- Wet/dry vacuum (16+ gallon capacity)
- Submersible or sump pump with discharge hose
- Desiccant or refrigerant dehumidifier (sized for the square footage)
- Axial fans
- Moisture meter (for wood surfaces)
- Hygrometer (for air humidity)
- PPE: rubber boots, gloves, N95 respirator, eye protection
Moisture target: Aim to reduce wood moisture content and relative humidity in the crawl space to levels generally considered safe from mold growth. A moisture meter monitors moisture in wood materials, and a hygrometer measures relative humidity in the air. If readings aren’t dropping after 24–72 hours of continuous drying, the source isn’t fully controlled or the space needs professional drying equipment. See Thecleangenius’s guide on drying validation for what those readings should look like over time.
How to recognize contaminated water and stay safe
Not all crawl-space water is the same, and the difference matters for your health and your cleanup approach.
Restoration professionals classify water damage into three categories:
- Category 1 (clean water): Broken supply lines, rainwater, or condensation. Lowest health risk; DIY cleanup is generally appropriate for small to moderate volumes.
- Category 2 (gray water): Washing machine discharge, dishwasher overflow, or sump failure with standing water that’s been sitting. Contains some contaminants; use full PPE and consider professional help for larger areas.
- Category 3 (black water): Sewage backups, floodwater from outside, or any water with visible contamination or foul odor. High pathogen load. CDC guidance is direct: contaminated water can carry serious pathogens and professional assistance is strongly recommended.
PPE for any crawl-space entry during cleanup:
- Rubber or nitrile gloves (heavy-duty)
- Waterproof boots
- N95 respirator minimum (P100 if mold is visible)
- Safety glasses or goggles
Do not enter the crawl space at all if there is standing sewage-tainted water more than an inch deep, if you smell strong chemical odors, or if you cannot confirm the power is off.
Containment basics: Limit foot traffic between the crawl space and living areas. Remove contaminated insulation and porous materials in sealed contractor bags. Don’t drag wet debris through the house. If mold is visible, read Thecleangenius’s guide on why mold remediation requires containment before proceeding.
Pro Tip: Sewage or chemical contamination is not a DIY situation. Improper cleanup spreads pathogens into your living space and can create liability issues with your insurer. Stop, document, and call an IICRC-certified remediation team.
What water exposure damages and how fast it happens
The clock starts the moment water contacts your crawl space materials. Here’s what the timeline typically looks like, based on contractor experience with crawl-space rot and EPA/CDC drying guidance:
| Time Frame | What’s Happening |
|---|---|
| 48 hours | Mold spores can begin germinating on wet surfaces; wood starts absorbing moisture |
| 48 hours–2 weeks | Mold colonization underway; wood moisture content rising toward dangerous levels |
| 2 weeks–3 months | Insulation failure; early wood rot in joists and sill plates possible |
| 3–6+ months | Structural compromise possible; helical piers or full joist replacement may be needed |
Materials and their typical fate:
- Fiberglass batt insulation: Discard. It cannot be effectively dried and traps moisture against framing.
- Rigid foam board: Often salvageable if dried quickly and not contaminated.
- Wood joists and sill plates: Can often be dried and treated if caught within 48 hours; rot sets in with prolonged exposure.
- Subflooring (OSB or plywood): OSB swells and delaminates quickly; plywood is more forgiving but still needs rapid drying.
- Stored items (cardboard, fabric, paper): Discard if wet. These are ideal mold substrates.
The EPA’s mold remediation guidance provides a detailed materials table showing what to discard versus what can be dried. The core principle: porous materials that can’t be dried within 48 hours should come out.
Statistic callout: The EPA and CDC both set 24–48 hours as the critical drying window. Beyond that threshold, assume mold growth has begun and adjust your remediation plan accordingly.
When should you call a restoration professional?
Some crawl-space water situations are genuinely DIY-manageable. Others aren’t, and misreading the line costs money and health.
Call a professional immediately if any of these apply:
- Sewage or chemical contamination is confirmed or suspected
- Standing water exceeds 1 inch or has been present for more than 48 hours
- Visible mold covers more than approximately 10 square feet (the EPA’s threshold for recommending professional consultation)
- Floors above the crawl space feel soft, bouncy, or visibly sag
- Occupants are experiencing respiratory symptoms, headaches, or eye irritation
- Electrical hazards are present or cannot be ruled out
- You lack the equipment or physical ability to safely enter and work in the space
What a professional restoration team does: Full water extraction with industrial pumps, structural drying with commercial-grade dehumidifiers and drying mats, moisture mapping across all affected materials, containment and negative air pressure if mold is suspected, and written drying validation reports. They also coordinate directly with your insurance adjuster, which matters for claim approval.
Credentials to request: Look for IICRC (Institute of Inspection, Cleaning and Restoration Certification) certification as the baseline standard. ACAC (American Council for Accredited Certification) and NEHA (National Environmental Health Association) credentials are additional markers of qualified mold remediation professionals. Certification matters not just for quality but because some insurers require it for claim acceptance.
What to expect from a hired team: Before-and-after photographs, daily moisture readings with documented targets, a written scope of work, and a final drying validation report. If a company can’t provide these, keep looking. Thecleangenius’s water damage restoration service includes all of these as standard, with 24/7 emergency response across Chicagoland.
What crawl-space cleanup costs and what insurance covers
Costs vary widely based on water source, volume, mold presence, and how accessible your crawl space is. Here’s what drives the number:
Major cost drivers:
- Water source: a burst pipe (contained, clean) costs less to remediate than groundwater seepage (ongoing, often requiring drainage work)
- Volume and depth of standing water
- Presence and extent of mold
- Structural repairs needed (joist sistering, sill plate replacement, subfloor replacement)
- Crawl-space accessibility (low clearance, long distances from access point)
- Need for specialty equipment (helical piers, HEPA negative air machines)
What insurance typically covers: Standard homeowners policies often cover sudden, accidental internal water damage like a burst pipe, but they generally exclude flooding, groundwater seepage, and damage resulting from deferred maintenance. Flood damage requires a separate NFIP or private flood policy. Sump pump failure might be covered with an optional water-backup endorsement available for some policies.
The Texas Department of Insurance notes that many policies also require homeowners to take reasonable steps to mitigate damage immediately — meaning if you wait and the damage worsens, the insurer may reduce or deny the claim.
Documentation tips:
- Photograph and timestamp everything before cleanup begins
- Keep all receipts for equipment rentals, materials, and contractor invoices
- Notify your insurer as soon as possible, even before cleanup is complete
- Do not make permanent repairs until an adjuster has inspected the damage
- Use Thecleangenius’s insurance claim checklist to organize your documentation
Travelers and other major insurers recommend keeping a written log of every mitigation action taken, with dates and times, as part of your claim file.
How to prevent crawl-space water from coming back
Cleanup without prevention is just a countdown to the next event. The fixes that actually work address the water source before it reaches your foundation.
One sequencing rule that most homeowners miss: fix the exterior drainage or groundwater source before you install a vapor barrier or encapsulate. BASC (Pacific Northwest National Lab) guidance is explicit that sealing a crawl space with an active water source traps moisture behind the new materials and accelerates rot. Encapsulation is the last step, not the first.
Actionable upgrades, in order:
- Inspect and correct grading around the foundation
- Clean gutters and extend downspouts at least 6 feet from the foundation
- Install or test your sump pump and add a battery backup
- Install a continuous 6-mil or thicker polyethylene vapor barrier, sealed at seams and penetrations
- Add conditioned dehumidification after encapsulation is complete
- Insulate correctly: rigid foam board on crawl-space walls (for conditioned spaces) rather than fiberglass batts between joists
For ongoing prevention guidance after remediation, Thecleangenius’s post-mold treatment prevention guide covers what to monitor and maintain.
Maintenance schedule:
- Spring and fall: clean gutters, check downspout extensions, inspect vapor barrier for tears
- Annually: test sump pump and battery backup, check moisture meter readings on joists
- After every heavy rain: visual crawl-space inspection and hygrometer check
Tools and equipment for the cleanup
Whether you’re doing this yourself or verifying what a pro brings, here’s what the job requires:
DIY and rental checklist:
- Wet/dry vacuum (16+ gallon) for small water volumes
- Submersible pump with discharge hose (rent for moderate to large volumes)
- Industrial dehumidifier (size by square footage: roughly 1 pint per hour per 500 sq ft as a starting point)
- Axial fans for air movement across surfaces
- Moisture meter (pin-type for wood surfaces)
- Hygrometer for ambient air humidity
- PPE: rubber boots, heavy gloves, N95 or P100 respirator, safety glasses
- 6-mil polyethylene sheeting for vapor barrier replacement
- Heavy contractor bags (3-mil minimum) for debris removal
- Basic hand tools: pry bar, utility knife, staple gun
Rental vs. buy: A wet/dry vacuum is worth owning. A submersible pump and an industrial dehumidifier are worth renting unless you have a chronic water problem. If the job requires a structural drying rig, HEPA negative air machine, or thermal imaging camera, you’re in professional territory.
Rental tip: When calling a rental supplier, give them your crawl-space square footage and the approximate depth of standing water. Ask specifically for a dehumidifier rated for the space size and a pump with enough head pressure to discharge water to grade level outside. Most suppliers can size both correctly if you give them those two numbers.
How to confirm the crawl space is actually dry
Getting the water out is step one. Confirming the space is truly dry is step two, and most homeowners skip it.
Targets to hit before you stop monitoring:
- Relative humidity in the crawl space: below 60% (below 50% is better in humid climates)
- Wood moisture content on joists and sill plates: below 19% (above that, mold risk remains elevated)
Place your hygrometer at the center of the crawl space, not near the access point where outside air skews readings. Check it every 12–24 hours. Place your moisture meter on the lowest joists and sill plates, since those stay wet longest.
Monitoring schedule: Read both instruments daily for the first week. If readings are dropping steadily, continue drying. If readings plateau or rebound after 24–72 hours of continuous dehumidification, something is still wet or the source isn’t fully controlled.
When to call a pro for drying validation: Moisture readings that won’t drop despite continuous drying, a musty smell that returns after a few days, or visible condensation on cold surfaces after the space should be dry. These are signs of hidden moisture or an unresolved source. A professional can use thermal imaging and moisture mapping to find what you can’t see.
What the EPA and CDC say you must do
The two most authoritative sources for water damage and mold cleanup agree on the core rules. Here’s what matters most for crawl-space situations:
The 24–48 hour rule: Both the EPA and CDC state that water-damaged materials should be dried within 24–48 hours to prevent mold growth. If you can’t hit that window, assume mold has started and plan your remediation accordingly.
Safety rules from EPA and CDC guidance:
- Do not mix bleach and ammonia or other cleaning products — the combination produces toxic gases
- Do not run fans if water contamination is suspected; fans spread pathogens and mold spores
- Use personal protective equipment, including gloves, respirator, and eye protection, when entering water-damaged areas
- Only re-enter a flooded structure when confirmed safe by professionals and power is turned off
- If the moldy area exceeds approximately 10 square feet, consult a professional before proceeding
Statistic callout: The EPA and CDC both identify the 24–48 hour drying window as the single most important factor in preventing mold colonization after water damage. Missing that window doesn’t mean mold is certain, but it means you should treat it as likely and inspect accordingly.
The CDC’s flood reentry guidance also recommends contacting your insurer and documenting damage before cleanup begins — a step that directly affects claim outcomes.
For a deeper look at mold growth signs after flooding and what to watch for in the days after cleanup, Thecleangenius has a practical guide covering the early warning signs homeowners most often miss.
A restoration professional’s perspective on crawl-space water
When our team arrives at a crawl-space water call, the first thing we do is assess for safety: power status, contamination type, and structural stability. None of the drying work matters if the space isn’t safe to enter.
After that, it’s moisture mapping. We use thermal imaging and pin-type moisture meters to find every wet surface, not just the obvious ones. Water migrates further than it looks, and the joists at the far end of the crawl space are often wetter than the ones near the access point. Industrial dehumidifiers and drying mats go in based on that map, not guesswork.
For mold, Thecleangenius uses Pure Cloud dry-fog technology, which reaches into cavities and irregular surfaces that surface treatments miss. It’s a meaningful difference in a crawl space, where joists, blocking, and insulation create dozens of hidden surfaces.
We work directly with homeowners’ insurers throughout the process, providing moisture readings, before-and-after documentation, and a written drying validation report. Homeowners who call us within the first 24 hours consistently see faster claim approvals and lower out-of-pocket costs than those who wait.
If you’re in Chicagoland and you’re not sure whether your situation needs a professional, call us. We’ll tell you honestly what we see.
Thecleangenius is ready when the crawl space can’t wait
When the water is in and the clock is running, you need a team that shows up fast and knows exactly what to do. Thecleangenius is a family-owned restoration company serving Chicagoland with 24/7 emergency response, more than 400 five-star reviews, and over 25 years of combined experience handling exactly these situations: flooded crawl spaces, burst pipes, sewage backups, and the mold that follows when water sits too long.

Our certified teams handle full water extraction, industrial drying, moisture mapping, and mold remediation with Pure Cloud dry-fog technology. We coordinate directly with your insurance company and provide the written documentation adjusters need to process your claim. Whether you’re facing a Category 1 cleanup or a Category 3 sewage situation, we bring the right equipment and the right credentials.
Request emergency water damage restoration from Thecleangenius today. We serve Arlington Heights, Naperville, Schaumburg, Wheaton, Elgin, and dozens of other Chicagoland communities around the clock.
Sources
These are the primary authoritative references used in this guide. Consult them directly for detailed protocol language or when talking with your insurer or contractor.
- Resources for flood cleanup and indoor air quality – EPA
- Homeowner’s and renter’s guide to mold cleanup after disasters – CDC
- Does homeowners insurance cover water damage? | Progressive
- Standing water in your crawl space: how long before rot sets in? – GreenAttic
This article is general information, not a substitute for advice from a qualified doctor. Consult a qualified healthcare professional about your own circumstances before acting on anything here.