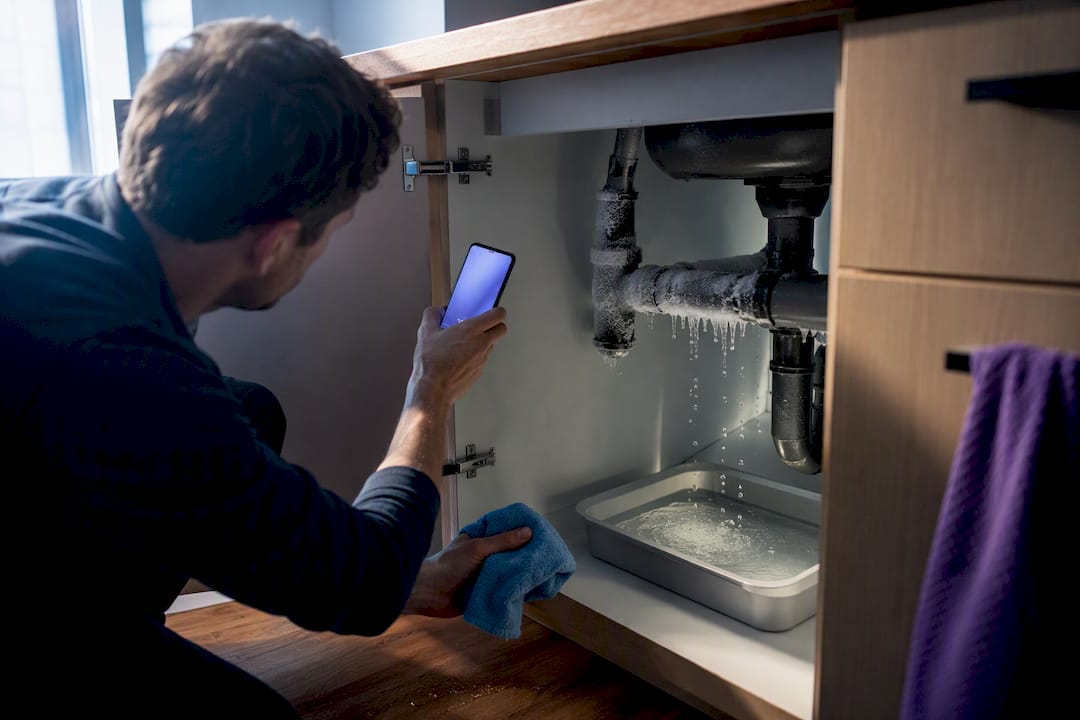

Shut off the water at the main, avoid touching electrical panels or outlets in wet areas, document every flooded room with photos and video, and start removing standing water right away. These four moves stop ongoing damage and protect your safety while you figure out next steps. If the leak is large, involves sewage, or puts you near live electrical wiring, call a restoration professional who offers 24/7 emergency response instead of handling it alone.
TL;DR:
- Turning off the main water supply immediately and documenting damage with photos and videos are critical within the first hour of discovering a leak.
- Using a wet/dry vacuum or sump pump for standing water and pairing fans with dehumidifiers helps dry materials quickly to prevent mold growth within 48 hours.
- Professional remediation is necessary for mold larger than ten square feet, contaminated water, or extensive structural and electrical damage.
- Insulating pipes and maintaining a home temperature above 55°F during cold weather can prevent future pipe freezing and bursting.
- Contacting certified restoration experts ensures safe water extraction, mold removal, and insurance coordination when the damage exceeds DIY capabilities.
Table of Contents
- The first 60 minutes: step-by-step priorities
- Safe water removal and drying: tools, sequence, and the mold clock
- Documenting damage and working with your insurer
- Mold: when it becomes a problem and what to clean yourself
- Deciding when to hire restoration pros and what they do
- How to thaw frozen pipes safely and prevent the next one
- What homeowners get wrong after a pipe bursts
- When The Clean Genius can step in for you
- Sources
- FAQ
The first 60 minutes: step-by-step priorities
What you do in the first hour after discovering a frozen or burst pipe determines how much damage spreads and how smoothly your insurance claim goes later. Work through these steps in order.
- Locate your main water shutoff valve and turn it off immediately; if you cannot find it or reach it safely, call your water utility.
- Stay out of standing water near outlets or panels. If you need power restored in a wet area, contact an electrician first rather than flipping switches yourself, following CDC electrical-safety guidance.
- Turn off gas appliances only if you smell gas, and call your gas utility if that happens.
- Take time-stamped photos and video of every wet area and damaged item before you move anything, then start a written log noting the date, time, and each action you take.
- Move small valuables to dry ground, slide towels under active drips, and set out buckets to contain spreading water.
Pro Tip: Photograph water lines on walls and furniture before you start mopping. Once the water is gone, so is that evidence.
Safe water removal and drying: tools, sequence, and the mold clock
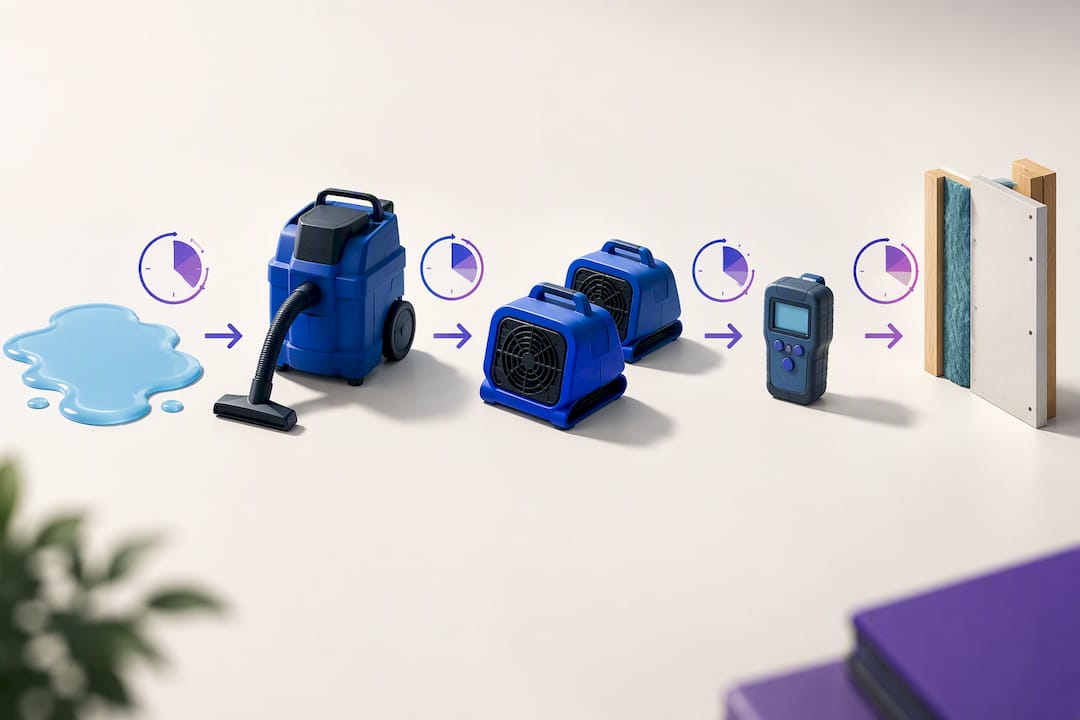
Once the source is off and the area is safe, focus shifts to getting water out and materials dry as fast as possible. A wet/dry shop vacuum or sump pump works for standing water, but only if you can run electricity safely in that space. If power is out, a portable generator can run extraction equipment, kept outdoors, grounded, and away from windows or doors.
Once power is confirmed safe, position fans to blow air out an open window rather than back into the room, since indoor recirculation can spread contaminants according to CDC cleanup guidance. Pair fans with dehumidifiers to pull moisture from the air itself, not just off surfaces.
- Start extraction and drying immediately, not the next day.
- Aim to fully dry materials as quickly as possible, ideally within a couple of days.
- Treat anything porous that stayed wet beyond a short drying window as a mold risk.
- Salvage contents by drying them fast, relocating them to dry space, or double-bagging and logging items you plan to discard.
Materials that stay wet beyond 24 to 48 hours should be assumed to support mold growth, per EPA mold cleanup guidance, which is why speed matters more than perfection in this stage. Our guide to water damage restoration equipment breaks down which tools handle which jobs if you want more detail before you shop or rent.
Documenting damage and working with your insurer
Insurers expect to see that you took reasonable steps to limit the damage, and your documentation is the proof. Photograph and video every affected room and item before cleanup starts whenever it is safe to do so, note the time on each shot, and back the files up to cloud storage.
- Build an itemized inventory of damaged items with approximate values and any receipts you still have.
- Keep a dated log of every call, email, and instruction from your insurance adjuster.
- Notify your insurer as soon as possible and follow their initial guidance on next steps.
- Save receipts and photos from any mitigation work, since documented dryness readings and photo evidence speed up claim response and reduce disputes.
Our water damage insurance claim checklist and guide to documenting water damage walk through templates for this exact process.
Mold: when it becomes a problem and what to clean yourself
If wet materials stay damp longer than 24 to 48 hours, treat the area as a mold risk rather than waiting to see what happens. The EPA recommends professional remediation once affected areas exceed about 10 square feet, or when insulation or HVAC components are involved.
- Clean hard, non-porous surfaces with detergent and water, and save a HEPA vacuum pass for after everything is fully dry.
- Plan to discard porous materials like carpet padding, drywall, and upholstered furniture if they stayed wet too long.
- Never paint or caulk over mold, since it will keep growing underneath.
- Never mix bleach with ammonia or other cleaners, and know that bleach does little for mold embedded in porous surfaces.
- If sewage-contaminated water was involved anywhere, hand removal and disinfection to professionals rather than DIY-ing it.
Pro Tip: If you’re bagging moldy material for disposal, double-bag it before carrying it through the house. That single step keeps spores from spreading room to room.
For a deeper look at safe handling, see our mold removal safety best practices.
Deciding when to hire restoration pros and what they do
Some jobs are too big, too risky, or too specialized for a homeowner to handle safely. Call in professionals when you’re dealing with large-area water intrusion, any structural or electrical damage, sewage contamination, or mold that has had more than 24 to 48 hours to establish itself.
- Emergency water extraction paired with moisture mapping and ongoing monitoring, not just a visual check.
- Structural drying with containment to keep the affected zone isolated from the rest of the home.
- Mold remediation and contents restoration for items worth saving.
- Direct coordination with your insurance company on documentation and claims.
When you’re vetting a contractor, ask about response time, IICRC certification, whether they document moisture readings over time, their containment approach, and their track record working directly with insurers. The Clean Genius offers 24/7 emergency response with certified crews handling extraction, structural drying, mold remediation, and insurance coordination as part of its standard water damage restoration process.
How to thaw frozen pipes safely and prevent the next one
If a pipe is frozen but hasn’t burst yet, keep the faucet on that line open and apply gentle, indirect heat: a hair dryer, an electric heating pad, or towels soaked in hot water. Never use a torch or another open flame, since trapped water can boil and rupture the pipe, according to Red Cross thawing guidance.
Once flow returns, check other fixtures for pressure and inspect the thawed section and nearby joints for leaks; call a plumber if you find one or if the pipe already split.
- Insulate any exposed pipes in unheated spaces like basements, attics, and crawl spaces.
- Open cabinet doors under sinks during cold snaps so warm air can reach the pipes.
- Let faucets drip on the coldest nights to keep water moving.
- Keep the thermostat at roughly 55°F when the property will be unattended, a threshold IBHS recommends for preventing frozen pipes.
Pro Tip: A cheap temperature sensor that alerts your phone is a lot less expensive than a flooded basement. Our winterization guide covers seasonal prep in more detail.
What homeowners get wrong after a pipe bursts
Most people either panic and start mopping before documenting anything, or they wait too long to call for help because the damage looks manageable at first glance. Neither instinct serves you well: speed matters for drying, but documentation and a clear-eyed read on scope matter just as much. Safety first, then evidence, then drying, then a professional call if the job is bigger than a mop and a fan can handle.
— Jim
When The Clean Genius can step in for you
If your pipe burst is large, the water is contaminated, or you’re not confident the electrical system is safe, that’s the moment to call a crew instead of pushing through alone. The Clean Genius handles emergency extraction, structural drying, mold remediation, and contents restoration, and coordinates directly with your insurance company so you’re not managing that process solo.

- 24/7 emergency response for active flooding and burst pipes.
- Certified crews for extraction, drying, and mold remediation.
- Direct insurance coordination throughout the claim.
| Situation | What we handle |
|---|---|
| Active flooding or burst pipe | Emergency water extraction and structural drying |
| Mold risk after 24 to 48 hours wet | Mold removal and remediation |
| Sewage-contaminated water | Safe removal and disinfection |
| Insurance claim in progress | Direct coordination and documentation support |
We serve Chicagoland, including Arlington Heights, Naperville, Schaumburg, and Elgin. Request an estimate through our water damage restoration page and we’ll get a crew moving.
Sources
- Guidelines for Cleaning Safely After a Disaster | Natural Disasters | CDC
- Mold cleanup in your home | US EPA
- Preventing & thawing frozen pipes | American Red Cross
FAQ
How do I unfreeze my frozen pipes?
Keep the faucet on that line open and apply gentle heat with a hair dryer, an electric heating pad, or towels soaked in hot water, working from the faucet end toward the blockage. Call a licensed plumber if you can’t reach the frozen section or if flow doesn’t return, per Red Cross guidance.
What do plumbers use to unfreeze pipes?
Plumbers typically rely on the same gentle-heat principle homeowners can use, such as heat tape, heat guns set to low, or hot water, applied carefully to avoid damaging the pipe. They avoid open flames entirely because trapped water can boil and rupture the pipe.
Will a frozen pipe resolve itself?
A frozen pipe can sometimes thaw on its own as temperatures rise, but that isn’t reliable and it does nothing to prevent the pipe from having already cracked under pressure. Treat any frozen pipe as a problem to address, not one to wait out.
Should you let hot or cold water drip to keep pipes from freezing?
A slow drip, hot or cold, keeps water moving through the line and relieves pressure buildup, which lowers the odds of a freeze. Combine this with insulating exposed pipes and keeping the thermostat around 55°F when the home is unattended, as IBHS recommends.