Water damage documentation is the formal process of collecting time-stamped photos, videos, written inventories, and receipts that prove the cause, scope, and mitigation of a loss to your insurer. When you document water damage for insurance correctly, you give your adjuster the evidence needed to approve your claim quickly and at full value. Skip steps, and you risk delays, disputes, or a reduced payout. This guide walks you through exactly what to capture, how to organize it, and what mistakes to avoid.
How to document water damage for insurance right away
The strongest evidence for any water damage claim is time-stamped photos and videos taken immediately after discovery and before any cleanup begins. That single rule matters more than any other step in the process. Evidence disappears fast once water is extracted and drying begins.
Photograph the source first
Your insurer needs to know why water entered your home, not just that it did. Photographing the water source differentiates a covered sudden event, like a burst pipe, from an excluded gradual leak. Shoot the origin point from multiple angles before you touch anything.
Capture the full migration path too. Show where water traveled from the source through walls, flooring, and into adjacent rooms. This water migration path proves the event was a sudden internal discharge rather than long-term neglect, which is exactly what adjusters look for.
Use a three-shot system
Shoot every affected area in three distances: wide, mid-range, and close-up. Wide shots establish context and room layout. Mid-range shots show the extent of saturation across floors and walls. Close-ups capture specific damage like buckled hardwood, soaked drywall, or ruined baseboards.
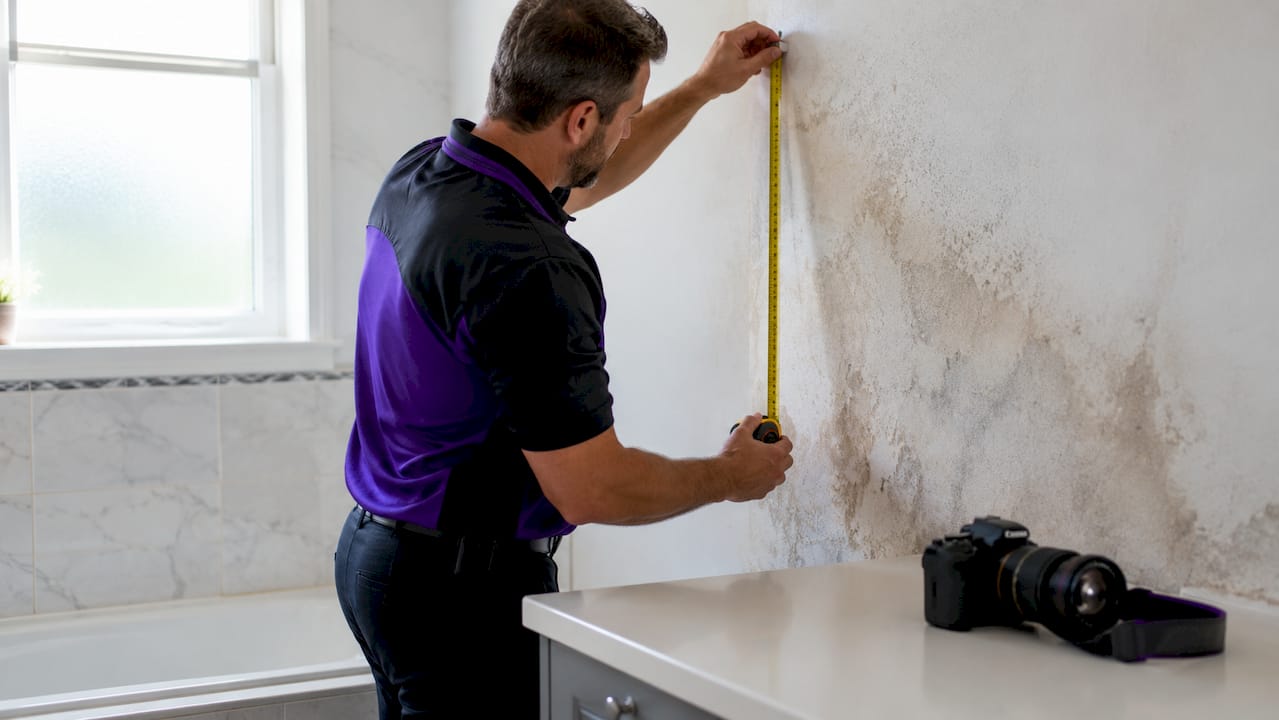
Use a ruler or tape measure in your close-up shots to photograph water depth and any visible high-water marks on walls. These measurements give your adjuster concrete evidence of damage severity and directly support repair or replacement estimates.
Record a narrated video walkthrough
A video walkthrough does something photos cannot. It creates a continuous narrative that shows the adjuster the full scope of the scene in real time. Walk through every affected room, narrate what you see, and describe the cause, the time you discovered it, and any immediate steps you took to stop the water.
Combining video narration with high-resolution photos gives you scene-setting context plus detailed proof of damage. Use both, not one or the other.
Pro Tip: Enable timestamp and location metadata in your smartphone camera settings before you shoot. Smartphone photos with embedded metadata are fully acceptable as insurance evidence when they are clear, well-lit, and location-verified.
Take written notes alongside your photos and video. Record the exact date and time of discovery, the suspected cause, and every mitigation action you took in the first hour. These notes become the foundation of your claim narrative.
How do you organize documentation for a water damage claim?
Adjusters evaluate water damage claims on three categories: cause, scope, and mitigation. Your documentation must address all three. Photos prove cause and scope. Written records and receipts prove mitigation. Missing any category weakens your claim.
Build a damaged property inventory
Create a written inventory of every damaged item. For each item, record the name, brand, model number, serial number, estimated purchase date, and original purchase value. A detailed damaged property inventory reduces adjustment delays and prevents disputes over item condition and ownership.
Here is a simple format to follow for each item:
| Field | What to Record |
|---|---|
| Item name | Specific description (e.g., LG front-load washer) |
| Model and serial number | Found on appliance label or owner’s manual |
| Purchase date | Approximate month and year |
| Original value | Receipt amount or current replacement cost |
| Damage description | Brief note on condition after water exposure |
Collect receipts and create a contact log
Gather every receipt related to the damage. This includes original purchase receipts for damaged items, invoices from emergency plumbers, and receipts for temporary repairs like tarps or water extraction services. These receipts are your proof of mitigation expenses, and insurers expect to see them.
Keep a running contact log from the moment you report the claim. Record every call and email with your insurance company, including the date, time, representative name, and a summary of what was discussed. Do the same for every contractor and restoration company you contact. This log protects you if disputes arise later about what was agreed or promised.
Pro Tip: Create a dedicated folder on Google Drive or iCloud labeled with your claim number and the date of loss. Store all photos, videos, receipts, and documents there. A backed-up digital folder with metadata-verified files prevents delays and supports submission integrity.
For homeowners dealing with roof-related water entry, roof damage documentation practices follow the same principles: photograph the source, capture the migration path, and collect contractor reports.
How should you document mitigation and repairs?
Insurers expect you to take reasonable steps to prevent further damage after a water loss. Failing to document those steps is one of the most overlooked mistakes homeowners make. Your mitigation documentation is just as important as your initial damage photos.
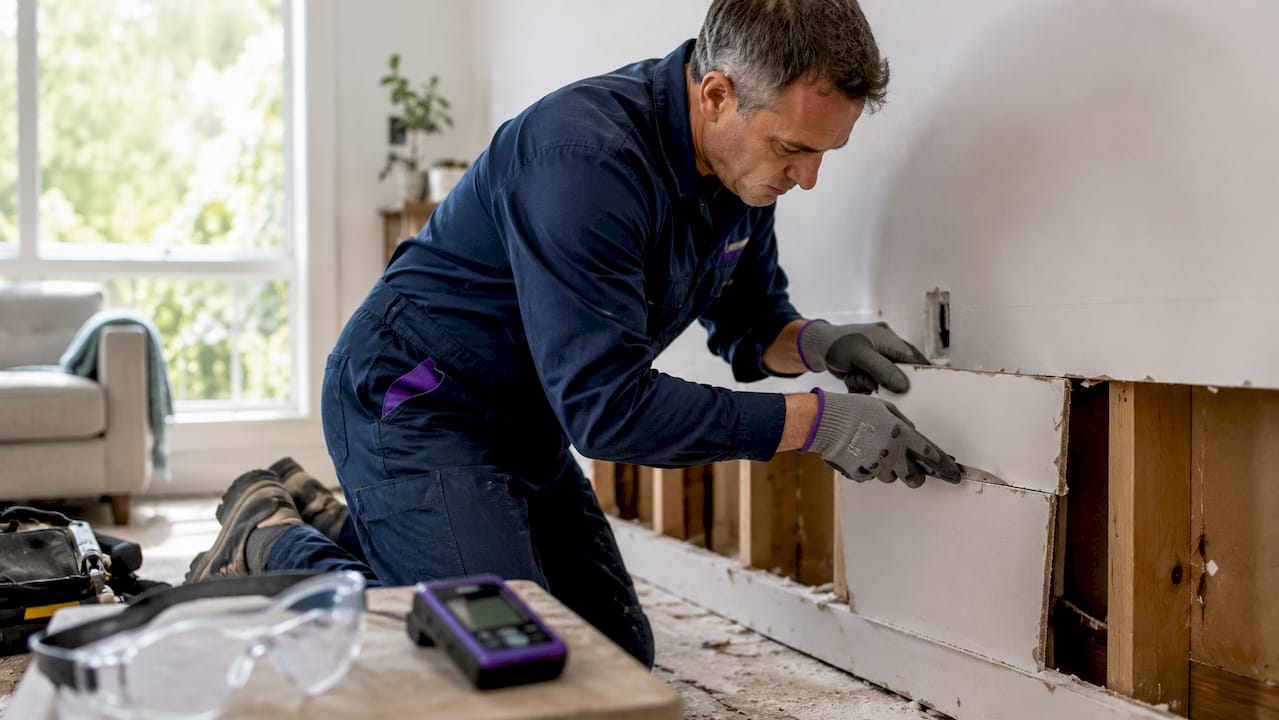
Photograph and timestamp every emergency repair action. If you shut off the main water supply, photograph the valve. If you placed towels or buckets, photograph those too. If you hired a water extraction company, get a written report from them on the same day.
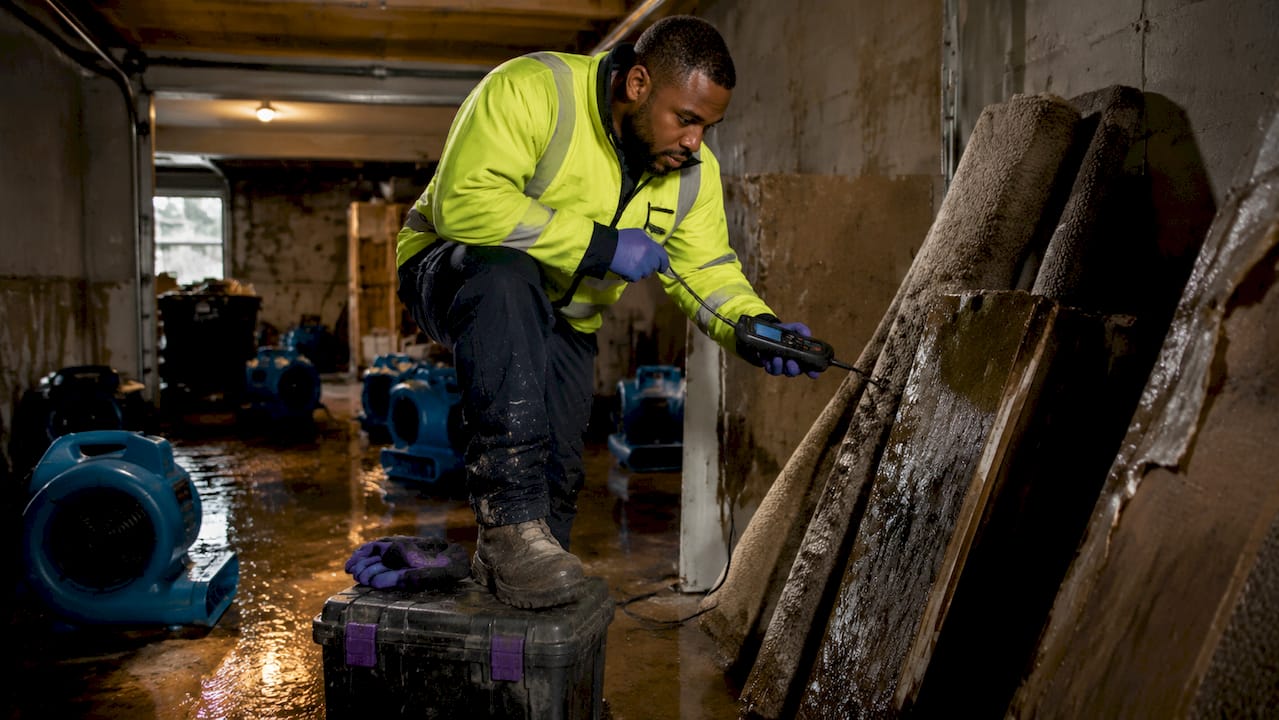
Professional restoration companies provide moisture mapping and daily progress logs that significantly strengthen claims and prevent disputes. Request these reports in writing from your contractor. Moisture readings taken over multiple days show the drying progression and confirm that work was done properly.
Ask every contractor for their license number and proof of insurance before they start work. Keep copies of all contracts, work orders, and completion certificates. These documents prove that repairs were performed by qualified professionals, which matters when your adjuster reviews the claim.
Pro Tip: Photograph affected areas every 24 hours during the drying process. Daily photos create a visual timeline that shows your adjuster the mitigation was continuous and effective. Learn more about emergency response steps to stay ahead of the process.
What are the most common documentation mistakes?
Most denied or reduced water damage claims share the same documentation errors. Knowing them in advance keeps your claim on solid ground.
-
Starting cleanup before documenting. Cleaning up before you photograph is the single most damaging mistake. Initial photos before cleanup are the most valuable evidence for claim approval. Once the water is gone, so is your proof.
-
Skipping the water source. Many homeowners photograph the damage but forget to photograph the cause. Without a clear image of the burst pipe, failed appliance, or roof breach, your insurer cannot confirm the event was sudden and covered.
-
Missing timestamps and metadata. Photos without embedded date and time data are harder to defend. Always verify your camera settings before shooting.
-
Disorganized records. Loose photos on your phone and scattered receipts in a drawer create delays. Adjusters work faster when you hand them a complete, organized file.
-
Missing the reporting deadline. Notify your insurer within 24–48 hours of discovery to comply with policy deadlines and protect your coverage. Delays in reporting can jeopardize the entire claim. Always check your specific policy for the proof of loss submission deadline, which is often 60 days from the date of loss.
Key takeaways
Thorough, time-stamped documentation covering cause, scope, and mitigation is the single most effective way to protect and maximize a water damage insurance claim.
| Point | Details |
|---|---|
| Document before cleanup | Photograph and video the scene before removing water or damaged items. |
| Capture the water source | Show the origin point to prove the event was sudden and covered. |
| Build a written inventory | List every damaged item with model numbers, purchase dates, and values. |
| Log all contacts and receipts | Record every call, email, and expense from day one of the claim. |
| Request professional moisture data | Get daily drying logs and moisture readings from your restoration contractor. |
What 25 years of claims has taught me about documentation
I have seen hundreds of water damage claims in Chicagoland, and the ones that go sideways almost never fail because the damage was too severe. They fail because the homeowner cleaned up first and photographed second.
The adjuster’s job is to reconstruct what happened from the evidence you provide. If your photos tell a clear, consistent story, the claim moves fast. If there are gaps, the adjuster fills them with assumptions, and those assumptions rarely favor the homeowner.
One thing most articles do not tell you: a narrated video is worth more than fifty still photos. When I walk a homeowner through what to capture, I always say, talk to your phone like you are explaining the situation to a friend. Describe what you see, where the water came from, and what you did to stop it. That narration becomes a timeline the adjuster can follow.
The other thing I push hard on is moisture data. Most homeowners hand over photos and receipts and call it done. The ones who also provide professional moisture readings from a certified contractor give their adjuster something concrete to work with. Numbers do not lie, and they are very hard to dispute. Understanding how moisture measurement works gives you a real edge during the adjuster walkthrough.
Be proactive with your insurer. Call before they call you. Send your organized file before they ask for it. That posture signals that you are a prepared, credible claimant, and it changes the tone of the entire process.
— Jim
Get professional help documenting and restoring your home
Thecleangenius provides 24/7 emergency water damage restoration across Chicagoland, including Arlington Heights, Schaumburg, Naperville, and Wheaton. Our certified teams respond fast, extract water, and generate professional moisture mapping and daily drying logs that support your insurance claim from day one.

We work directly with your insurance company, so you are never navigating the claim process alone. Our documentation supports yours, and together they create a complete, defensible record. If you need professional water damage restoration or want to understand what to expect from the full process, Thecleangenius is ready to help. You can also review our restoration company checklist to know exactly what to look for when hiring.
FAQ
What is water damage documentation for insurance?
Water damage documentation is the collection of time-stamped photos, videos, written inventories, and receipts that prove the cause, scope, and mitigation of a water loss to your insurer. It is the primary evidence your adjuster uses to evaluate and approve your claim.
What photos do i need for a water damage insurance claim?
Photograph the water source, the full migration path, and every affected room using wide, mid-range, and close-up shots. Include a ruler in close-up shots to show water depth and high-water marks.
How soon should i report water damage to my insurer?
Notify your insurer within 24–48 hours of discovery to meet policy deadlines and protect your coverage. Check your specific policy for the proof of loss submission deadline, which is typically 60 days from the date of loss.
Does professional restoration help my insurance claim?
Yes. Professional restoration companies provide moisture mapping and daily drying logs that strengthen claims and prevent disputes. Request written reports and moisture readings from your contractor throughout the restoration process.
Can i use my smartphone to document water damage?
Smartphone photos and videos are fully acceptable as insurance evidence when they are clear, well-lit, and have timestamps and location metadata enabled in the camera settings.