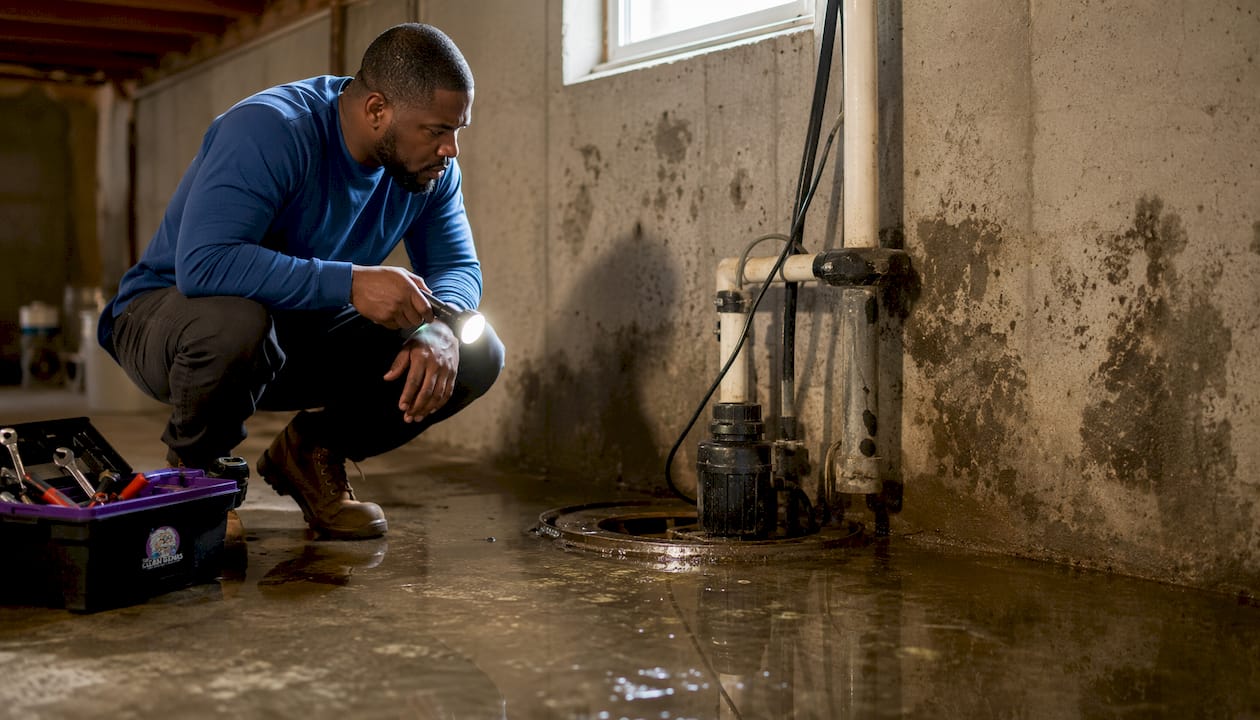

Your first move after a sump pump failure is not cleanup. It is safety. Before anything else: cut power to the basement at the breaker if water is near any electrical outlet, appliance, or panel. Do not step into standing water with electricity live. Once the area is safe, stop additional water from entering (check the discharge line, manually bail if needed, or call a plumber), then remove standing water as fast as possible and start drying. Mold can begin growing within a day or two of water exposure, so every hour matters.
The one-sentence DIY vs. pro rule: If the flooded area is small (under about 10 square feet), the water is clean, your HVAC was not exposed, and no one in the household has asthma, COPD, or a compromised immune system, you can attempt cleanup yourself. Any sewage involvement, visible mold already spreading, HVAC contamination, or a vulnerable occupant means you call a certified remediation team immediately.
Emergency checklist for the first 30 minutes:
- Shut off electricity to the basement at the main breaker before entering.
- Do not run the HVAC system if the intake could have been reached by floodwater.
- Call your insurance company to report the loss and ask for emergency authorization.
- Contact a 24/7 restoration service (Thecleangenius: available around the clock in Chicagoland) if the flooding is moderate to severe.
- Begin removing standing water only after confirming the space is electrically safe.
- Open basement windows and exterior doors to start air exchange, but only if no visible mold growth is present yet.
Table of Contents
- What are the 5 essential steps for mold remediation after sump failure?
- How quickly does mold appear after a flooded basement?
- Can you safely do mold cleanup yourself after a sump pump failure?
- How do you prevent mold from coming back after a sump pump failure?
- How do you document damage and work with your insurer after a flood?
- Key Takeaways
- What technicians actually see after sump failures
- Thecleangenius is ready when your sump pump fails
- Useful sources and further reading
What are the 5 essential steps for mold remediation after sump failure?
Recovery from a sump pump failure follows a specific sequence. Skipping steps or doing them out of order is how small water events turn into full mold remediation jobs.
1. Confirm safety before entering
Check for gas odors, structural damage, and live electrical hazards. If the water reached any outlets, the panel, or a water heater, treat the space as energized until your utility confirms otherwise. Wear rubber boots, rubber gloves, and goggles from the moment you enter. A NIOSH-approved N95 respirator is the minimum for any space with potential mold or sewage contamination.
2. Stop the water source
A sump pump failure usually means the pump burned out, lost power, or the float stuck. Restore power if safe, reset the pump, or use a submersible utility pump as a temporary replacement. If the water is still entering through cracks or a failed drain tile, temporary diversion (sandbags, a portable pump discharging outside) buys time until a plumber or waterproofing contractor can address the root cause.
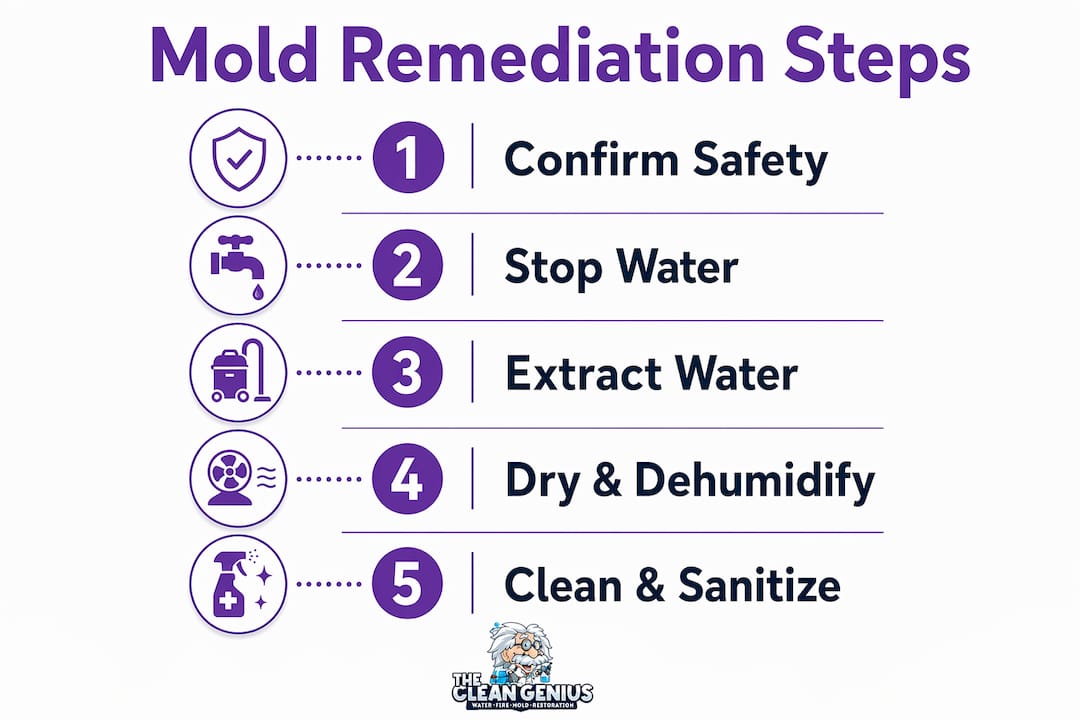
3. Extract standing water
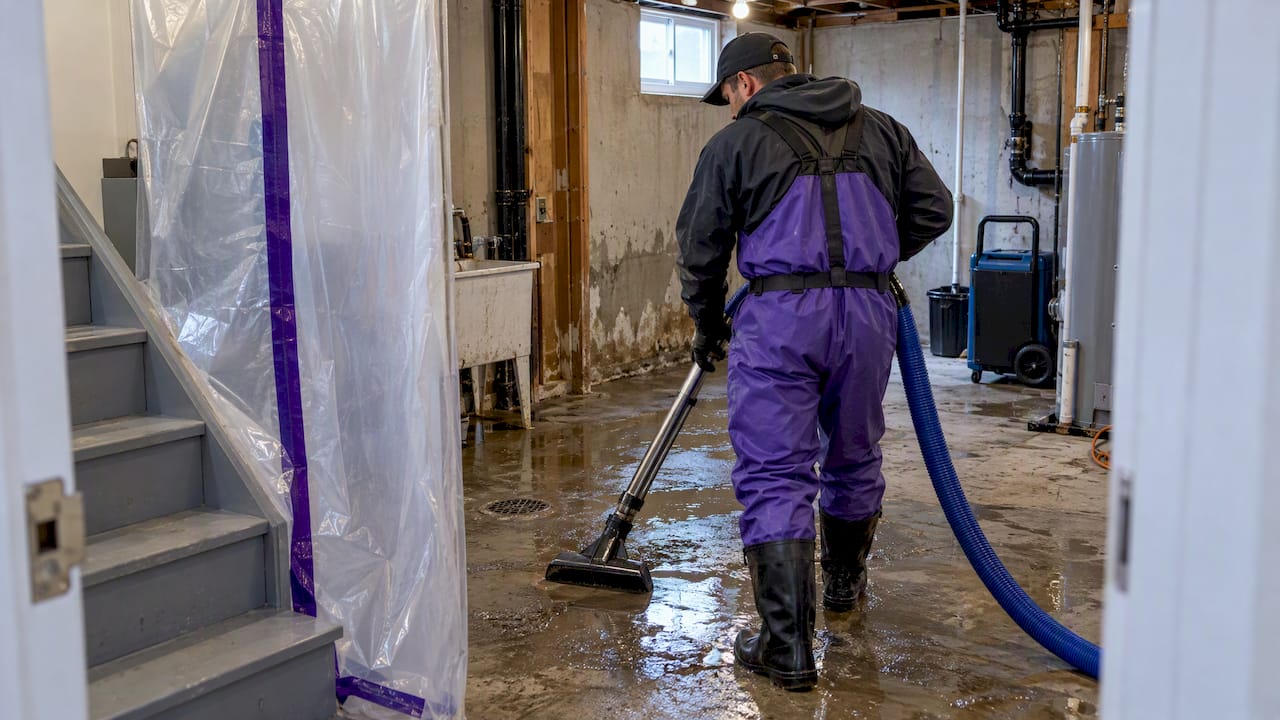
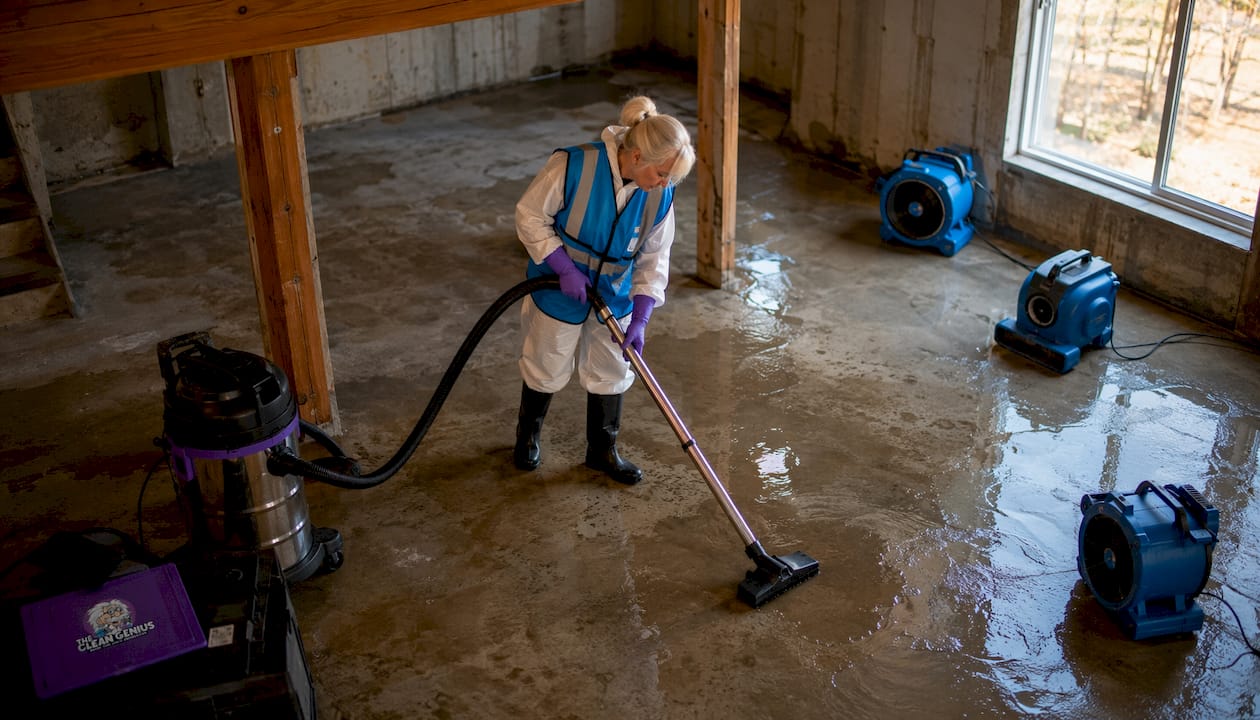
A wet/dry vacuum handles small volumes. For anything over a few inches, a submersible pump discharging to a floor drain or outside is faster. Extraction pros use truck-mounted units that pull hundreds of gallons per hour. If you have sewage-contaminated water (gray or black water), call professionals experienced with contaminated water rather than attempting DIY extraction. Sewage carries pathogens that require full PPE, containment, and proper disposal.
4. Dry and dehumidify to target conditions
This is where most homeowners underinvest. A single box fan is not enough. You need a dehumidifier capable of pulling significant moisture from the air (commercial units used by restorers typically run at 70–90 pints per day capacity), plus air movement directed at wet surfaces. Target indoor relative humidity below 50%. Use a digital hygrometer to track progress.
Drying timeline by severity:
- Minor (under 1 inch of water, small area): Achievable in 24–48 hours with a quality dehumidifier, fans, and open windows. Monitor with a moisture meter.
- Moderate (several inches, larger area): Prioritize extraction and drying within the first 24 hours. Expect 3–5 days of active drying. Consider renting commercial drying equipment.
- Severe (large flood, structural saturation, sewage): Call extraction and drying professionals. Structural drying to safe moisture levels can take 5–10 days with professional equipment.
5. Clean, sanitize, and make disposal decisions
Hard, non-porous surfaces (concrete, sealed tile, metal) can be cleaned with water and a detergent, then dried completely. Porous materials are a different story. Soaked porous materials should be removed rather than dried in place if they were wet for more than 48 hours. That means carpet and pad, fiberglass insulation, drywall with water wicking above the flood line, and particleboard. For irreplaceable items like books, papers, or textiles, the Smithsonian Museum Conservation Institute publishes specific salvage steps worth following.
What to remove vs. what to dry:
- Remove: Carpet and pad, fiberglass batt insulation, soaked drywall, particleboard, cardboard boxes.
- Dry in place (if caught early): Concrete floors, sealed tile, solid wood framing (monitor with moisture meter), metal fixtures.
- Isolate and assess: Solid wood furniture, finished hardwood flooring (warping is a sign of deep saturation).
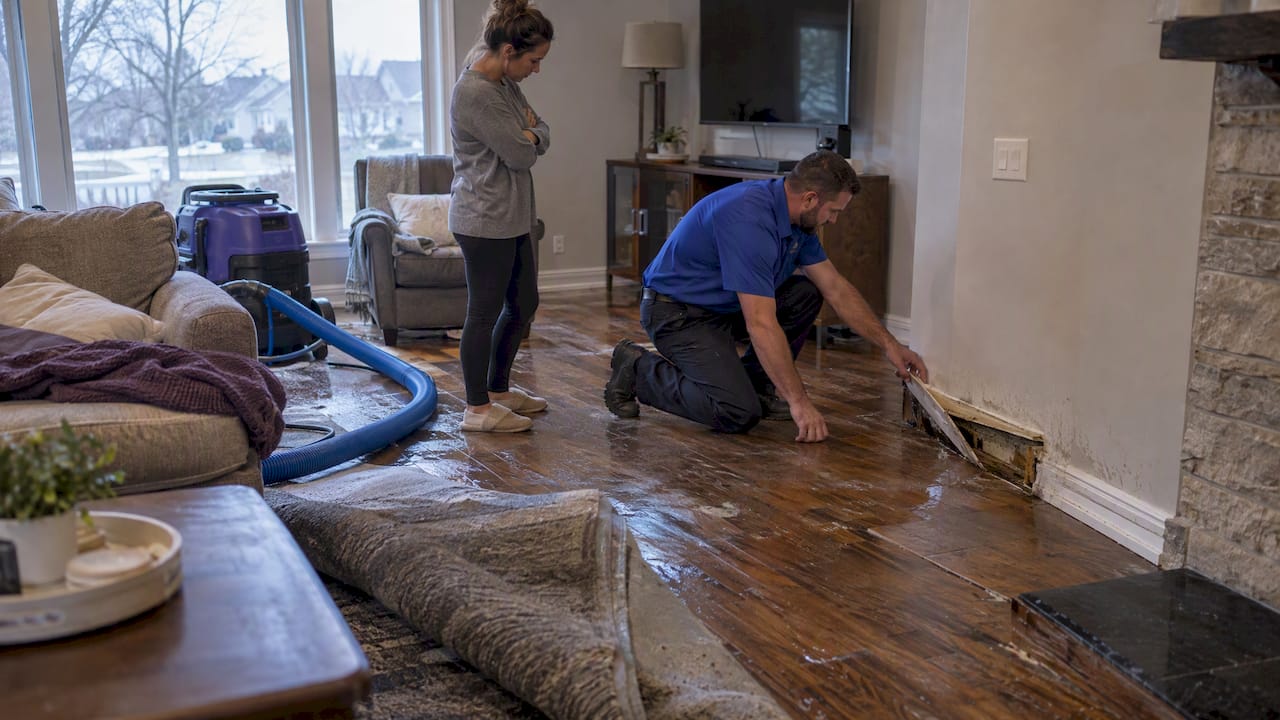
Pro Tip: Open walls and remove baseboards if you see water staining above the floor line, soft drywall, or if a moisture meter reads elevated levels inside the wall cavity. Leaving saturated drywall in place is the single most common reason mold comes back after a cleanup.
Safety don’ts that worsen mold risk:
- Do not run fans if you can already see visible mold growth. Fans spread spores to unaffected areas.
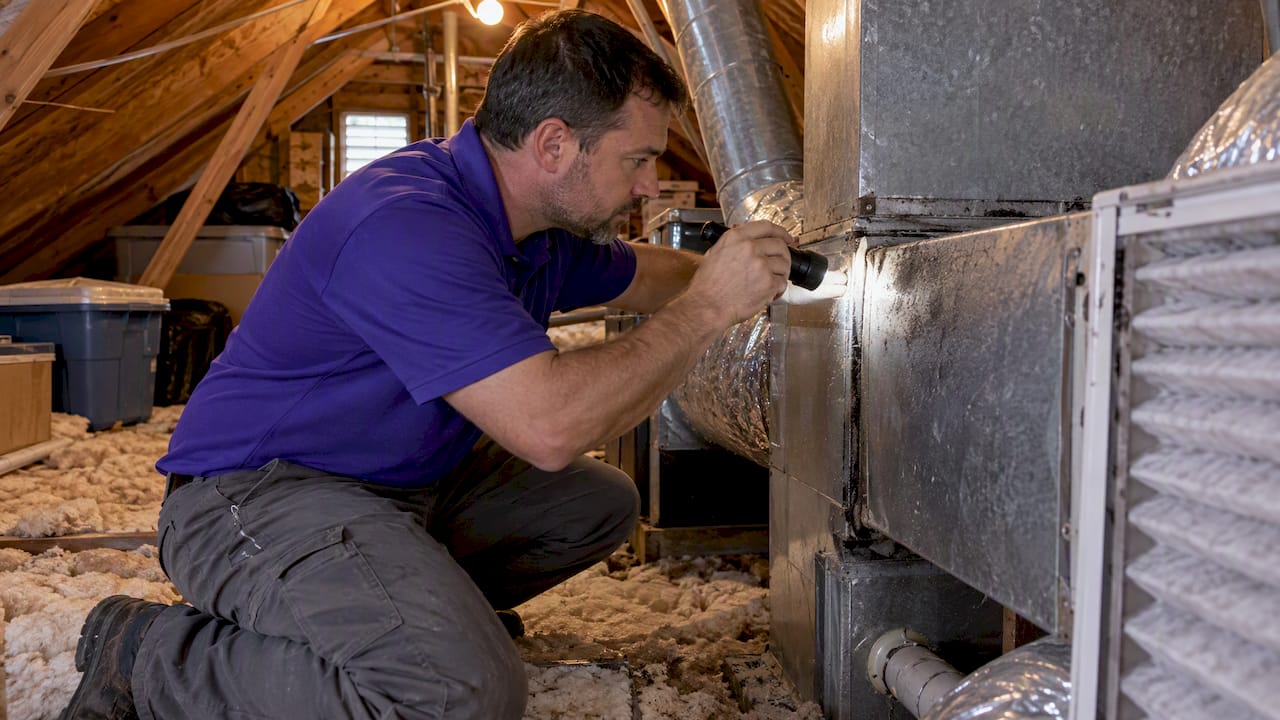
- Do not run the HVAC system if the intake was exposed to floodwater. It will distribute contamination throughout the house.
- Do not paint or caulk over wet or moldy surfaces. It traps moisture and the mold continues growing underneath.
- Do not mix bleach with ammonia-based cleaners. The fumes are toxic.
How quickly does mold appear after a flooded basement?
Mold growth often begins within 24 to 48 hours after water exposure on wet surfaces. That window is not a comfortable buffer. It is the entire margin you have before cleanup becomes remediation.
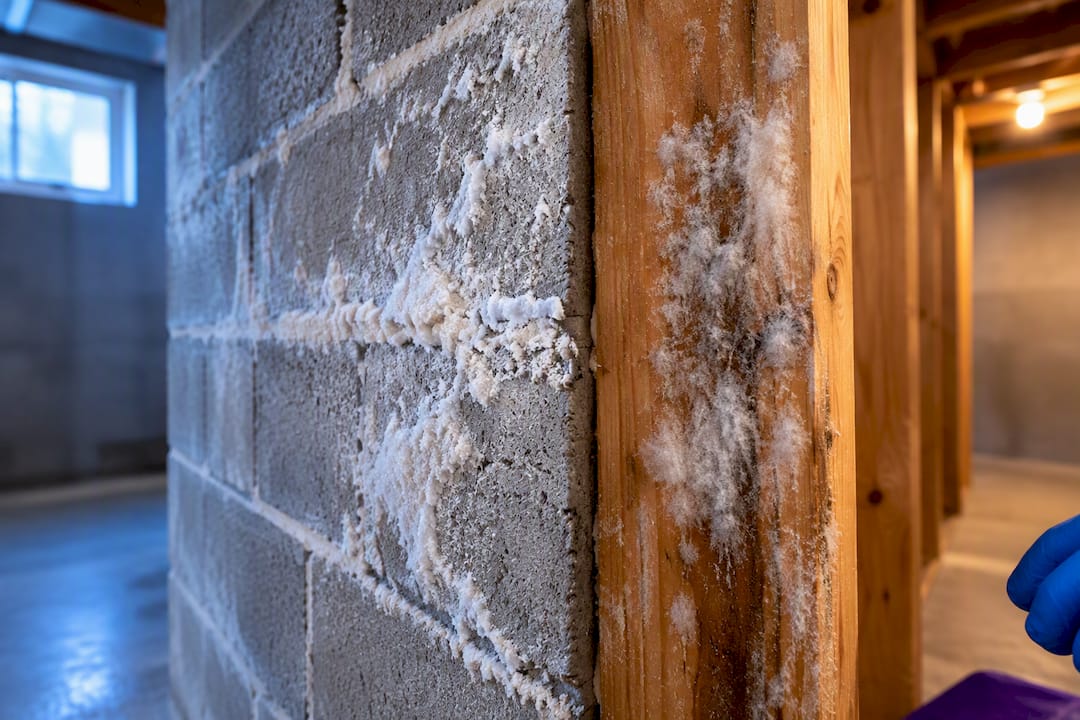
What makes basement flooding particularly tricky is hidden contamination. Visible mold on a wall surface is only part of the picture. Mold colonizes inside wall cavities, behind baseboards, under carpet, and in insulation long before it shows on the surface. Porous materials trap moisture and provide organic material for mold roots (hyphae) to anchor into. Once that happens, surface cleaning alone does not solve the problem.
Watch for early mold signs after flooding: a musty odor that persists after drying, soft or discolored drywall, and humidity readings that stay elevated despite active dehumidification. Any of these suggest contamination that goes deeper than the surface.
| Threshold | Guidance |
|---|---|
| 0–48 hours wet | Dry immediately; mold growth possible but not certain |
| Over 48 hours wet | Assume mold growth; remove porous materials rather than attempting to dry in place |
| Mold area under ~10 sq ft | DIY cleanup may be appropriate per EPA guidance |
| Mold area over ~10 sq ft | Consult a remediation professional |
| Sewage or contaminated water | Professional remediation required regardless of size |
Action timeline after the flood:
- 0–6 hours: Safety check, stop water source, begin extraction.
- 6–24 hours: Complete extraction, deploy dehumidifiers and air movers, photograph everything for insurance.
- 24–48 hours: Assess what can be dried vs. what must be removed. If still wet at 48 hours, shift to removal mode.
- Over 48 hours: Assume contamination. Remove porous materials, call a certified remediator if the affected area exceeds 10 square feet or if sewage was involved.
Can you safely do mold cleanup yourself after a sump pump failure?
The honest answer: sometimes, but the conditions that make DIY safe are narrower than most homeowners assume.
DIY is reasonable when the event involved clean water only, the affected area is under roughly 10 square feet per EPA guidance, the HVAC system was not exposed, and everyone in the household is healthy. Even then, proper PPE (N95 respirator, goggles, rubber gloves) is not optional. For a deeper look at the decision, this professional vs. DIY breakdown covers the specific triggers that push a job into professional territory.
Call certified professionals when any of these apply:
- Sewage or gray water was involved.
- Mold covers more than 10 square feet.
- The HVAC system may have been exposed to floodwater or mold.
- Mold is suspected inside wall cavities or structural framing.
- Anyone in the household has asthma, COPD, allergies, or a weakened immune system.
- You have health symptoms (respiratory irritation, skin or eye irritation) when you enter the space.
A certified remediation team brings tools and protocols that go well beyond what a homeowner can replicate. They set up containment barriers with negative air pressure using HEPA air scrubbers to prevent spores from spreading to the rest of the house. They use moisture mapping equipment to find hidden saturation, perform controlled demolition of contaminated materials, and conduct a clearance inspection before declaring the job complete. The containment protocols alone make a significant difference in preventing cross-contamination during the job.
Certifications to look for when hiring a remediator:
- IICRC (Institute of Inspection, Cleaning and Restoration Certification)
- NEHA (National Environmental Health Association)
- AIHA (American Industrial Hygiene Association)
- ACAC (American Council for Accredited Certification)
Contractor vetting checklist:
- Verify they carry liability insurance and workers’ compensation.
- Ask specifically how they set up containment and what clearance criteria they use.
- Confirm they have experience with the water category involved (clean, gray, or black water).
- Use a water restoration company checklist to compare bids and avoid common hiring mistakes.
One note on post-remediation testing: routine air sampling is not recommended by EPA or CDC as a standard verification step. Results are difficult to interpret and can create unnecessary expense. A thorough visual inspection and the absence of musty odors are the standard verification methods used by professionals and federal guidance alike.
How do you prevent mold from coming back after a sump pump failure?
Cleaning up mold without fixing the moisture source is a temporary fix. The mold returns. Every time.
The priority after any sump failure is repairing or replacing the pump itself, then addressing whatever allowed the failure to happen. A post-mold treatment prevention plan should address both the equipment and the drainage conditions around the home.
Priority fixes after a sump failure:
- Replace or repair the failed pump. Most residential sump pumps have a service life of 7–10 years; follow the manufacturer’s guidance on replacement intervals.
- Install a battery backup sump pump. A battery backup activates automatically when the primary pump loses power, which is the most common failure scenario during storms. It requires no manual intervention.
- Add a sump alarm. A high-water alarm alerts you before the pit overflows, giving you time to respond before flooding begins.
- Extend downspouts at least 6 feet from the foundation. Short downspouts dump roof runoff directly against the foundation wall. Proper gutter and downspout management keeps that water moving away from the house.
- Check exterior grading. The ground should slope away from the foundation at roughly 1 inch per foot for the first 6 feet. Flat or inward-sloping grade directs surface water toward the basement.
Maintenance schedule:
- Monthly: Visual check of the sump pit, confirm the float moves freely, listen for unusual pump sounds.
- Annually: Professional service inspection, clean debris from the pit, test the backup system, inspect the discharge line for blockages or freezing risk.
- Every 7–10 years (or per manufacturer guidance): Replace the primary pump proactively rather than waiting for failure.
Pro Tip: A battery backup pump is a better first investment than a portable generator for sump protection. A generator requires someone to be home, start it manually, and connect it. A battery backup turns on by itself the moment the primary pump stops, which is exactly when you need it most.
For homes with chronic water intrusion, a dual-pump system (primary plus battery backup in the same pit) or exterior waterproofing with a French drain system addresses the problem at the source rather than just managing the symptoms.
How do you document damage and work with your insurer after a flood?
Photograph and video everything before you move or discard a single item. That documentation is your insurance claim. Drying and removing water-damaged items is the most important step for preventing mold, but doing it before documenting can cost you coverage.
Call your insurer immediately after ensuring safety. Report the loss, ask whether your policy covers sump pump failure (many standard homeowner policies exclude it without a separate water backup rider), and follow their instructions before authorizing any major work. Keep receipts for every emergency purchase: dehumidifiers, fans, wet vacs, PPE, and hotel stays if the home is uninhabitable.
Documentation checklist:
- Wide-angle photos of every affected room before cleanup.
- Close-up photos of water lines on walls, damaged materials, and visible mold.
- Video walkthrough of the entire basement.
- Written inventory of damaged items with estimated replacement value.
- Separate wet items from dry ones and keep damaged materials until the adjuster has seen them.
- Collect contractor estimates in writing.
| Documentation item | Why it matters | Retention recommendation |
|---|---|---|
| Photos and video before cleanup | Establishes extent of damage for adjuster | Keep permanently; back up to cloud |
| Damaged item inventory | Supports personal property claim | Keep until claim is fully settled |
| Emergency purchase receipts | Reimbursable under many policies | Keep until claim is fully settled |
| Contractor estimates and invoices | Required for repair reimbursement | Keep for at least 3 years |
| Insurance correspondence | Documents insurer instructions and approvals | Keep permanently |
On costs: water damage restoration pricing varies considerably based on water category (clean water costs less to remediate than sewage), square footage affected, and whether structural demolition is required. Get at least two written estimates before authorizing major work, and confirm the contractor bills insurance directly if your policy covers the loss.
Key Takeaways
Mold remediation after sump failure requires immediate safety action, water extraction within hours, and drying or removal of porous materials within 48 hours to prevent mold from taking hold.
| Point | Details |
|---|---|
| 48-hour mold window | Mold can begin growing on wet surfaces in as little as 24 to 48 hours after water exposure; dry or remove wet porous materials before that deadline. |
| DIY vs. pro threshold | DIY is reasonable under ~10 sq ft of clean water with no HVAC exposure; sewage or larger events require certified professionals. |
| Document before you clean | Photograph and video all damage before moving anything; call your insurer before authorizing major work. |
| Fix the moisture source | Cleaning mold without repairing the sump pump and drainage will cause recurrence every time. |
| Thecleangenius | Provides 24/7 emergency water extraction, structural drying, and certified mold remediation across Chicagoland. |
What technicians actually see after sump failures
The most common reason mold remediation fails is not bad technique. It is an unfinished moisture repair. A crew can remove every visible colony and dry every surface to spec, but if the sump pump is still undersized, the discharge line still drains toward the foundation, or the battery backup was never installed, the next heavy rain restarts the cycle. The cleanup was real. The fix was not.
From an on-the-ground perspective, the inspection cues that reveal hidden contamination are consistent: a musty odor that lingers behind baseboards even after the visible surface looks dry, drywall that feels soft or sounds hollow when tapped, and a hygrometer reading that stays above 55% relative humidity days after active drying. Any one of those is a reason to open the wall rather than assume the problem is solved.
What homeowners often underestimate is how far water travels inside a wall cavity. A half-inch of standing water on a concrete floor can wick 12–18 inches up a drywall panel through capillary action. The surface looks fine. The paper backing is saturated. That is where the mold colony establishes itself, invisible until the odor becomes unmistakable weeks later.
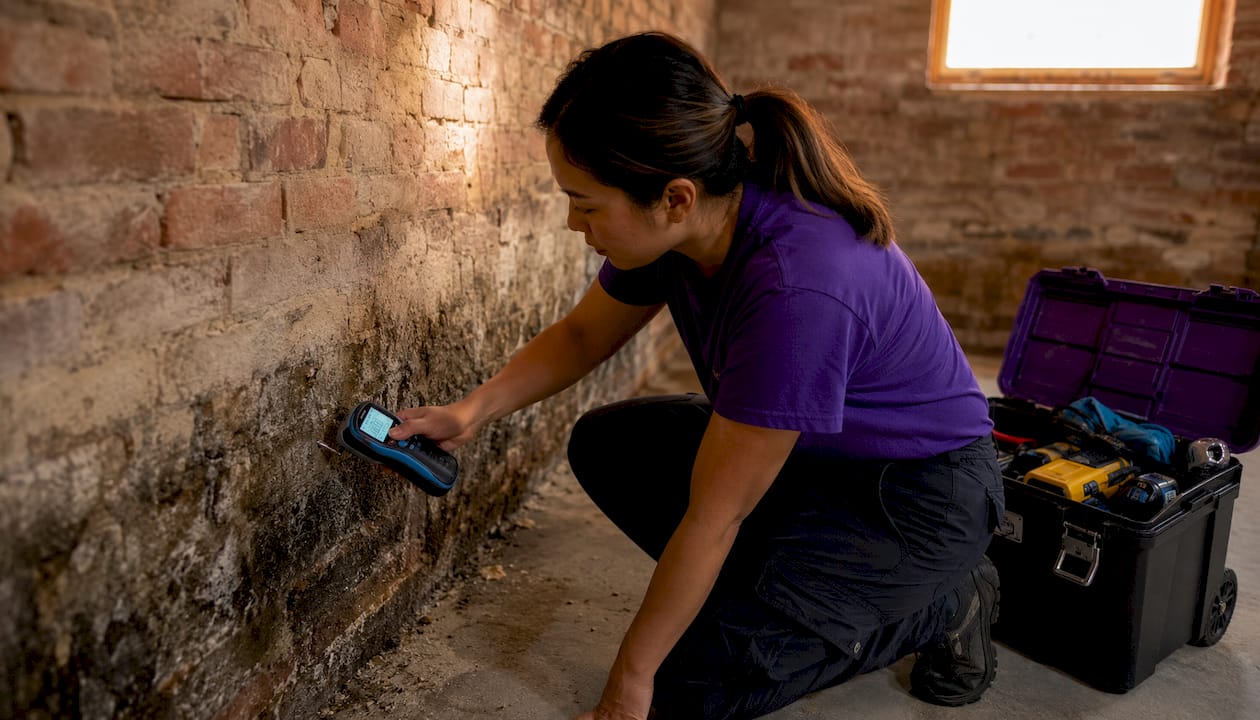
An on-site assessment from a certified technician includes moisture mapping with a pin or pinless meter, thermal imaging in some cases, and a systematic check of every wall section that was in contact with floodwater. That assessment takes 30–45 minutes and tells you exactly where the problem is, rather than where it looks like it might be.
[Jim’s professional credentials and certifications to be inserted here. First-hand case studies or customer testimonials from Jim to be inserted here.]
Thecleangenius is ready when your sump pump fails
When a sump pump failure floods your basement, the clock starts immediately. Thecleangenius provides 24/7 emergency water extraction and certified mold remediation across the greater Chicagoland area, including Arlington Heights, Naperville, Schaumburg, Elgin, and dozens of surrounding communities.

The team handles the full scope: emergency water removal, containment setup, structural drying with professional-grade equipment, mold remediation using Pure Cloud dry-fog technology, and direct insurance billing so you are not managing paperwork while managing a crisis. With more than 400 five-star reviews and over 25 years of combined experience, Thecleangenius has handled every water category from clean sump overflow to raw sewage backups.
For homeowners who need certified mold removal and remediation in Chicagoland, Thecleangenius is available around the clock. Call now for an on-site emergency assessment or request a free estimate online.
Useful sources and further reading
Official guidance and resources referenced in this article:
- CDC: Mold Health Information — CDC’s central hub on mold health effects, cleanup basics, and when to seek medical attention.
- EPA: A Brief Guide to Mold, Moisture, and Your Home — Covers the 24–48-hour growth window, the 10 sq ft DIY threshold, HVAC contamination risks, and sewage event guidance.
- CDC/EPA: Homeowner’s and Renter’s Guide to Mold Cleanup After Disasters — Joint federal guidance (CDC, EPA, FEMA, HUD, NIH) on PPE requirements, step-by-step cleanup, and when to hire professionals.
- CDC: Mold Cleanup Guidelines and Recommendations — Specific guidance on health-vulnerable occupants and when to vacate during cleanup.
- CDC/NIOSH: Mold Testing and Remediation — NIOSH guidance on drying timelines, porous material removal, and why biocides alone are insufficient.
- EPA: Mold Remediation in Schools and Commercial Buildings, Chapter 4 — Detailed response strategies by material type and water damage severity; the professional standard for drying timelines.
- Smithsonian Museum Conservation Institute: Salvage Guidance — Specific handling steps for books, papers, photographs, and textiles after flooding.
- Thecleangenius: Mold Removal After a Basement Flood — Step-by-step homeowner guide specific to post-flood mold removal in Chicagoland homes.
- Thecleangenius: What Is Mold Remediation? — Explains the difference between mold cleaning and certified remediation, and what the process involves.