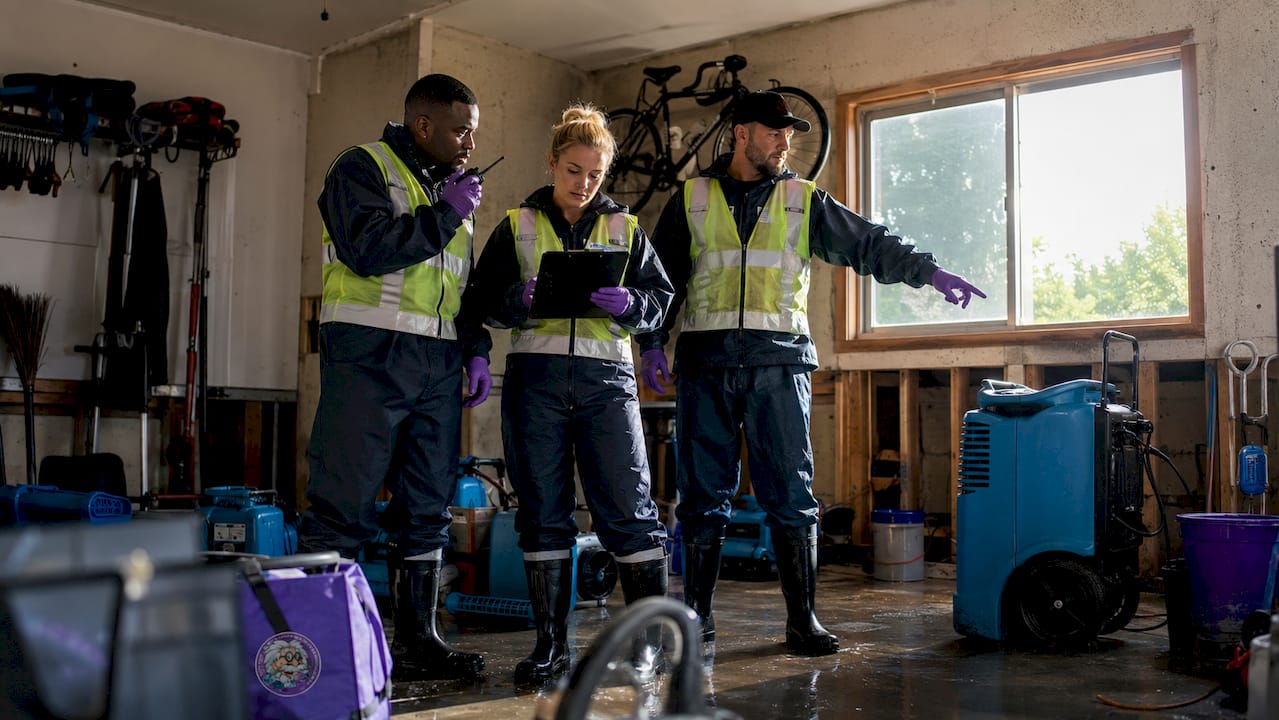

Emergency flood response is the coordinated set of procedures taken immediately after a flood to contain damage, protect safety, and begin restoration. Every hour without action worsens the outcome. Microbial growth begins within 24 to 48 hours of water intrusion, and structural materials start swelling and warping well before that. The industry standard for what does emergency flood response involve follows the ANSI/IICRC S500 framework, which defines water damage categories, drying targets, and safety protocols. Understanding each phase helps you make faster, smarter decisions when floodwater hits your home.
What does emergency flood response involve at the start?
Emergency flood response is defined as the immediate, structured sequence of safety checks, water removal, drying, and documentation that limits property damage after a flood. Professional restoration crews target arrival within 2 to 4 hours of notification because that window is when containment is still possible. The primary goal in the first 24 hours is containment and control, not repair. Delays widen the damage scope, raise costs, and create disputes with insurance carriers about what caused what.
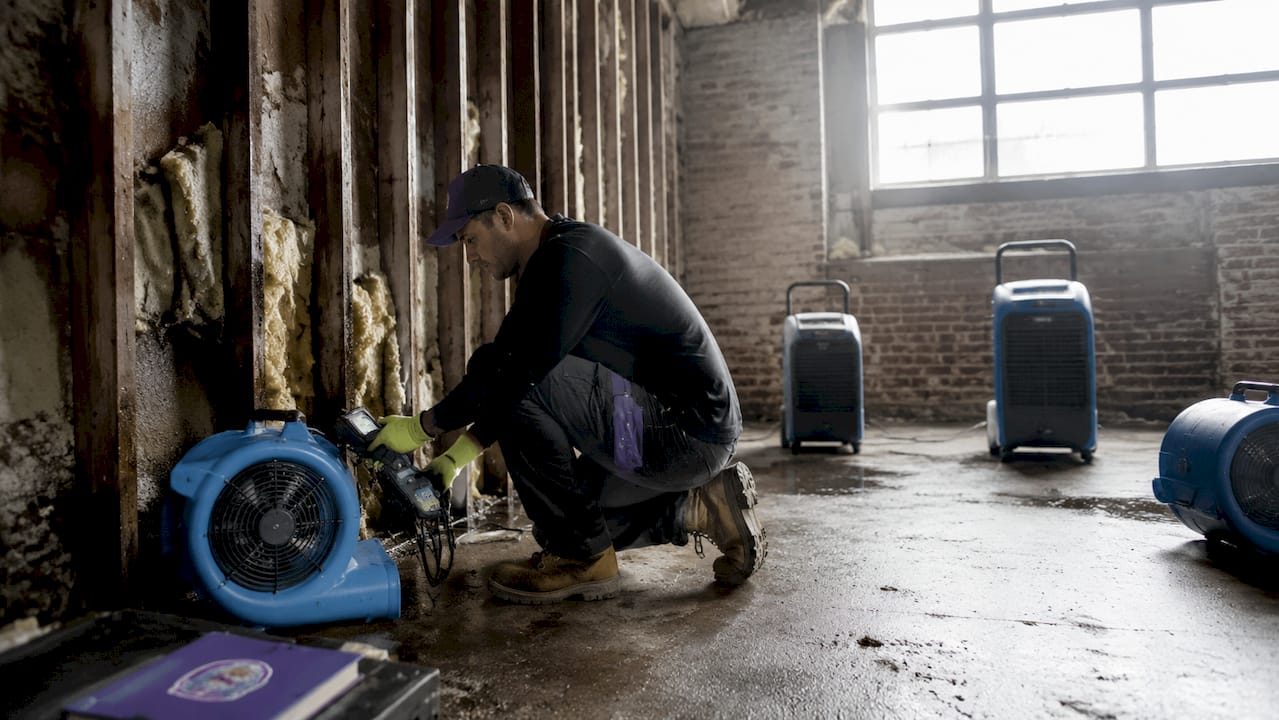
The ANSI/IICRC S500 standard is the recognized industry framework for water damage restoration. It classifies water intrusion by category and class, sets moisture content targets, and defines acceptable drying timelines. Knowing this standard exists matters to you as a homeowner because it gives you a benchmark to hold any restoration crew accountable to.
What are the initial flood emergency procedures for safety and damage assessment?
Safety comes before any cleanup. The first step in flood emergency procedures is a full safety sweep of the affected area before anyone touches standing water.
- Shut off electricity and gas at the main panel and meter before entering flooded rooms. Water and live circuits are a fatal combination.
- Check structural integrity. Sagging ceilings, bowed walls, and cracked foundations signal collapse risk. Do not enter rooms with visible structural compromise.
- Identify hazards. Floodwater often carries sewage, chemicals, and debris. Treat all standing water as contaminated until tested.
- Classify the water. Categories of flood water run from Category 1 (clean supply line break) to Category 2 (gray water with contaminants) to Category 3 (black water from sewage or outdoor flooding). Category 3 requires full personal protective equipment (PPE) and specialized disposal protocols.
- Document before touching anything. Photograph and video every affected room before moving a single item.
Pro Tip: Shoot your initial walkthrough video with a dated notepad visible in frame. This creates a timestamped damage record that insurers cannot dispute.
The water category classification shapes every decision that follows, from what PPE responders wear to which materials can be salvaged. A basement flooded by a backed-up sewer is a Category 3 event. Treating it like a Category 1 clean-water leak puts your family’s health at risk.
How is water intrusion stopped and extraction started during flood response?
Stopping the water source is the single most important step before extraction begins. Pulling water out of a room while the source is still active is like bailing a sinking boat without plugging the hole.
- Confirm the source is stopped. Turn off the main water supply valve. For municipal flooding, contact your utility provider.
- Verify zero flow. Defective valves can cause continued seepage that homeowners miss entirely. Watch your water meter for 15 minutes. If the dial moves, water is still flowing somewhere.
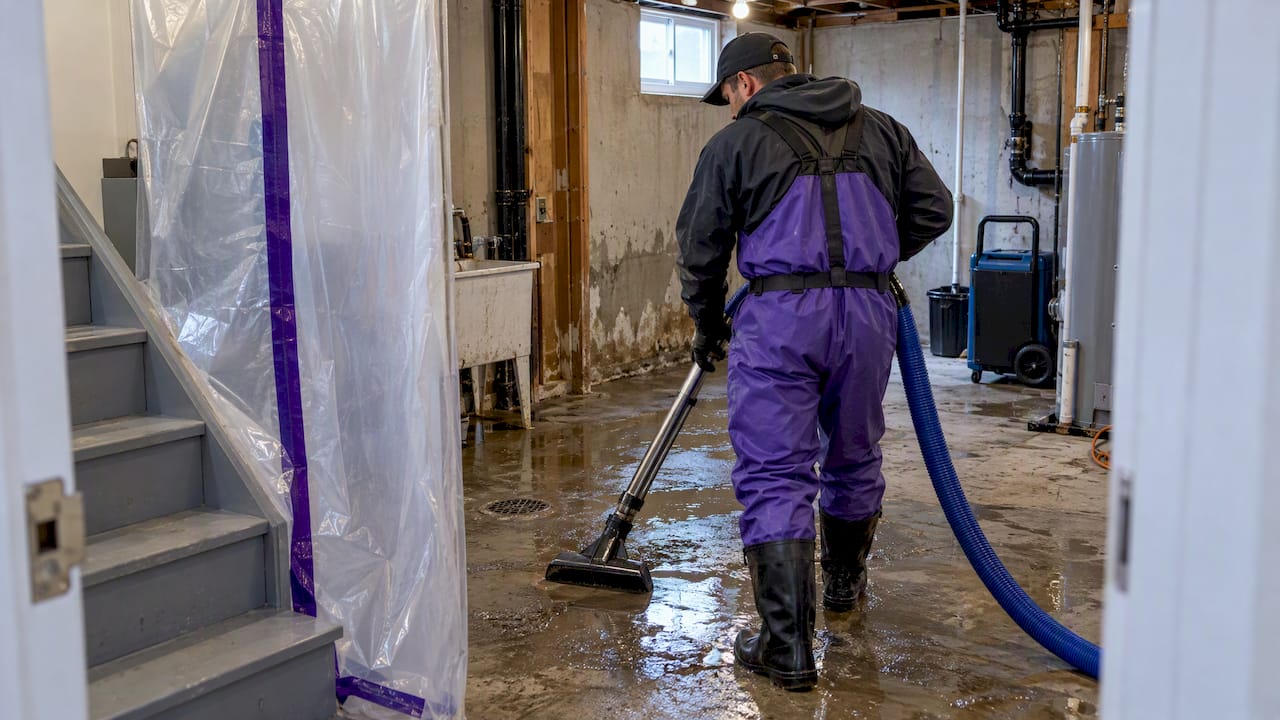
- Deploy extraction equipment. Truck-mounted pumps remove large volumes fast. Portable wet vacuums handle residual water in tight spaces. Submersible pumps work for deep basement flooding.
- Remove debris and unsalvageable materials. Saturated drywall, carpet padding, and insulation hold moisture and feed mold. Remove them before drying equipment goes in.
- Dispose of contaminated materials properly. Category 3 materials require bagging and disposal per local health codes, not standard trash pickup.
Pro Tip: Proper water extraction reduces total drying time by roughly 50% compared to skipping extraction and relying on air movers alone. Do not skip this step to save time.
The verification step at the meter is one that most homeowners overlook. A slow seep behind a wall can invalidate an entire moisture map and cause scope creep during restoration. Confirming zero flow before mapping moisture levels protects both the accuracy of the restoration plan and your insurance claim.
What does structural drying involve and why is it important in flood response?
Structural drying is the phase where professional-grade equipment removes moisture from building materials until they reach safe levels. Surface dryness is not the goal. The goal is confirmed internal dryness.
| Drying element | Standard or target |
|---|---|
| Air movers | Positioned to create circular airflow across wet surfaces |
| Commercial dehumidifiers | Extract moisture pulled from materials by air movers |
| Drying timeline | 3 to 5 days of continuous operation for most residential structures |
| Wood framing moisture target | Below 15% moisture content |
| Monitoring method | Calibrated moisture meters checked daily |
The 3 to 5 day timeline assumes continuous equipment operation and proper setup. Turning equipment off at night or removing it early extends the timeline and risks incomplete drying. Incomplete drying leads directly to mold growth, material warping, and structural rot.
Wet structural materials that feel dry on the surface often retain dangerous moisture levels internally. A moisture meter inserted into wall framing or subfloor gives the only reliable reading. Restoration crews following ANSI/IICRC S500 log daily moisture readings to track drying progress and confirm when materials reach target levels.
Pro Tip: Ask your restoration crew to share daily moisture logs. If they cannot produce them, the drying process is not being properly validated. This documentation also supports your insurance claim.
How do homeowners document flood damage and interact with insurance?
Documentation is the foundation of a successful insurance claim. The sequence matters as much as the content.
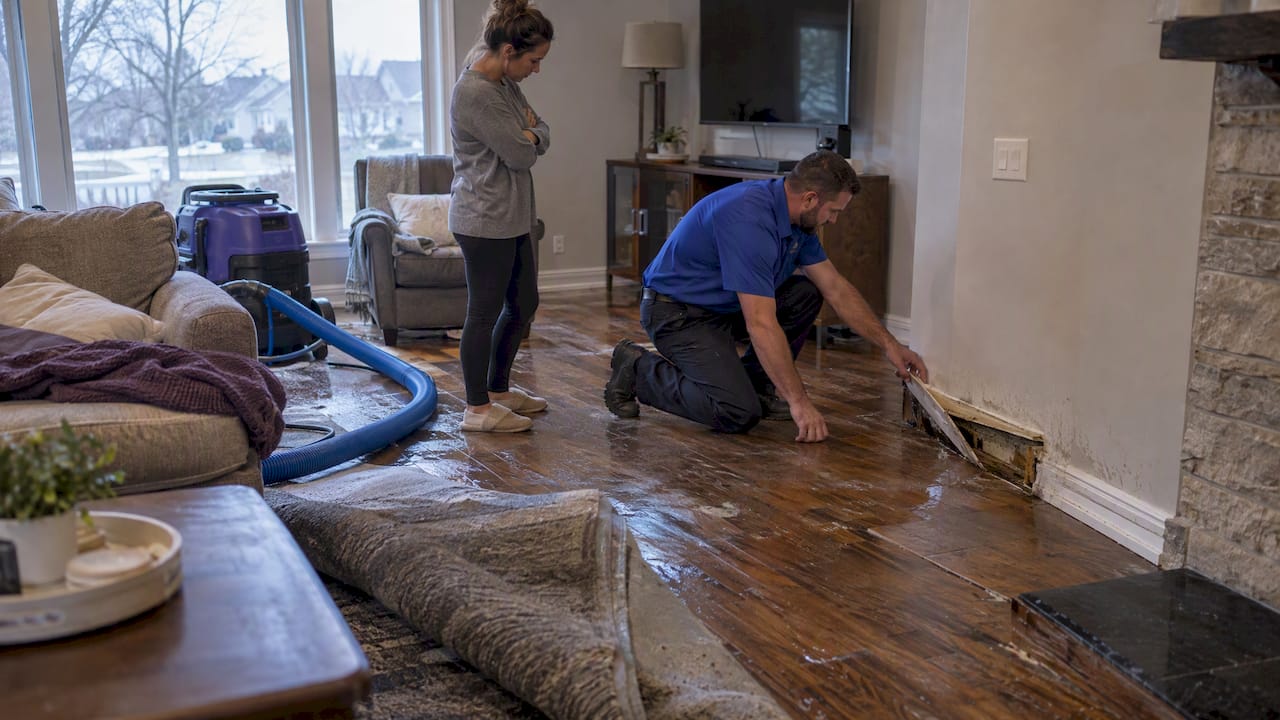
- Photograph and video everything before cleanup begins. Walk every affected room at three levels: floor, mid-wall, and ceiling. Capture water lines, damaged materials, and affected belongings.
- Use a dated notepad in video frames. Video documentation covering multiple perspectives with a visible date creates an indisputable damage timeline.
- Create a moisture map. A professional moisture map records readings at every affected surface. This becomes part of your insurance claim documentation package.
- Contact your insurer after documentation is complete. Calling before you have evidence puts you at a disadvantage. Insurers may send an adjuster before you have captured the full scope.
- Understand the FEMA process if applicable. FEMA housing inspections typically take about 45 minutes, with a 7 to 10 day wait for status updates after the inspection visit.
The water damage insurance checklist approach works best when you treat documentation as a legal record, not a formality. Timestamped photos, signed authorizations, and a complete moisture map together form the package that prevents claim disputes.
What are common challenges in flood response strategies?
The most expensive mistake in flood disaster management is waiting. Every hour of delay between flood onset and professional response increases the likelihood of secondary damage like mold, rot, and structural failure. Homeowners who wait 48 hours before calling a restoration crew often face repair costs that dwarf what fast response would have cost.
Delays during the first 24 hours do not just worsen physical damage. They create insurance disputes about damage origin. When a claim is filed days after a flood, insurers may argue that some damage resulted from neglect rather than the flood event itself. Thorough, timestamped documentation taken immediately after the event is the only defense against that argument.
Misidentifying the water category is another common error. A basement that flooded during a storm may look like a simple water intrusion. If the municipal sewer backed up during that storm, the water is Category 3 and requires full hazmat-level handling. Treating it as clean water exposes your family to pathogens and voids certain insurance protections.
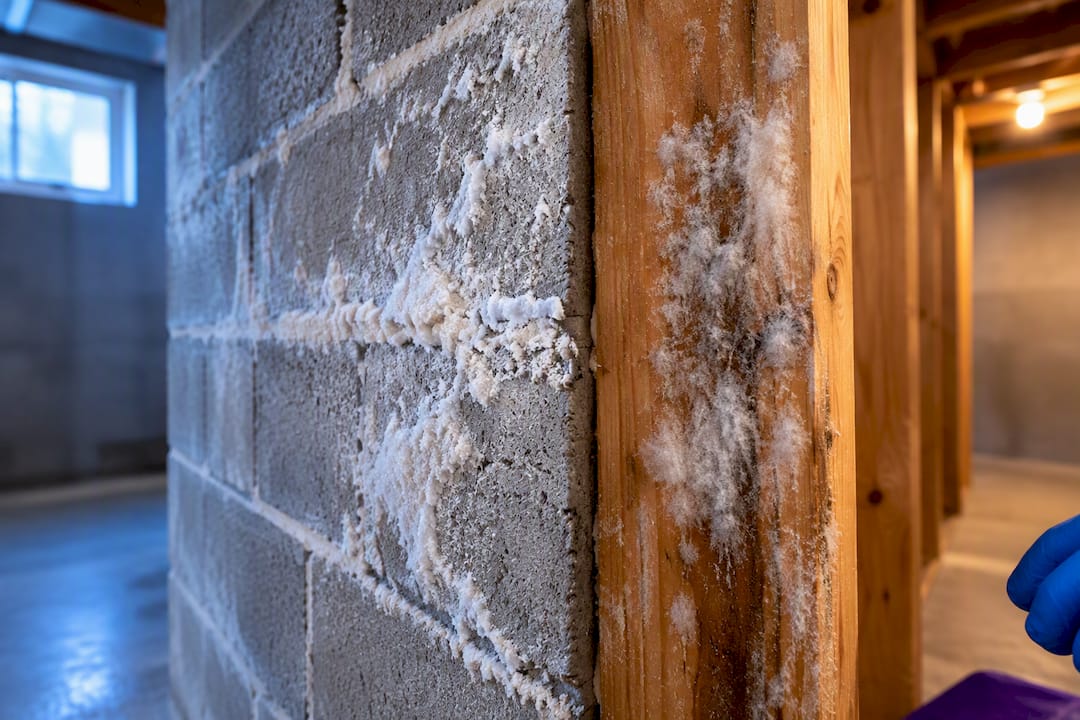
Subsurface moisture is the hidden threat that catches homeowners off guard. Concrete slabs, wall cavities, and subfloor assemblies trap moisture long after surfaces feel dry. Without professional moisture meters, you cannot confirm true dryness. Calling the job done based on touch alone is how mold colonies get a head start behind your walls.
What I’ve learned after 25 years of flood response in Chicagoland
The homeowners who come out of a flood event in the best shape share one trait: they called for help fast and documented everything before touching anything. The ones who struggle waited, cleaned up on their own, and then called their insurer with no evidence of the original damage scope.
The biggest misconception I see is that a flood looks manageable on the surface, so homeowners assume they can handle it. Floodwater recedes. The visible mess gets cleaned up. But the moisture inside your walls, under your floors, and in your framing does not go anywhere without professional drying equipment. That hidden moisture is where the real damage lives.
I have also seen homeowners skip the water source verification step because the flooding seemed to stop on its own. A slow seep behind a valve can keep feeding moisture into your structure for days. The water meter check costs you 15 minutes. Skipping it can cost you weeks of additional drying and a mold problem you did not see coming.
Documentation is not paperwork. It is your financial protection. A complete photo and video record, taken before any cleanup, is the difference between a smooth insurance claim and a months-long dispute. If you do nothing else right, do that first.
Prepare before the next event. Knowing your main shutoff valve location, having a basic PPE kit, and understanding the steps in flood response puts you ahead of 90% of homeowners when water starts rising.
— Jim
Key Takeaways
Emergency flood response requires immediate action, proper documentation, and professional drying to prevent mold, structural damage, and insurance disputes.
| Point | Details |
|---|---|
| Act within 2 to 4 hours | Microbial growth begins within 24 to 48 hours, making fast response critical. |
| Classify water category | Categories 1, 2, and 3 determine safety protocols and cleanup requirements. |
| Verify source stoppage | Confirm zero flow at the water meter before beginning extraction. |
| Document before cleanup | Timestamped photos and video taken before any cleanup protect your insurance claim. |
| Dry to below 15% moisture | Professional drying equipment must run 3 to 5 days to reach safe moisture levels in wood framing. |
Thecleangenius is ready when flood damage hits your home
Flood damage does not wait for business hours, and neither does Thecleangenius. Serving Chicagoland communities including Naperville, Schaumburg, Arlington Heights, and Wheaton, the Thecleangenius team deploys 24/7 with professional-grade pumps, air movers, and dehumidifiers to begin containment fast.

Thecleangenius crews follow ANSI/IICRC S500 standards on every job, document moisture levels daily, and work directly with your insurance carrier to support your claim from start to finish. With over 25 years of combined experience and more than 400 five-star reviews, the team brings the expertise your home needs when it matters most. Contact Thecleangenius for 24/7 water damage restoration and get a certified crew to your door fast.
FAQ
What does emergency flood response involve?
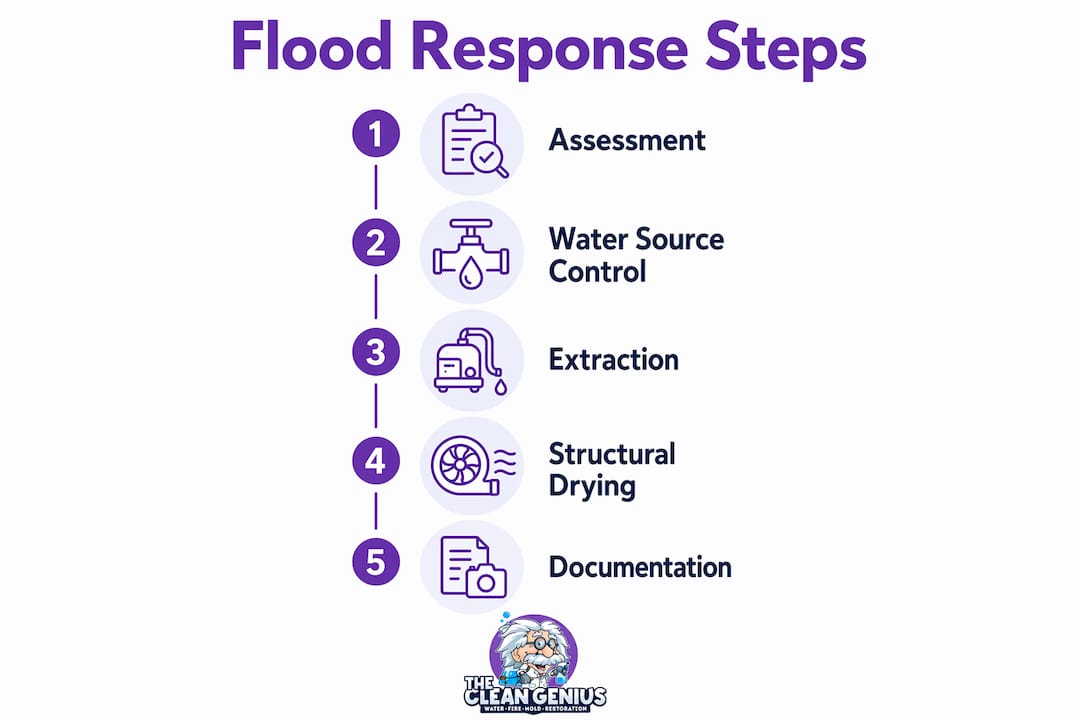
Emergency flood response involves safety assessment, water source control, extraction, structural drying, and insurance documentation. The process follows the ANSI/IICRC S500 standard and must begin within 2 to 4 hours to prevent mold and structural damage.
How long does structural drying take after a flood?
Structural drying typically takes 3 to 5 days of continuous professional equipment operation to bring wood framing below the 15% moisture content target. Turning equipment off early or removing it prematurely extends the timeline and risks mold growth.
Should I call my insurance company before documenting flood damage?
Document all damage with photos and video before contacting your insurer. Calling first without evidence can limit your claim scope if the adjuster arrives before you have captured the full extent of the damage.
What are the three categories of flood water?
Category 1 is clean water from a supply line. Category 2 is gray water containing contaminants. Category 3 is black water from sewage or outdoor flooding and requires full PPE and specialized disposal protocols.
How do I know if my home is truly dry after a flood?
Surface dryness is not a reliable indicator. A calibrated moisture meter inserted into wall framing or subfloor assemblies is the only way to confirm internal dryness. Professional restoration crews log daily moisture readings to verify that materials reach safe levels.