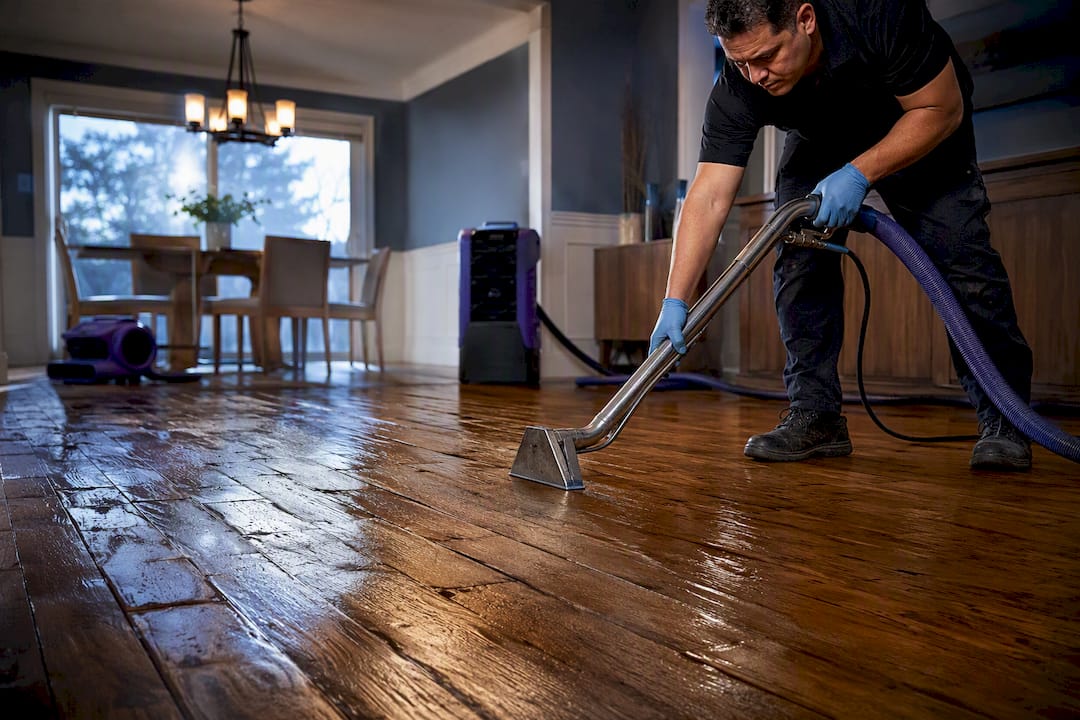

Most hardwood floors soaked by clean water can be saved if you act quickly, typically within the first couple of days. Shut off the water source immediately, then pull every drop of standing water off the wood before it soaks in further. Buckling, contaminated water, or delays beyond a day or two push the odds toward partial or full replacement. If more than a small area is affected, or you see boards lifting, call a restoration professional now rather than waiting to see what happens.
TL;DR:
- Drying should start immediately with water extraction and controlled ventilation, avoiding heat sources that trap moisture and cause further damage.
- Buckling indicates irreversible damage requiring replacement, while cupping can often resolve with gradual drying over weeks.
- Professional restoration uses targeted moisture monitoring and specialized equipment, reducing the risk of mold and structural issues.
- Repair is viable for solid hardwood floors with minimal cupping and clean water exposure within 48 hours; replacement is necessary for buckling, delamination, or contaminated water.
- Preventative measures include maintaining proper humidity, installing leak detectors, and regularly inspecting appliances and drainage systems.
Table of Contents
- First Steps After Hardwood Floor Water Damage
- Cupping, Crowning, or Buckling: What Are You Looking At?
- What Does Professional Hardwood Drying Actually Involve?
- Should You Repair, Refinish, or Replace the Floor?
- How Do You Prevent Hardwood Water Damage Before It Starts?
- When Controlled Drying Beats a DIY Fan-and-Prayer Approach
- Get Professional Help With Water Damaged Hardwood Floors
- Sources
First Steps After Hardwood Floor Water Damage
What you do in the first hour matters more than anything you’ll do in the following week. Wood is porous, so every extra minute of contact gives moisture more time to migrate into the boards and the subfloor beneath them.
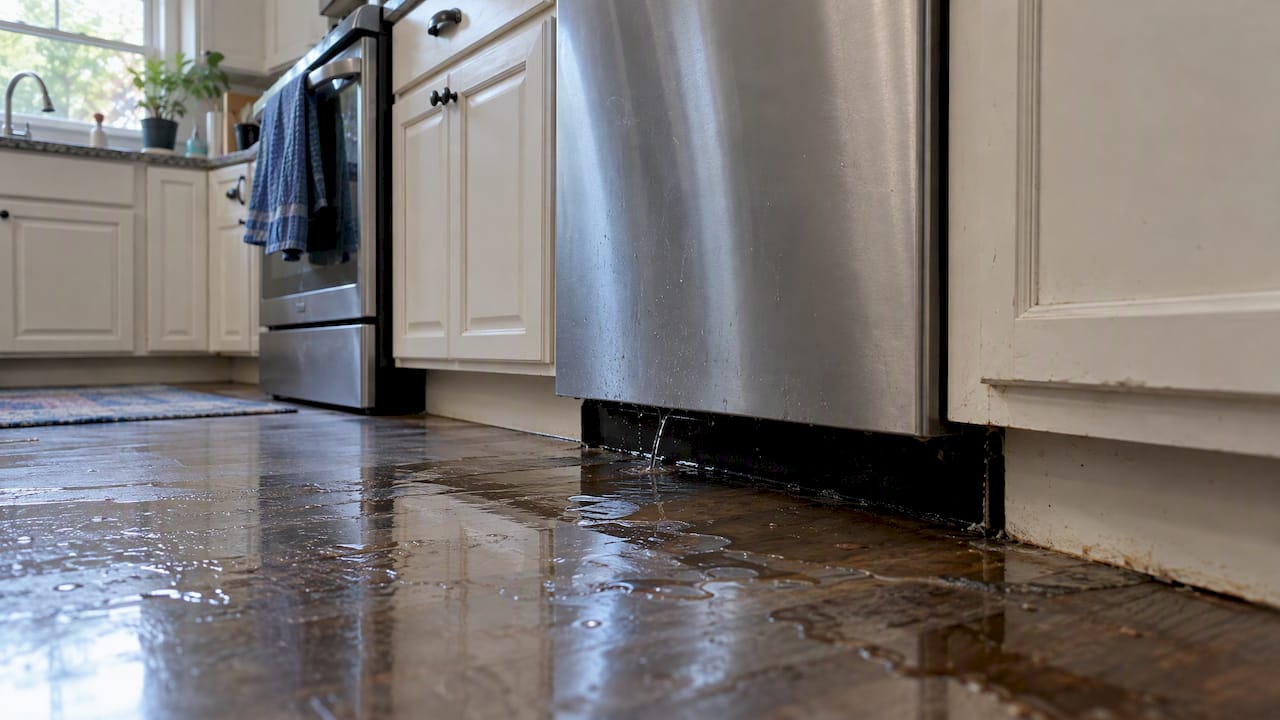
- Stop the source. Shut off the water supply line, and cut power to the affected area if there’s any chance water reached outlets or fixtures.
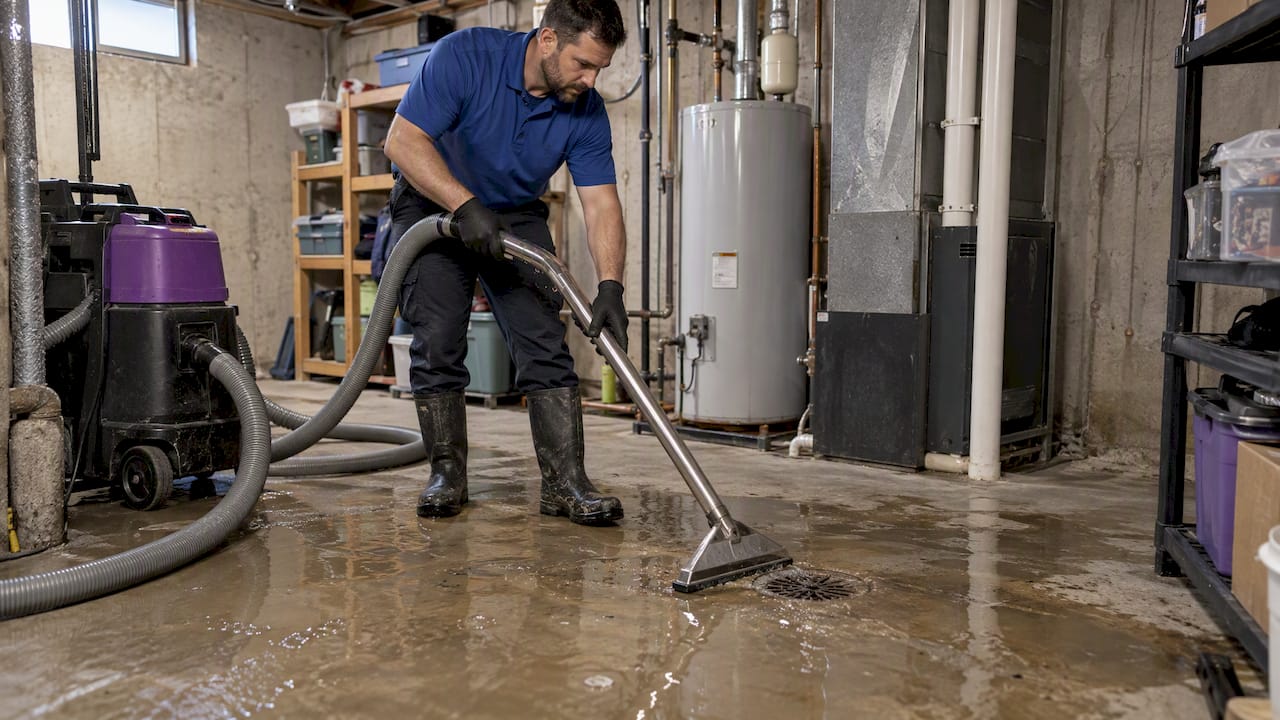
- Remove standing water fast. A wet/dry shop vacuum works for small pools; a commercial extractor is faster for anything larger.
- Clear the room. Move rugs, lift furniture legs onto blocks or foil, and get anything with wood or fabric contact off the floor.
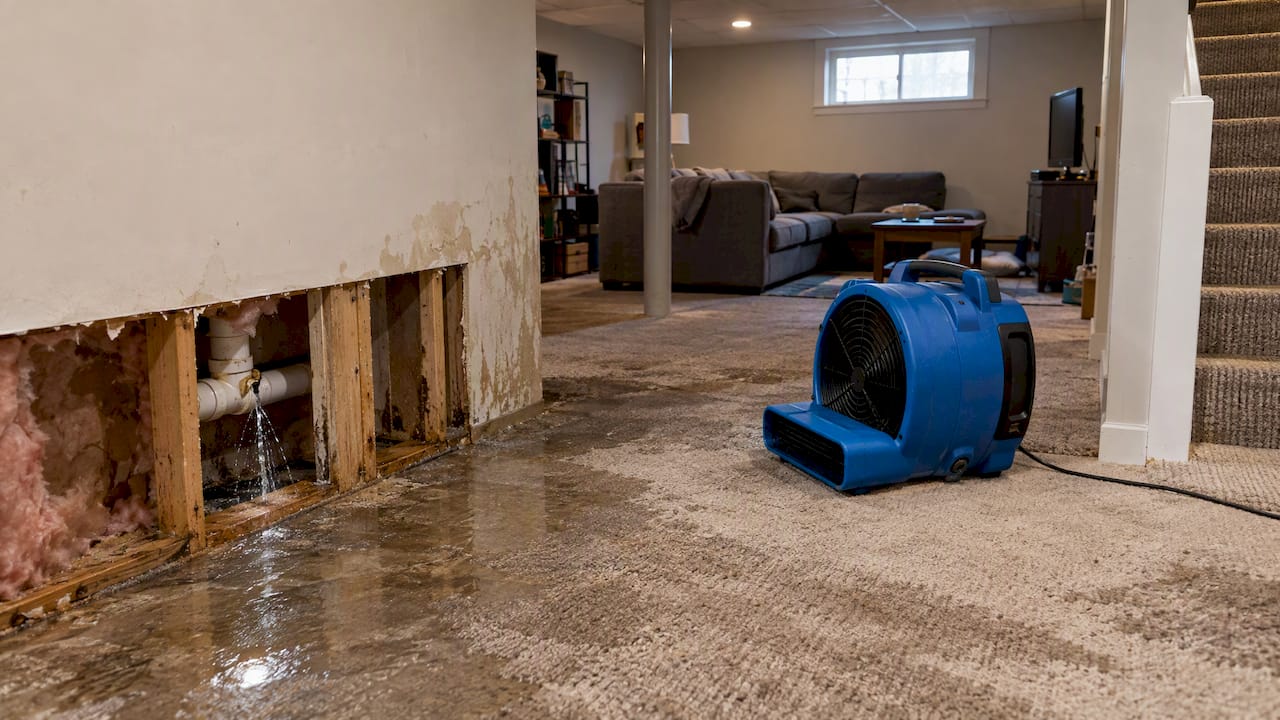
- Ventilate without cranking the heat. Open windows and run fans, but skip space heaters. Aggressive local heat dries the surface fast while trapping moisture underneath, setting up the exact warping problems you’re trying to avoid.
- Document everything. Time-stamped photos, a written log of when the water started and stopped, and notes on affected square footage all strengthen an insurance claim later.
Pro Tip: Photograph the floor from a low angle with raking light across the boards. Cupping and early lifting show up far more clearly that way than in a straight overhead shot.
Call a professional when standing water covers more than roughly 20 square feet, when more than 24 hours have passed, when the water source was a sewage backup or other contaminated source, or when you can already see boards buckling. A step-by-step emergency checklist can help you move through these first hours without missing something that matters for the claim.
Cupping, Crowning, or Buckling: What Are You Looking At?
The shape the wood takes tells you almost everything about how far the damage has progressed. Learning the difference now saves you from either panicking over something fixable or waiting too long on something that isn’t.
- Cupping: the edges of each board sit higher than the center, giving the floor a slightly concave, washboard feel underfoot. This is usually the earliest stage and often resolves with controlled drying over several weeks.
- Crowning: the center of the board rises above the edges, the opposite of cupping. It frequently happens when a floor was sanded or refinished while still wet underneath, so the surface looks flat again while trapped moisture pushes the middle up.
- Buckling: entire sections separate from the subfloor and lift visibly, sometimes by an inch or more. This is rarely reversible and typically means replacement for that section.
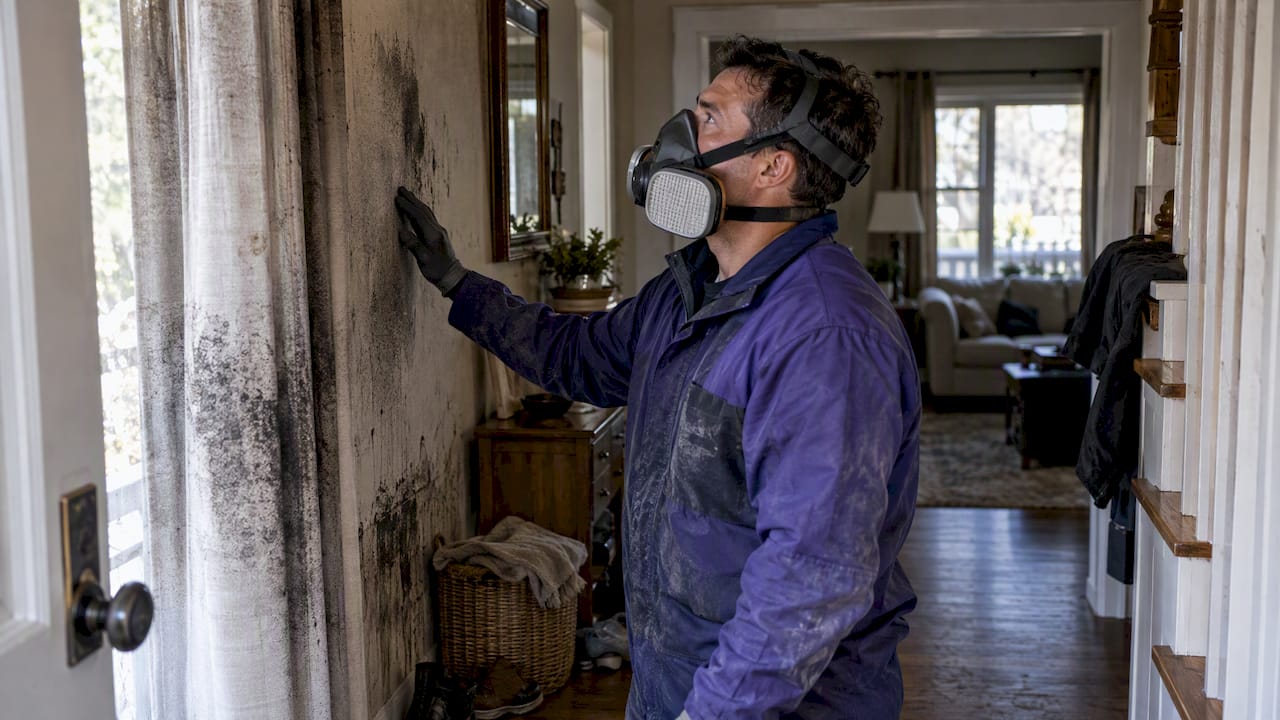
- Soft spots, dark staining, or a musty smell: these point past the flooring itself and into subfloor rot or early mold colonization.
The type of water matters as much as the shape of the boards. Contaminated (gray or black) water raises health risks and shortens your window considerably compared to a clean supply-line leak, since bacteria and mold take hold faster in water carrying organic material.
What Does Professional Hardwood Drying Actually Involve?
Restoration crews don’t just point fans at wet wood and wait. The process follows a sequence, and skipping steps is exactly how homeowners end up with the crowning and cracking they were trying to prevent.
Extraction comes first. Before any air movement starts, a commercial extractor or specialized floor-drying mats pull out the water still sitting on the surface and trapped just beneath it. Only after that does controlled drying begin: air movers circulate air across the floor while low-grain-refrigerant (LGR) or desiccant dehumidifiers pull moisture out of the room’s air itself, and floor-drying systems like Injectidry or rescue mats use gentle negative pressure to draw moisture up through the wood without overheating it.
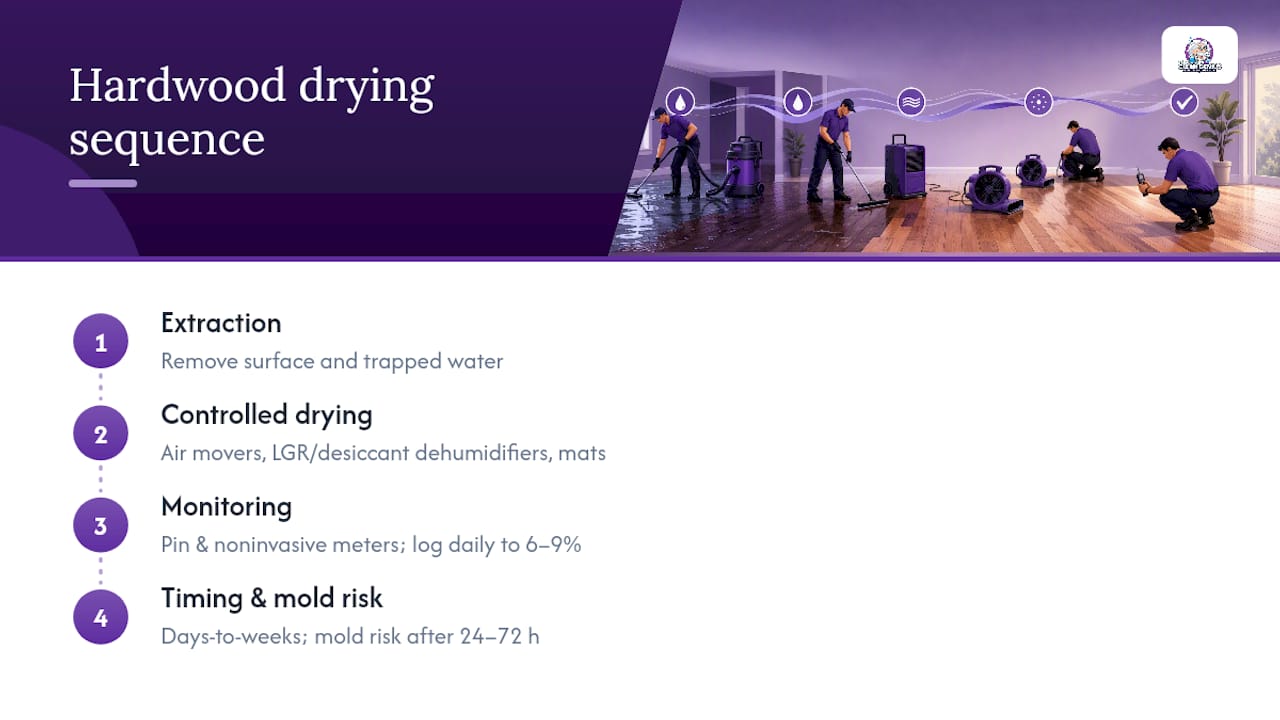
Monitoring is what separates guesswork from restoration. Technicians use pin and non-invasive moisture meters to log daily readings, tracking progress until the wood reaches a target moisture content typically around 6 to 9 percent, or matched to unaffected areas of the same floor elsewhere in the house. Daily logging supports both drying accuracy and insurance documentation, giving you a paper trail if the claim gets questioned.
Timelines vary widely by scope, from a few days for a small spill caught quickly to several weeks for large-scale flooding or subfloor involvement.
Mold risk climbs sharply once you cross the 24 to 72 hour mark with sustained moisture still present, which is the real reason speed matters more than perfection in those first hours. A homeowner’s guide to restoration equipment walks through what each tool actually does if you want to understand what a crew is billing for.
Should You Repair, Refinish, or Replace the Floor?
This is the decision most homeowners get wrong, usually by rushing toward replacement when refinishing would have worked, or by refinishing a floor that needed to come up.
Repair or refinish makes sense when:
- The floor is solid hardwood, not engineered or laminate.
- Only cupping is present, not buckling or delamination.
- The subfloor tested dry and structurally sound.
- The water was clean (Category 1) and exposure was under 48 hours.
- Enough wear layer remains for sanding, since each refinish removes a thin layer of wood.
Replacement becomes the better call when:
- Boards are visibly buckled or separated from the subfloor.
- The floor is engineered hardwood with delamination between layers, since engineered planks can separate at the seams in ways solid wood doesn’t.
- The water source was Category 2 or 3 (gray or black water).
- The subfloor shows rot, soft spots, or visible mold growth.
- Previous refinishing has already used up most of the wear layer.
Cost ranges vary a lot by scope, but spot or partial replacement is generally less expensive than full-room replacement, particularly on click-lock engineered floors where individual planks can be swapped without disturbing the whole room. Solid hardwood nailed to the subfloor is harder to spot-repair invisibly, which is one more reason a professional subfloor inspection before you commit to either path is worth the hour it takes.
Pro Tip: Don’t sand a cupped floor the week after it dries. Wood keeps releasing internal moisture for another few weeks even after surface readings look normal, and sanding too early is one of the most common expensive mistakes homeowners and even some contractors make.
How Do You Prevent Hardwood Water Damage Before It Starts?
Prevention costs a fraction of restoration, and most of it comes down to controlling humidity and catching small leaks before they become floor problems.
- Keep indoor relative humidity in a stable range, generally 30 to 50 percent, and run a dehumidifier in basements or during humid summer stretches.
- Install water-sensing shutoff devices near washing machines, water heaters, and under sinks so a slow leak triggers an alert instead of soaking a floor overnight.
- Add threshold mats or strips at exterior doors, near dishwashers, and by pet water bowls, the small daily-splash zones that cause slow, cumulative warping.
- Check appliance supply lines and connections annually. Braided steel lines fail less often than plain rubber hoses, and aging AC condensate lines are a surprisingly common source of slow indoor leaks that homeowners rarely think to inspect.
- Improve crawlspace or basement ventilation and check that roof drainage and grading move water away from the foundation instead of toward it, since roof leaks that go unnoticed for months often show up as ceiling stains long before anyone connects them to the floor below.
Pro Tip: A $30 water sensor under the water heater is cheaper than one weekend of standing water on a hardwood floor. Buy two.
When Controlled Drying Beats a DIY Fan-and-Prayer Approach
Homeowners who reach for box fans and a space heater are usually trying to do the right thing faster. The problem is that aggressive, uneven heat dries the surface of a board while moisture is still trapped underneath, and that mismatch is exactly what produces crowning, cracking, and boards that split along the grain weeks later.
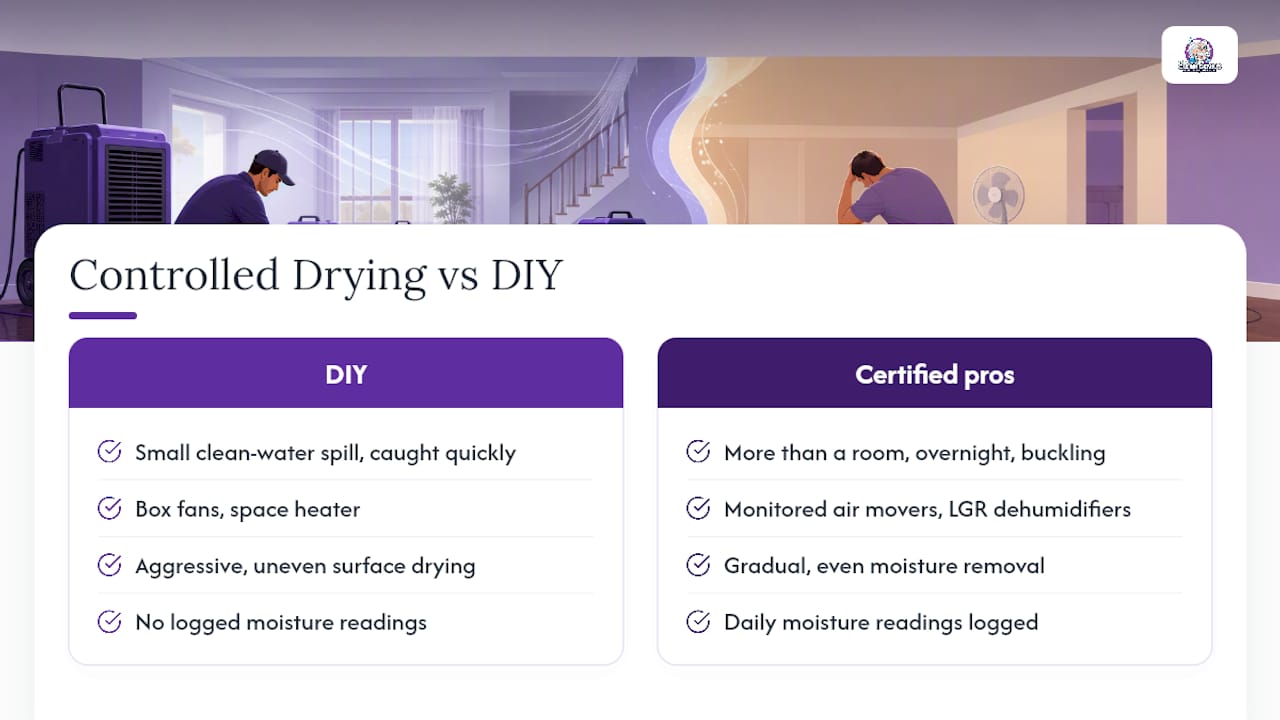
Certified restoration teams work differently. Controlled drying with monitored air movers and LGR dehumidifiers pulls moisture out gradually and evenly, with daily moisture readings logged to confirm the wood is actually drying rather than just feeling dry to the touch. That log also becomes documentation your insurance adjuster can review without arguing over what happened.
DIY handling is reasonable for a small clean-water spill caught within an hour or two. Once you’re looking at more than a room’s worth of standing water, any hint of buckling, or water that sat overnight, professional mitigation available around the clock stops being a luxury and starts being the thing that determines whether the floor survives at all.
— Jim
Get Professional Help With Water Damaged Hardwood Floors
If your floor has been sitting wet for more than a few hours, or you’re staring at cupped boards and don’t know whether to wait it out or start tearing things up, Thecleangenius handles the part homeowners can’t do alone: fast extraction, monitored controlled drying, and mold remediation if moisture has already gone that far.

Thecleangenius crews respond 24/7 across Chicagoland, and every job starts with an on-site assessment that identifies moisture levels, checks the subfloor, and lays out a realistic path forward before any drying equipment goes in. Teams document daily moisture readings throughout the process and work directly with your insurance company, so you’re not the one translating technical readings into claim paperwork. If your floor needs sanding and refinishing once it’s dry, that gets coordinated too, rather than leaving you to find a separate contractor mid-project.
Get a free water damage restoration estimate started today, especially if it’s been more than a few hours since the water stopped. That window matters more than most homeowners realize.
Sources
- How to dry hardwood floors in water mitigation | Restoration & Remediation Magazine
- Wood floor warped water damage repair: cupping, crowning, buckling | WaterDamageFinder
- Hardwood floor water damage: Signs, repair, and recovery guide – D and G Flooring