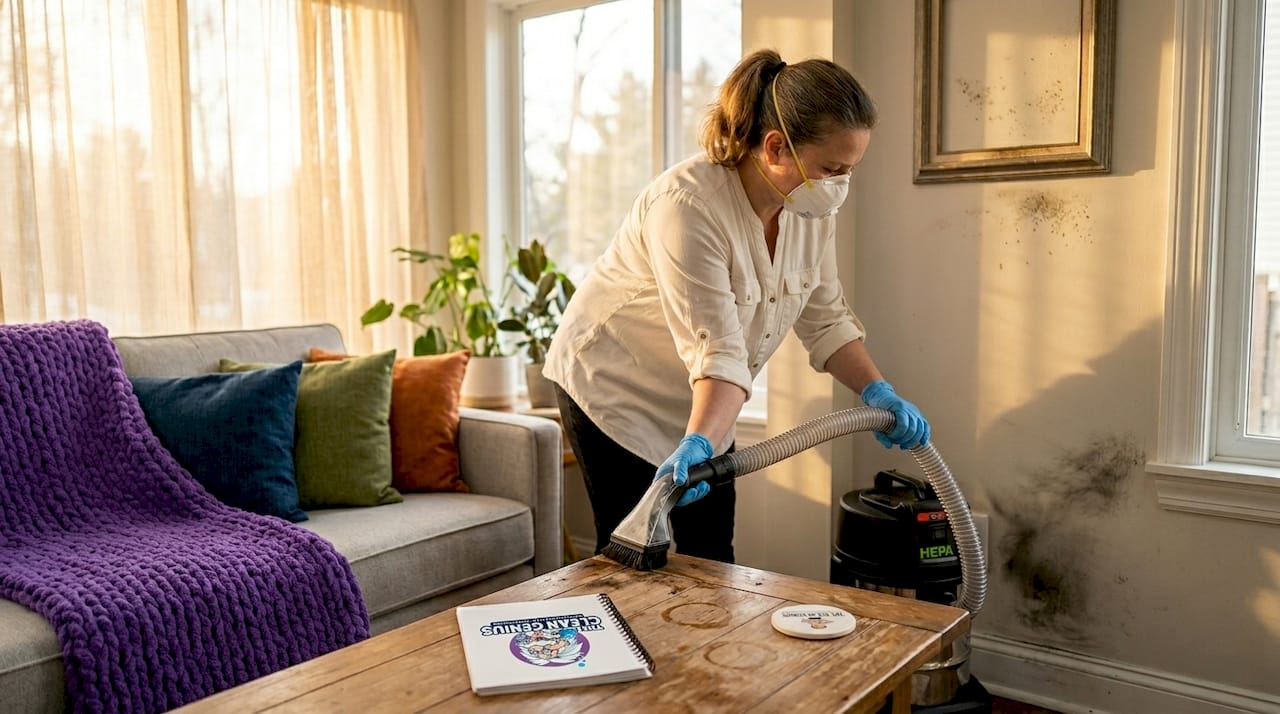

Soot left behind after a house fire is one of the most damaging and deceptive residues you will face. It looks like a surface problem, but fire damage soot removal best practices exist for good reason: soot is chemically active, deeply penetrating, and toxic when inhaled. Wipe it wrong and you grind it deeper into drywall or fabric. Skip the sequence and you are looking at permanent staining and respiratory health risks that linger for months. This guide walks you through exactly what to do, in what order, and when to call professionals.
Table of Contents
- Key takeaways
- 1. Start with essential safety precautions
- 2. Use a HEPA vacuum before anything else
- 3. Follow the correct stepwise removal process
- 4. Clean walls and ceilings with the right approach
- 5. Handle fabrics, upholstery, and soft goods carefully
- 6. Seal and deodorize only after thorough cleanup
- 7. Know when to call professionals instead of going DIY
- What I’ve learned after years of fire and soot restoration work
- When your home needs more than a DIY fix
- FAQ
Key takeaways
| Point | Details |
|---|---|
| Safety before cleaning | Always wear N95 respirators, gloves, and disposable coveralls before touching any soot-affected area. |
| Dry before wet | Vacuum loose soot with a HEPA filter first; water applied too early causes permanent staining. |
| Work top to bottom | Start at ceilings and work down to floors so dislodged soot does not re-contaminate cleaned surfaces. |
| Seal only after cleaning | Apply sealants and primers only after surfaces are fully cleaned and dried, never as a shortcut. |
| Know your limits | Extensive soot, persistent odors, or structural concerns call for certified restoration professionals. |
1. Start with essential safety precautions
Before you touch a single soot-covered surface, your personal protection matters more than the cleaning itself. Restoration experts recommend N95 respirators at minimum, along with chemical-resistant gloves and disposable coveralls. Soot particles are microscopic, and many carry carbon residue, heavy metals, and volatile organic compounds from burned materials.
Ventilate the space by opening windows and running fans pointed outward, not inward. You want to push contaminated air out, not circulate it. Soot can remain airborne for weeks after a fire settles, so even a room that looks calm can still have particles suspended at breathing level.
Check the structural integrity of the space before committing to cleanup. Ceilings, flooring, and walls near the fire origin may be compromised. If anything looks swollen, cracked, or charred beyond the surface, stop and get a professional assessment.
- Wear a properly fitted N95 or P100 respirator, not a dust mask
- Use chemical-resistant gloves, not household rubber gloves
- Wear disposable coveralls to prevent carrying soot to other areas of the home
- Seal off unaffected rooms with plastic sheeting to limit cross-contamination
- Change clothes and shower after working in a soot-affected area
Pro Tip: Place all contaminated disposable materials including gloves, coveralls, and soot-soaked cleaning supplies in heavy-duty plastic bags and seal them before disposal. Do not leave open bags in living spaces.
2. Use a HEPA vacuum before anything else
This is the step most homeowners skip, and it causes the most damage. Sequential soot removal requires HEPA-filtered vacuuming as the first physical action, period. A standard vacuum will exhaust fine soot particles back into the air and may push debris deeper into carpet fibers or wall textures.
Use a vacuum with a hose and soft brush attachment. Work methodically across ceilings, then walls, then floors. Do not press hard. The goal is lifting loose soot off surfaces, not scrubbing it. Light, deliberate passes are far more effective than aggressive strokes.
Beater bar vacuums are particularly harmful on upholstered furniture and carpet. The rotating brush grinds soot into the fibers instead of pulling it away. Always use the hose attachment with no agitation on any soft material.
Pro Tip: Vacuum the entire affected area twice before moving to any other cleaning method. The second pass consistently picks up particles the first pass missed, especially on textured surfaces like popcorn ceilings or brick.
3. Follow the correct stepwise removal process
The sequence matters enormously in post-fire cleaning practices. Here is the order that restoration specialists follow:
- HEPA vacuum all loose dry soot from ceilings, walls, and floors before any other step.
- Use dry chemical sponges on walls, ceilings, and hard surfaces. These sponges lift embedded soot through a chemical bonding action without moisture. Wipe in single strokes and flip or replace the sponge frequently.
- Remove dry residue before introducing any liquid. Applying water before removing dry soot turns oily soot into a smearing paste that bonds to drywall and becomes nearly impossible to remove.
- Apply a specialized soot cleaning solution on hard, non-porous surfaces only after the dry soot has been lifted. Trisodium phosphate solutions or commercial fire-damage cleaners work well on tile, glass, and sealed wood.
- Rinse with clean water and dry surfaces thoroughly before moving to sealing or painting.
Dry soot and wet soot behave very differently. Dry soot from a fast, hot fire brushes away more easily. Wet or oily soot, common from slow-burning fires with lots of synthetic materials, bonds aggressively to surfaces and requires more chemical intervention.
4. Clean walls and ceilings with the right approach
Learning how to remove soot from walls correctly saves you from repainting twice. Start with a dry chemical sponge and work in overlapping horizontal strokes from top to bottom. Do not scrub in circles. That spreads soot sideways into clean areas.
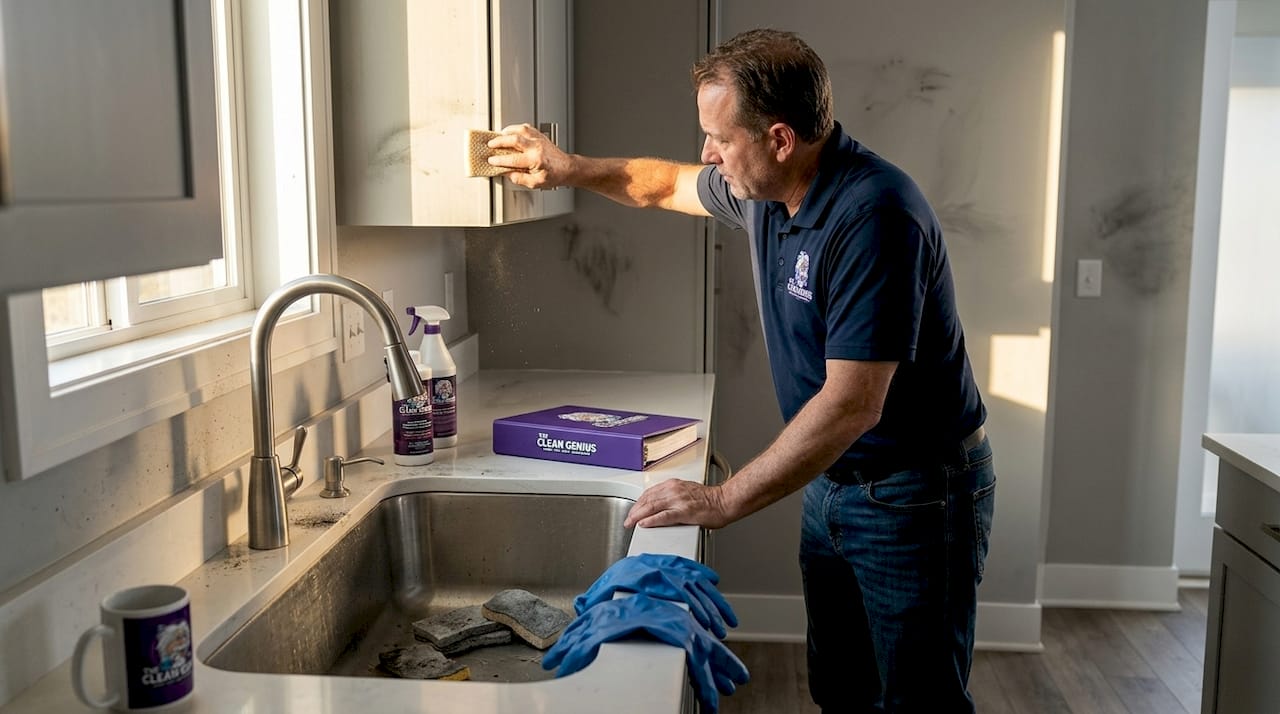
Once the dry sponge pass is done, use a TSP (trisodium phosphate) solution or a commercial alkaline cleaner designed for fire restoration. Apply it with a soft cloth, working in sections no larger than two square feet at a time. Rinse each section with a clean damp cloth before the cleaner dries.
For ceilings, the same top-first rule applies. Work from the highest point in the room down. Gravity is working against you here since soot falls as you loosen it. Cover cleaned floor areas with drop cloths so you are not redepositing soot on surfaces you have already addressed.
- Walls: Dry sponge first, then alkaline cleaner, then rinse and dry
- Ceilings: Use an extension handle on your dry sponge; avoid soaking the ceiling material
- Windows: Clean from the top of the glass down; protect the sill from dirty runoff; use a second clean pass to eliminate streaks
- Carpets and floors: HEPA vacuum thoroughly before any wet treatment; avoid steam cleaning until odors and loose particles are fully removed
- Fabrics and upholstery: Professional dry cleaning is often necessary for delicate or heavily affected items; home laundering alone rarely eliminates deep soot or odors
5. Handle fabrics, upholstery, and soft goods carefully
Soft materials absorb soot and odor at a molecular level, which makes them one of the hardest categories to restore. Start by vacuuming every fabric surface with a HEPA vacuum and a gentle upholstery attachment. Never rub or beat a fabric item to dislodge soot. You will push it deeper.
Smoke and soot penetrate deeply into porous materials, making standard washing cycles largely ineffective for odor elimination. Curtains, rugs, and upholstered furniture often need professional treatment with ozone or enzyme-based cleaning agents to neutralize the compounds bonded into the fibers.
For machine-washable items like clothing and linens, use a heavy-duty detergent combined with a cup of white vinegar on a cold-water cycle. Hot water can set soot stains and odors permanently. Wash items separately from unaffected laundry and inspect each piece before drying. Putting a soot-contaminated item in a dryer will bake the residue in and ruin the fabric. When in doubt about restoring your personal belongings, a contents restoration guide covers these decisions in detail.
6. Seal and deodorize only after thorough cleanup
Sealing is not a cleaning method. This is one of the most repeated mistakes in DIY fire damage cleanup. Sealing dirty or wet surfaces traps soot and odor compounds beneath the primer, and they will bleed through your paint within months.
Here is a comparison of the primary deodorization methods used in fire restoration:
| Method | How it works | Best for |
|---|---|---|
| Thermal fogging | Hot fog penetrates porous materials and neutralizes odor compounds | Whole-room deodorization after deep cleaning |
| Ozone treatment | Ozone molecules oxidize and break down odor-causing compounds | Sealed rooms with persistent smoke smell |
| Hydroxyl treatment | UV-generated hydroxyls break down volatile organic compounds | Occupied spaces where ozone is not safe |
| Shellac-based primer | Seals stains and odor into the surface under new paint | Hard surfaces after full cleaning and drying |
Restoration specialists emphasize that surfaces must be completely cleaned and dried before any sealing product is applied. When done correctly, a shellac-based or oil-based stain-blocking primer locks in residual microscopic odor and stain compounds, giving your finish coat a clean base.
7. Know when to call professionals instead of going DIY
Some fire damage is genuinely manageable with focused DIY effort. A small kitchen fire with limited soot on nearby walls and cabinets, minimal odor, and no structural involvement can often be handled with the right tools and patience. Understanding the fire damage cleanup timeline helps you set realistic expectations for how long each phase takes.
But there are clear signals that the job needs certified professionals:
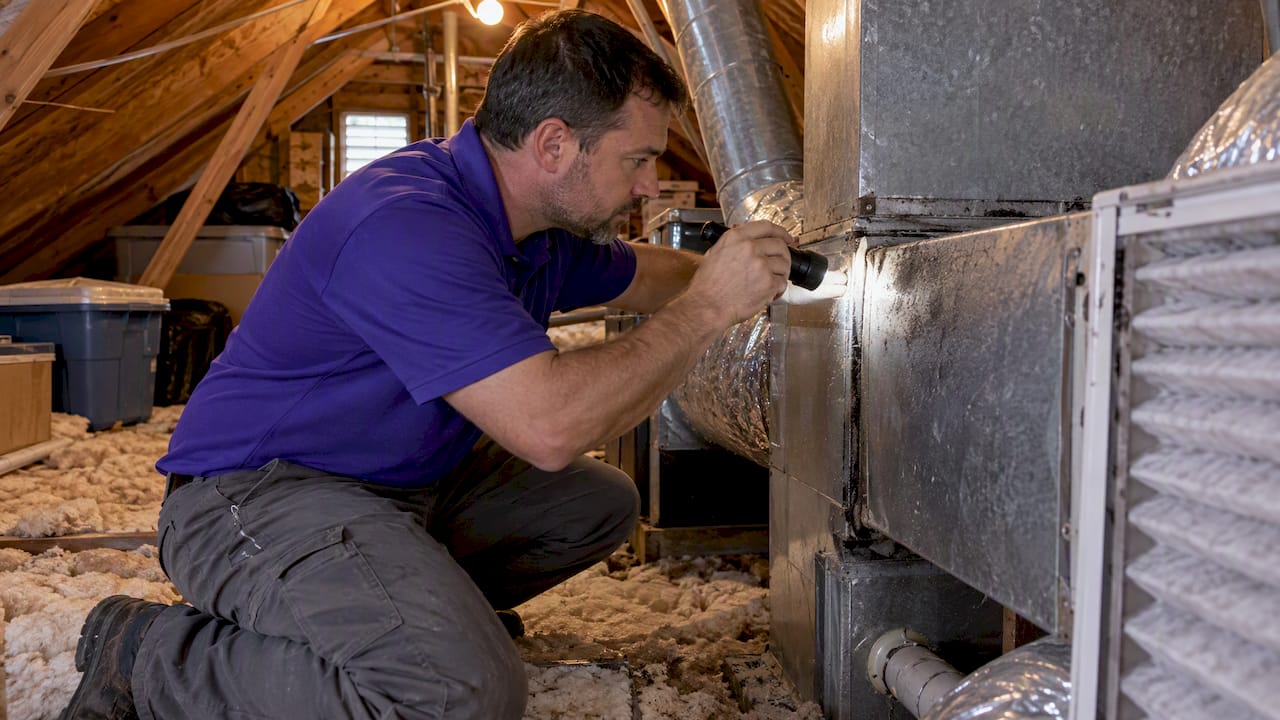
- Soot covers more than one full room or has spread through HVAC vents to multiple areas
- The odor persists after thorough cleaning and dry chemical sponge treatment
- Structural materials including drywall, subfloor, or framing show fire damage
- The fire involved synthetic materials, plastics, or chemicals that produce toxic residue
- You or a family member has respiratory sensitivities or preexisting health conditions
Professional restorers bring industrial HEPA air scrubbers, commercial-grade cleaning agents, and the expertise to identify hidden damage inside walls and ductwork. They also handle insurance documentation and direct billing, which takes significant pressure off you during an already stressful time.
What I’ve learned after years of fire and soot restoration work
I have seen homeowners do everything right with their cleaning products and still end up with a house that smells like smoke six months later. The reason almost always comes back to sequence and patience. People want to get their home back fast, and I completely understand that. But rushing the dry phase before wet cleaning, or sealing before the wall is truly clean, creates problems that cost more to fix than the original cleanup would have.
The most persistent myth I encounter is that painting over soot-stained walls will solve the problem. It does not. Standard latex paint applied over even lightly contaminated drywall will let smoke compounds bleed through within weeks. You need a proper shellac-based primer after a full cleaning. Not instead of it.
My other honest observation is that protective gear gets skipped more than any other step. Homeowners feel the urgency to get into the cleanup and figure the odor is the worst of it. It is not. The invisible particles are. The smoke residue risks from even moderate fire damage are real and long-lasting. Treat every cleanup session like it matters, because it does.
— Jim
When your home needs more than a DIY fix
Dealing with soot cleanup after a fire is physically and emotionally exhausting. If the damage in your home covers multiple rooms, has spread through your ductwork, or if the odor simply will not quit no matter what you try, that is not a sign of failure. It is a sign that industrial equipment and trained hands are the right call.

Thecleangenius provides fire damage restoration across the greater Chicagoland area, including Arlington Heights, Schaumburg, Naperville, and dozens of surrounding communities. Our certified team handles everything from soot cleaning and odor elimination to full structural restoration, and we work directly with your insurance carrier. If fire damage has also led to water intrusion from firefighting efforts, our emergency water damage services are available 24/7. Call us before the soot has a chance to set deeper.
FAQ
What is the first step in fire damage soot removal?
The first step is always HEPA vacuuming to remove loose dry soot before any wet cleaning is applied. Applying water or cleaners before vacuuming causes oily soot to smear and permanently stain surfaces.
Can I use a regular vacuum to clean up soot?
No. Standard vacuums exhaust fine soot particles back into the air and beater bars push soot deeper into fabrics. Always use a HEPA-filtered vacuum with a hose attachment for safe, effective soot removal.
How do I remove soot from walls without making it worse?
Start with a dry chemical sponge using single horizontal strokes from top to bottom, then follow with a TSP or alkaline-based cleaner. Never scrub in circles, and always rinse each section before the cleaner dries.
Does painting over soot damage actually fix the problem?
No. Standard paint applied over soot will allow smoke compounds to bleed through within weeks. You need a shellac-based or oil-based stain-blocking primer applied over a fully cleaned and dried surface before any finish coat.
When should I call a professional for soot removal?
Call a professional when soot has spread to multiple rooms or through HVAC vents, when odors persist after thorough cleaning, when structural materials are affected, or when the fire involved synthetic or chemical materials that create toxic residue.