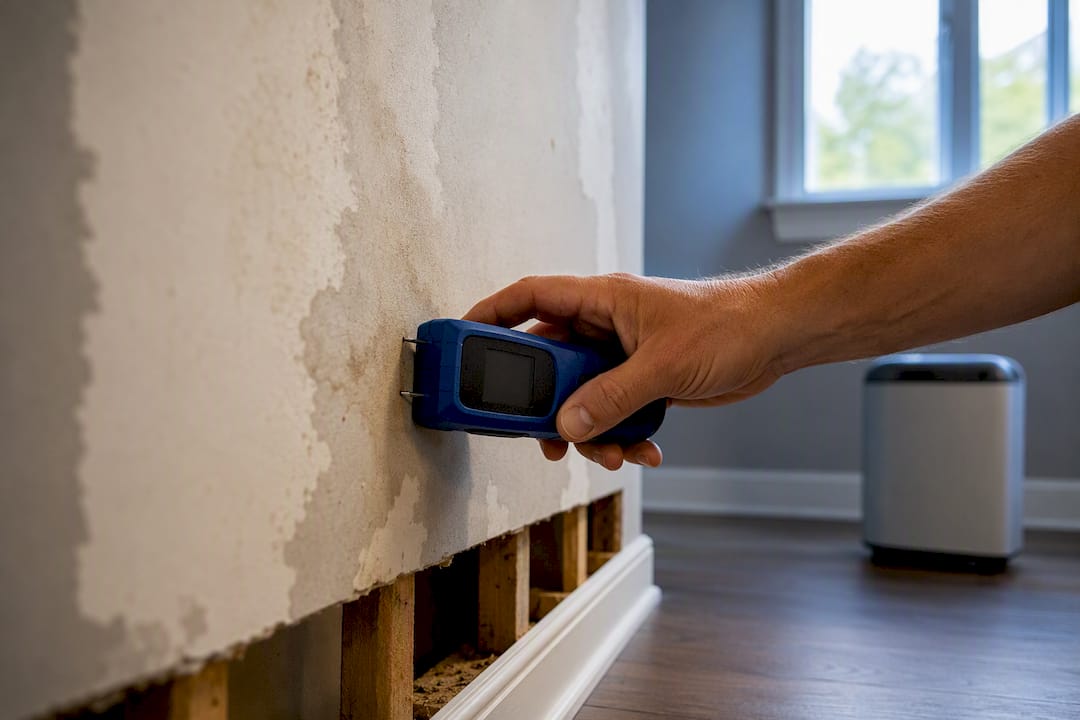

Yes, you can repair drywall water damage yourself in many cases, but the fix always starts before you touch a patch kit. Shut off the water source, cut power to any wet electrical zones, and photograph the damage while it’s fresh. Small, clean leaks caught early can usually be dried and patched. Drywall that’s soft, moldy, or was soaked by contaminated water for more than a day or two needs to come out. Confirm with a moisture meter before you close anything back up, and when the readings or the smell don’t add up, call a restoration pro.
TL;DR:
- Moisture readings above 1%, a musty smell, or soft, bubbling drywall indicate that replacement is necessary rather than drying in place.
- The ideal way to restore drywall involves a flood cut at least 12 to 18 inches above the water line, with insulation and wet material removed promptly.
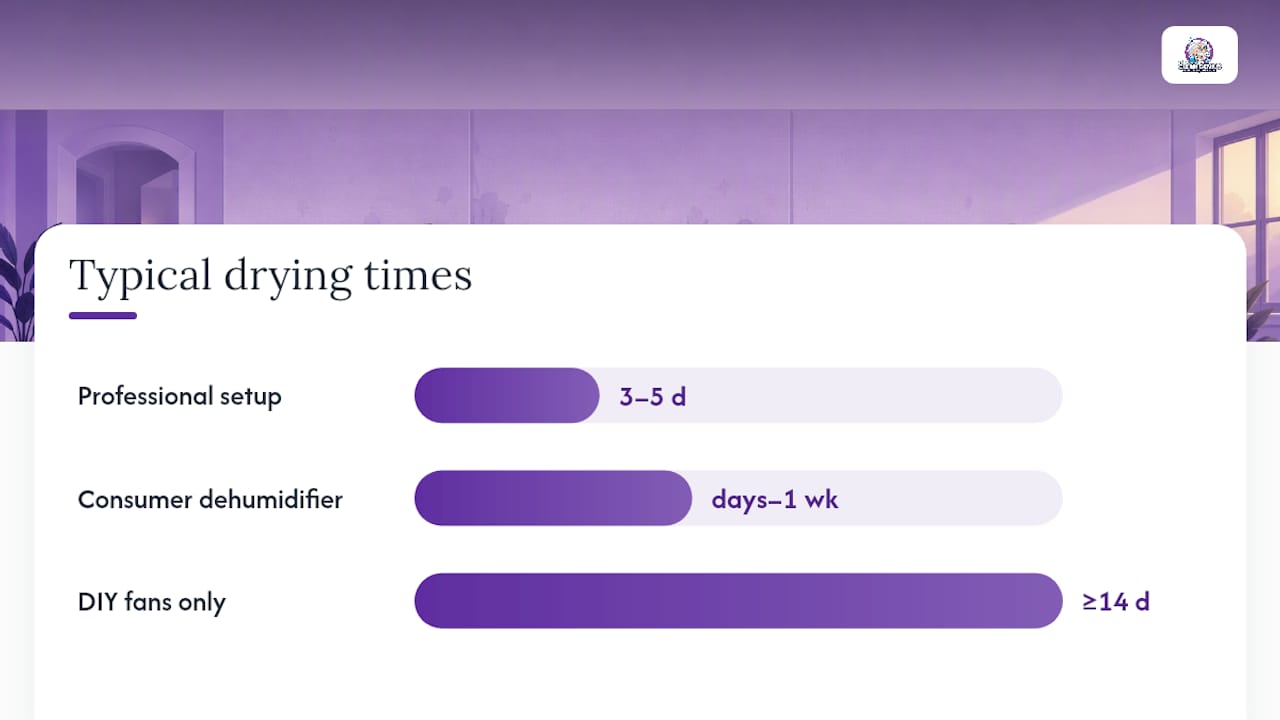
- Professional drying equipment reduces drying time to three to five days, significantly lowering the risk of mold growth behind the wall.
- Homeowners should call a professional when water sources are sewage, mold exceeds 10 square feet, or moisture levels cease trending downward after several days.
- Documenting moisture readings, photos, and mitigation work is crucial to support insurance claims and prevent repair failures caused by unseen residual moisture.
Table of Contents
- Find and Stop the Leak Before You Touch the Drywall
- Can Wet Drywall Be Dried, or Does It Need Replacing?
- How to Safely Cut Out Water-Damaged Drywall
- How Long Does It Take for Drywall to Dry?
- How to Repair Drywall After Water Damage
- Priming, Painting, and Final Checks Before You Close the Job
- When Should You Call a Professional Restoration Company?
- What Restoration Pros Notice That Homeowners Usually Miss
- A Straight Answer on DIY Limits
- Get Professional Help for Drywall Water Damage Repair
- Sources
Find and Stop the Leak Before You Touch the Drywall
Every drywall water damage repair job fails or succeeds based on what happens in the first ten minutes. Cut the electricity to any circuit running through wet walls or ceilings before you do anything else. Water conducts electricity through wet drywall and insulation just as easily as it does through a puddle on the floor, and a GFCI outlet won’t save you if the wire itself is compromised behind the wall.
Once power is safely off, trace the source. Most residential leaks come from a short list of usual suspects:
- Roof and attic penetrations, especially around vents, chimneys, and flashing
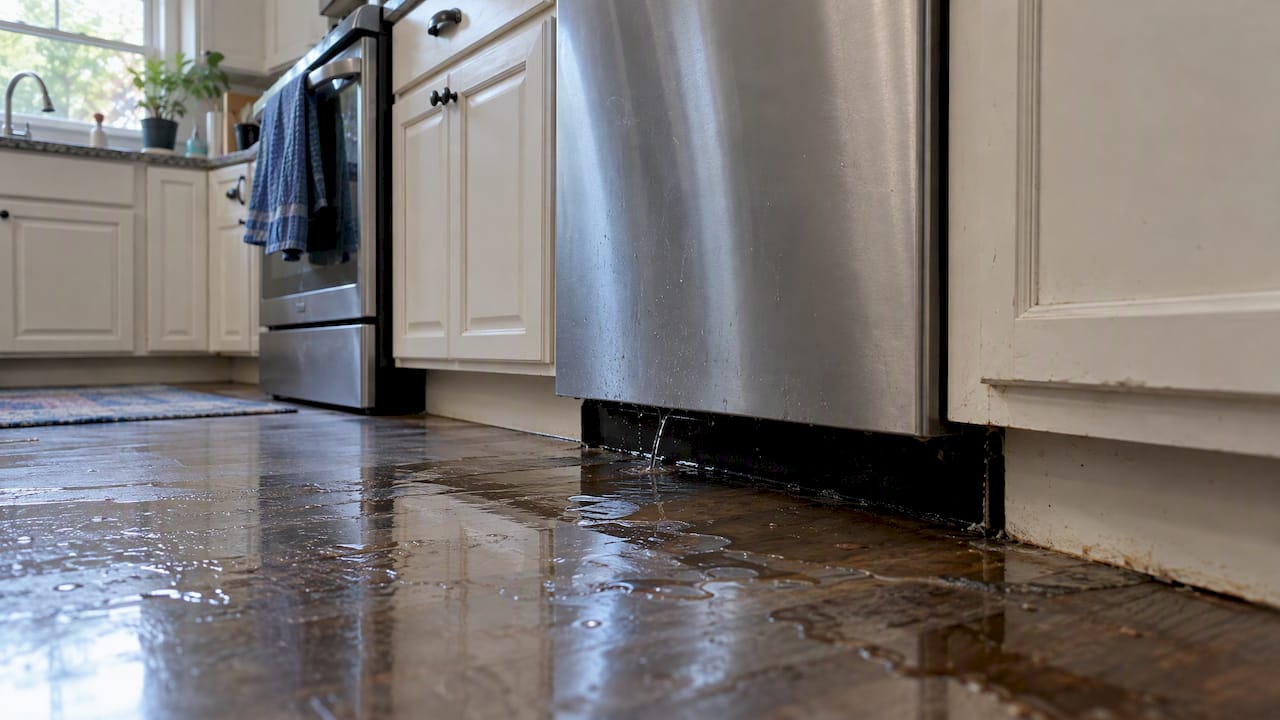
- Plumbing supply lines and drain connections under sinks and behind walls
- Toilet wax rings, tub surrounds, and shower pans
- Washing machine hoses and dishwasher supply lines
- HVAC condensation lines that have clogged or disconnected
A quick attic check with a flashlight often reveals a roof leak faster than tearing into ceiling drywall. For plumbing, feel along exposed pipes and shutoff valves for dampness. If you find an active supply line leak, close the local shutoff valve first rather than the main, so the rest of the house keeps running water. A tarp over a roof leak or a bucket under an active drip buys you time, but it’s a stopgap. If you can’t identify or stop the source within an hour, or if water is actively pooling, call an emergency plumber rather than guessing.
Can Wet Drywall Be Dried, or Does It Need Replacing?
This is the decision that determines everything else about your repair, and it comes down to three tests you can run yourself.
- Touch it. Firm, solid drywall that flexes normally can often be saved. If it’s soft, spongy, or the paper face is bubbling and delaminating, it’s already breaking down structurally and won’t hold paint or texture even after drying.
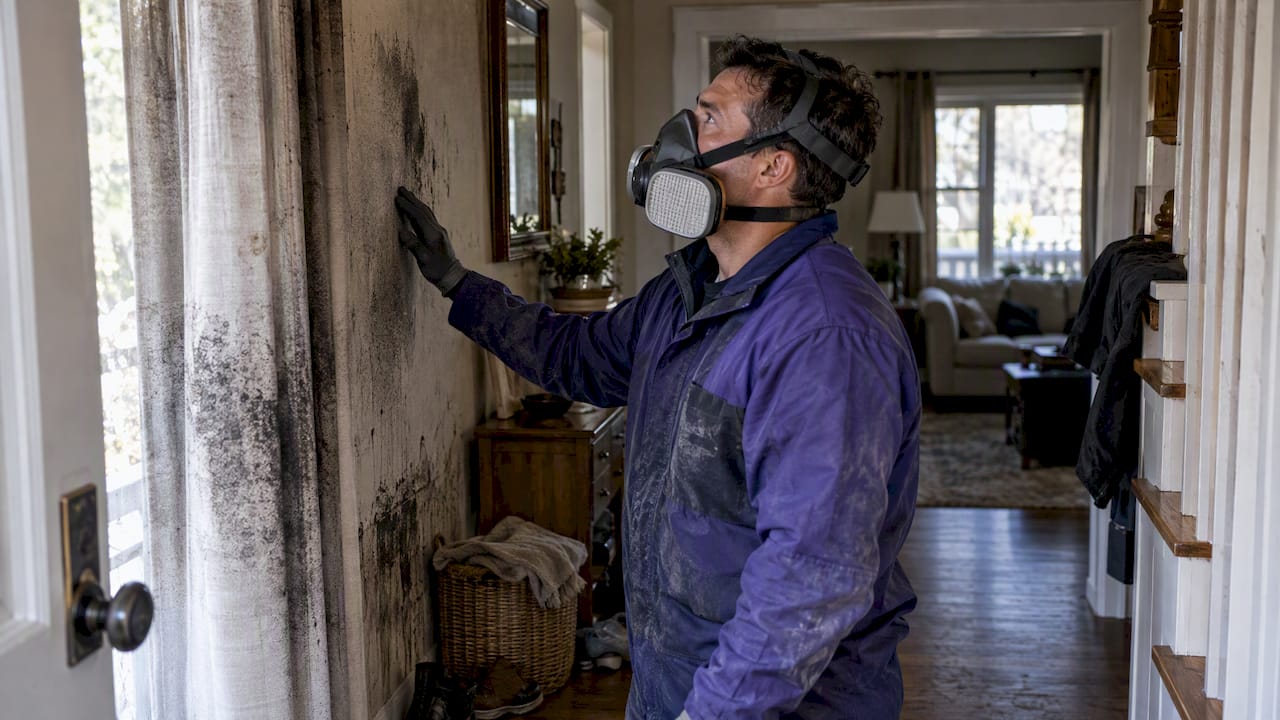
- Smell it. A musty, sour odor usually means mold has already started, even if you can’t see it yet. Trust your nose over your eyes here.
- Test it. A pin-type or pinless moisture meter gives you a number instead of a guess. Normal drywall reads under 1% moisture content. Anything trending downward over a few days is drying correctly; anything holding steady or climbing means moisture is trapped behind the surface, often in insulation you can’t see.
Water category matters as much as the readings. Clean water from a supply line break (Category 1) that’s caught within a day or two often dries in place with no health risk. Gray water from appliances or black water from sewage backups is a different story entirely. The EPA and Gypsum Association both recommend removing porous materials like drywall and insulation once they’ve been contaminated by sewage or floodwater, because you can’t sanitize the inside of a wall cavity.
Pro Tip: Write down every moisture reading with the date and location. A single reading tells you almost nothing; a trend line over three or four days tells you whether the cavity is actually drying or just looks dry on the surface.
How to Safely Cut Out Water-Damaged Drywall
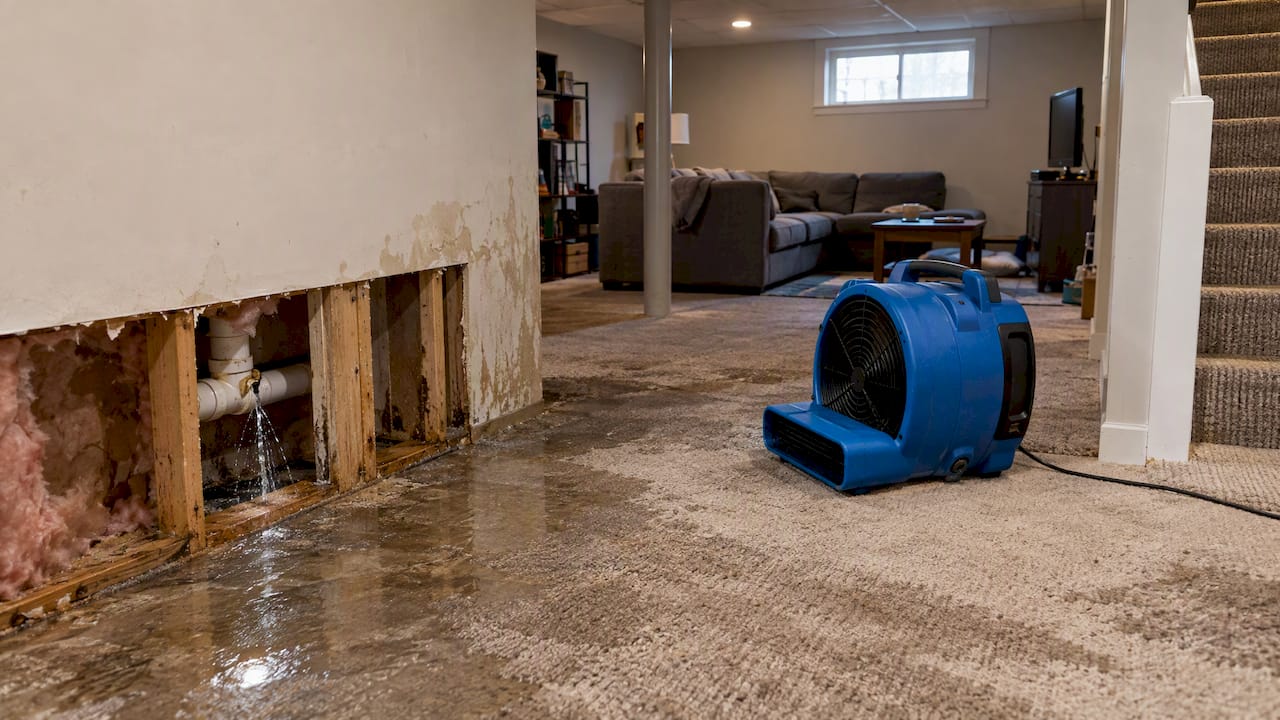
When drywall fails the touch, smell, or moisture test, the standard fix is a flood cut, not a patch. A flood cut means removing drywall in a straight line at least 12 to 18 inches above the highest visible water line or stain, not just cutting out the obviously wet section. Restoration crews cut higher than the stain because wicking pulls moisture up through the gypsum core well past where discoloration shows, and because it exposes the wet insulation and framing behind it for proper drying.
Before cutting, contain the work area:
- Hang plastic sheeting between the work zone and the rest of the house
- Run a HEPA vacuum or a shop vac with a HEPA filter while cutting to catch dust and any mold spores
- Bag cut drywall immediately rather than stacking it on the floor
- Wear an N95 respirator, gloves, and eye protection, especially if you suspect any mold growth
Wet insulation almost always needs to come out with the drywall. Fiberglass batts hold water against the framing and rarely dry fully in place; cellulose slumps and loses its insulating value permanently once soaked. Leaving either behind is one of the most common reasons a “repaired” wall develops problems again within a few months.
Stop and call a mold remediation specialist if you see mold covering more than roughly 10 square feet, if the water came from a sewage backup, or if the wet area has gone unaddressed for more than 48 hours. That window matters: mold growth typically begins to establish itself in the 24 to 48 hours after a water intrusion, which is also the general threshold restoration guidance uses for when DIY drying stops being a safe bet.
How Long Does It Take for Drywall to Dry?
Drying is where most DIY repairs quietly go wrong, not because homeowners don’t try, but because a box fan and an open window can’t do what commercial equipment does. A fan moves air across a surface. It does nothing to pull moisture out of a wall cavity or lower the ambient humidity that’s slowing the whole process down.
| Equipment type | What it actually does | Typical result |
|---|---|---|
| Household box fan | Moves surface air | Dries visible surfaces only; cavity moisture often remains |
| Consumer dehumidifier | Removes some ambient humidity | Helps a small, contained room over days to a week |
| Professional air mover | High-velocity airflow across wet surfaces | Speeds surface evaporation significantly faster than a fan |
| Commercial LGR dehumidifier | Pulls humidity down to low target levels | Drives moisture out of cavities, not just the air |
Professional drying setups typically bring a space back to dry standard in three to five days, largely because the equipment is sized for the cubic footage of the actual room, not a single wet spot. DIY drying with a couple of fans can stretch to two weeks or more for the same cavity, and often never fully finishes, which is exactly how mold gets a foothold behind a wall that looks fine from the outside.
Drying time also depends on what’s behind the drywall. Deeper wall cavities, dense insulation, and rooms with poor HVAC airflow all extend the timeline. Running high-powered fans without adequate dehumidification can actually make things worse, since it pushes moisture around the space instead of removing it.
Track daily moisture meter readings at the same spots throughout drying, and consider a moisture map if more than one wall or ceiling section was affected. This log isn’t just for your own peace of mind. If you eventually file an insurance claim, drying logs and moisture readings are exactly what adjusters look for to verify the cavity was actually dry before it got closed up.
Pro Tip: Don’t trust a “dry to the touch” surface. Gypsum board can feel bone dry on the face while the paper backing and the framing behind it still read wet on a meter. Keep testing until three consecutive daily readings come back flat.
How to Repair Drywall After Water Damage
Once the cavity reads dry and stable, the actual rebuild follows a fairly predictable sequence, whether you’re patching a coffee-cup-sized hole or replacing an entire section.
- Decide patch or replace. Small, isolated damage under roughly a square foot can often be patched with a scrap of drywall and joint compound. Anything larger, or any area that required a flood cut, calls for a full panel replacement cut to fit between studs.
- Prepare the backing. If your patch doesn’t land on a stud, install furring strips or a scrap-wood backer board behind the opening so you have something solid to screw into. Skipping this step is the number one reason patches bulge or crack later.
- Fasten the new drywall. Space screws every 12 inches along the edges and into any furring strips, driving them just below the surface without tearing the paper.
- Tape the seams. Use paper tape embedded in setting-type joint compound for the first coat; it resists cracking better than pre-mixed mud on repair seams.
- Build up compound in thin coats. Two to three coats of joint compound, each wider than the last and fully dried between coats, feather the patch into the surrounding wall.
- Sand between coats. Light sanding with a pole sander knocks down ridges without gouging the paper face underneath.
If the wall or ceiling has texture, matching it is often the hardest part of the whole job. Orange peel and knockdown textures can usually be matched with a hopper gun or an aerosol texture spray for small areas; heavier hand-troweled textures may need a skim coat blended out several feet past the repair to avoid a visible line under raking light.
Pro Tip: Always prime with a stain-blocking primer before painting, even if the compound looks perfectly white. Water stains contain tannins and minerals that bleed straight through regular latex paint within days, and by then you’ll have already painted the whole wall to hide one spot.
Priming, Painting, and Final Checks Before You Close the Job
A shellac-based or oil-based stain-blocking primer is worth the extra step every time. Skip it and a faint yellow or brown ghost of the original stain will telegraph through your topcoat, sometimes weeks after the paint looks fine.
Before you call the repair finished:
- Re-check moisture levels one more time at the repair site and a few inches beyond it
- Do a smell test in the closed room after 24 hours; any musty odor means something’s still wet
- Match texture in thin passes rather than one heavy coat, which tends to look obviously different from the surrounding wall
- Hold off on reinstalling trim, baseboards, or furniture against the wall for a few days to confirm the area stays stable
Painting over a still-damp patch is one of the most common reasons drywall repairs need to be redone within months, so the extra day of patience here isn’t wasted time.
When Should You Call a Professional Restoration Company?
Some situations are objectively past the point where a homeowner should keep working alone. Call a restoration contractor when any of these apply:
- Water came from a sewage backup, appliance overflow with standing gray water, or any source classified as Category 2 or 3
- You see visible mold growth, especially anything larger than a small isolated patch
- Ceilings are sagging, bulging, or show signs of trapped water weight
- Water reached wall cavities, subfloor, or insulation and stayed there more than 24 to 48 hours
- You’re not confident your moisture meter readings are trending toward dry after several days
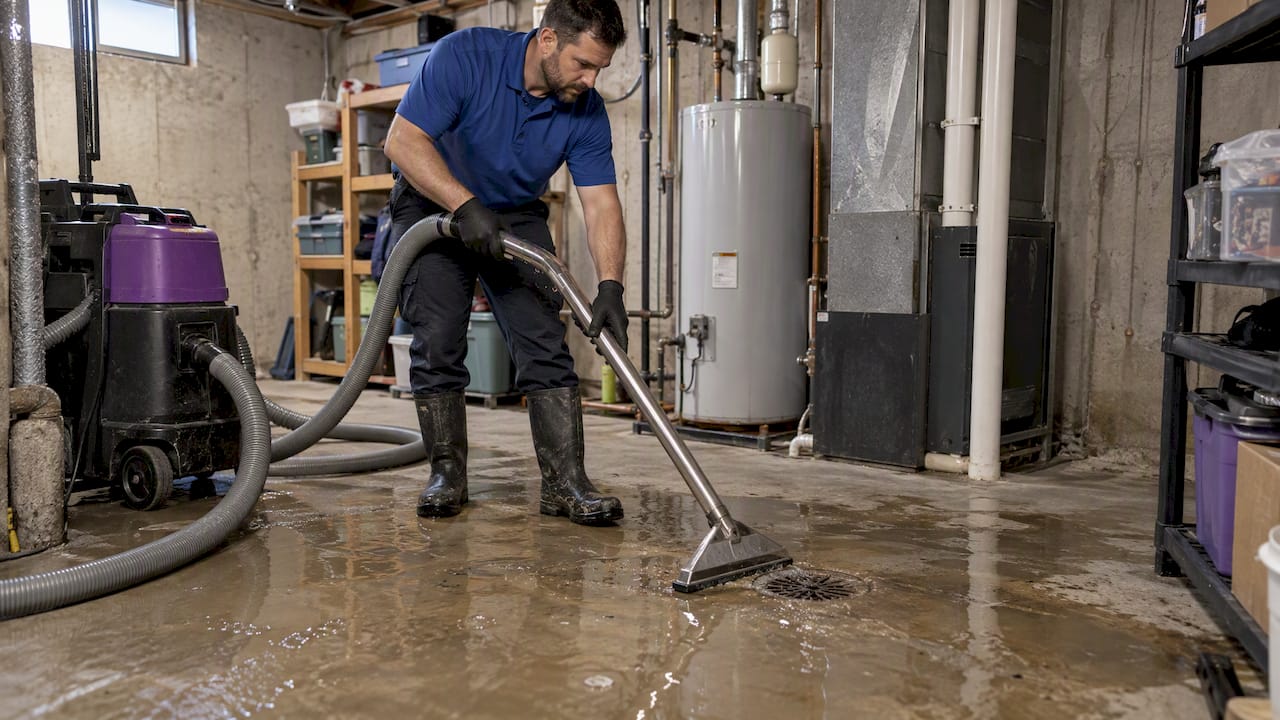
Professional mitigation covers extraction, containment, commercial-grade drying, and the documentation that turns a repair into an insurance claim. The rebuild, meaning new drywall, taping, and paint, typically happens as a separate phase once the space is verified dry.
If you’re filing a claim, insurers generally want a specific paper trail: timestamped photos from the moment you discovered the damage, moisture readings taken over multiple days, a written scope of the mitigation work performed, and receipts for any equipment rental or professional services. A documented insurance claim checklist makes this part far less stressful when you’re already dealing with a damaged room.
What Restoration Pros Notice That Homeowners Usually Miss
After enough water damage jobs, certain patterns repeat themselves. The repairs that fail almost always share one of three root causes: wet insulation left behind the new drywall, walls closed up based on a single dry-feeling reading instead of a multi-day trend, or moisture that migrated into an adjoining room nobody checked.
- Daily drying logs with time-stamped moisture readings aren’t paperwork for its own sake. They’re the difference between an insurer approving a claim quickly and disputing it.
- A wall that “feels dry” on day two often still reads wet on a meter at the stud, which is exactly the gap that causes hidden mold six weeks later.
- When a restoration team arrives, expect documentation and a moisture map first, then temporary containment, then equipment setup, all before any demolition starts.
Homeowners who skip the documentation step usually don’t regret it until the claim gets questioned.
A Straight Answer on DIY Limits
The honest line between DIY and calling a professional isn’t about how handy you are with a taping knife. It’s about what you can’t see: moisture inside a wall cavity, contamination in water that looks clear, and mold that hasn’t shown itself yet. Emergency response is available around the clock in many areas because that gap between “looks fine” and “is actually dry” is where most repair failures start. If your gut says this one’s bigger than a patch kit, it probably is. Call sooner rather than after you’ve already closed the wall.
— Jim
Get Professional Help for Drywall Water Damage Repair
Professional restoration companies provide verified dry cavity assessments, emergency extraction, commercial air movers, and dehumidifiers sized for the actual room, keeping daily drying logs and moisture maps from day one to support insurance documentation.

When contamination, mold, or a ceiling that’s already sagging pushes a job past what’s safe to handle yourself, our teams step in with containment, mold remediation, and reconstruction coordination so you’re not managing three different contractors on your own. We work directly with your insurance carrier throughout, from the initial estimate through the final drying log. If water has touched your drywall, insulation, or subfloor in the last 24 hours, get in touch with our water damage restoration team now for an on-site assessment before the damage spreads further than you can see.
Sources
- How to Repair Water Damage to Walls & Ceilings — True Value
- Water Damage Decision Guide — PureFlow Precision Drying
- Waterdamagerestorationpricing