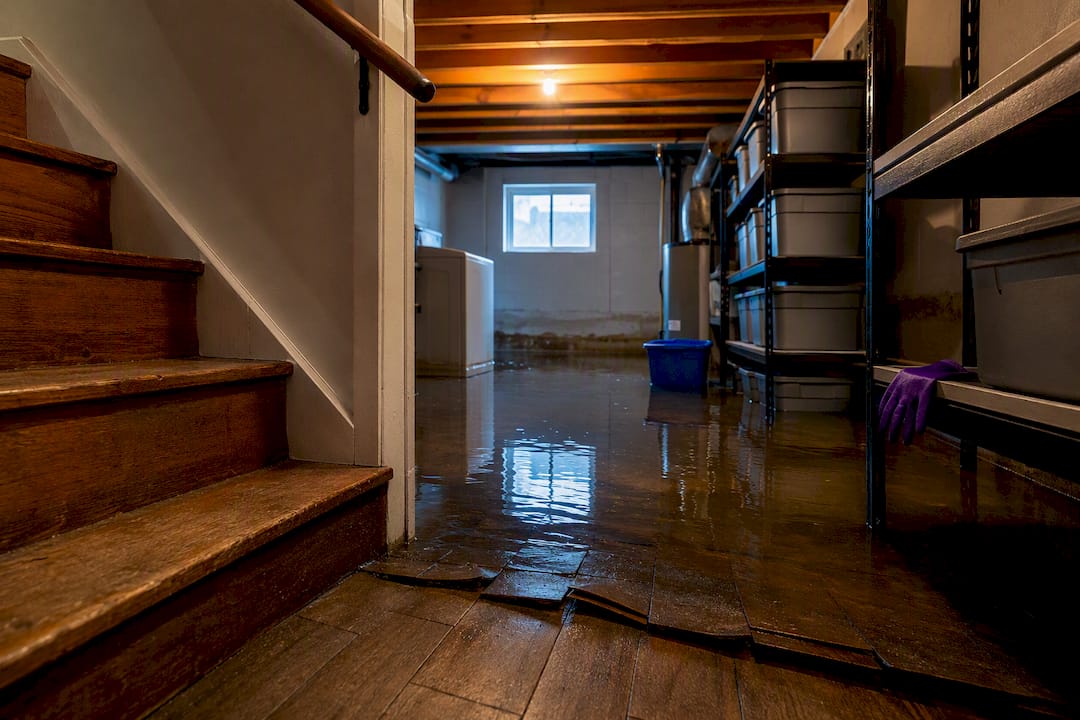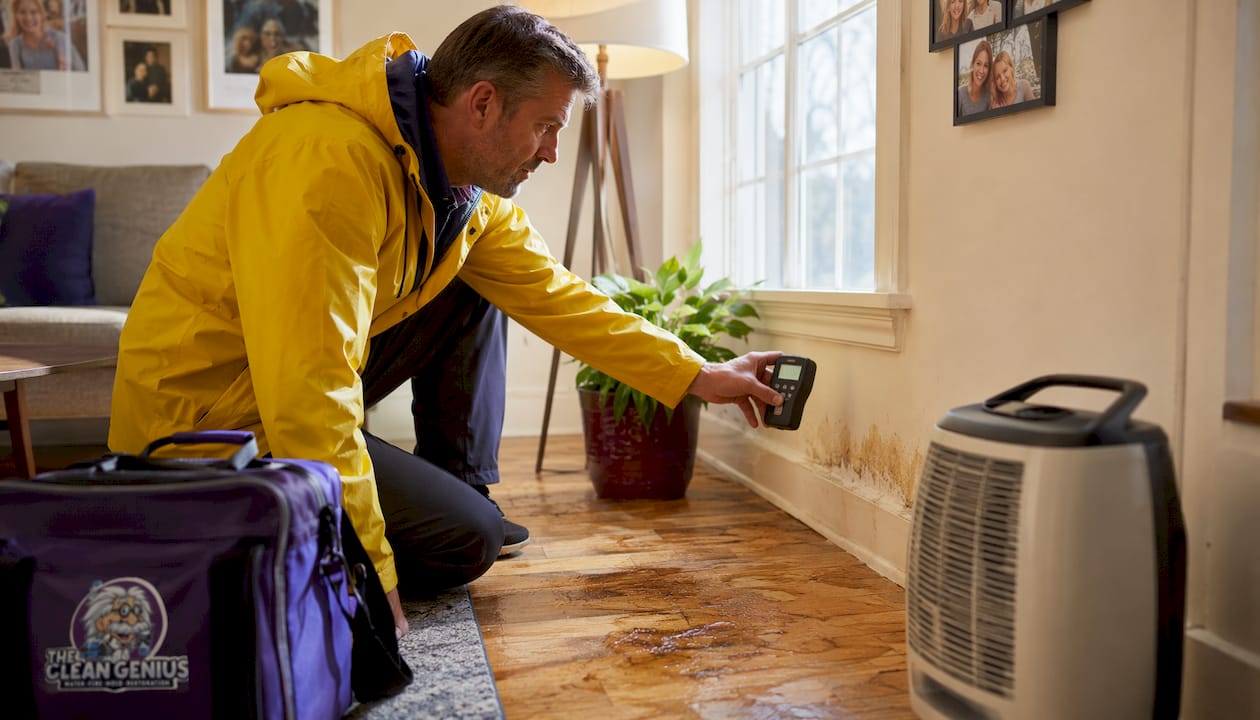

Property dry-out after water damage is the process of removing trapped moisture from building materials to stop mold growth and prevent structural deterioration. Professionals call this “structural drying,” and it follows the ANSI/IICRC S500 standard, the industry benchmark for water damage restoration. The EPA confirms that drying wet materials within 24 to 48 hours is critical to prevent mold amplification. Miss that window and you move from a drying job to a remediation job. This guide walks you through the right equipment, the correct sequence of steps, and how to verify that your home is genuinely dry.
What equipment do you need for property dry-out after water damage?
The right tools determine whether drying succeeds or fails. Two categories of equipment do different jobs: water extraction removes standing water fast, and structural drying equipment pulls moisture out of materials over time.
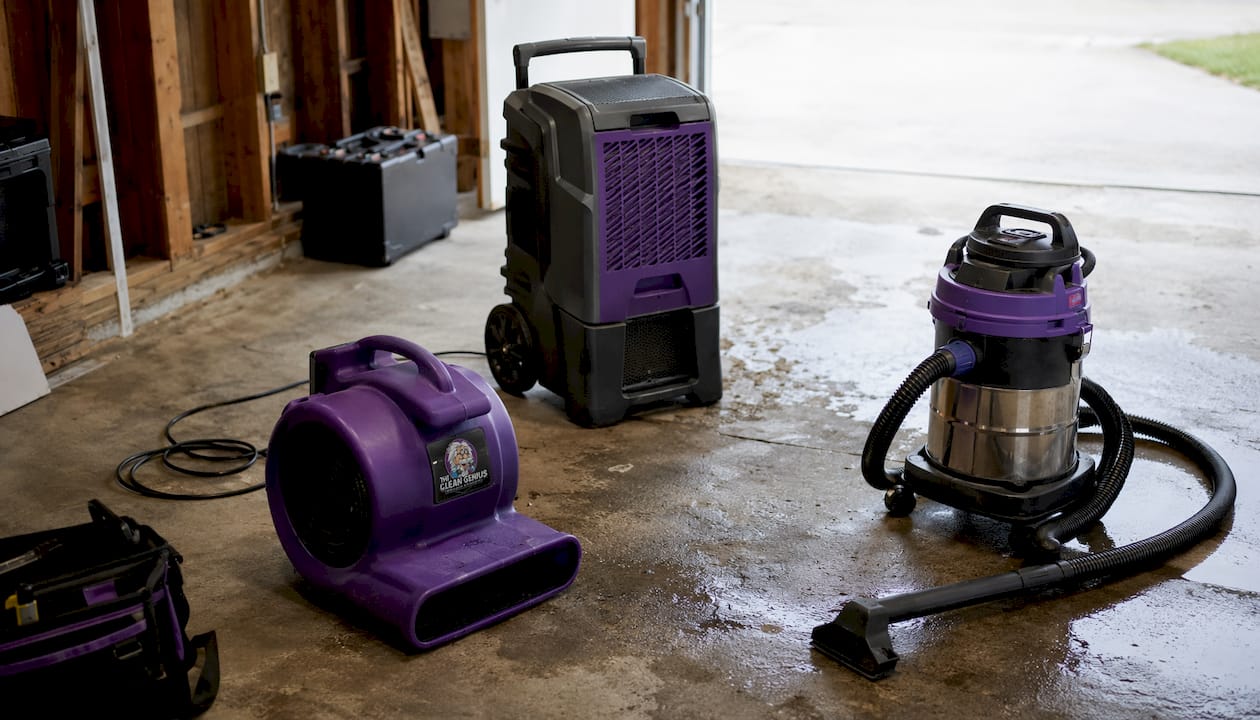
Water extraction vs. structural drying tools
Water extraction and structural drying are separate phases. Industrial extractors remove standing water at 25–50 gallons per minute. Extraction always comes first because leaving standing water in place while running fans accomplishes almost nothing. Once the bulk water is gone, structural drying begins.
Structural drying relies on three pieces of equipment working together:
- Air movers (axial or centrifugal fans): Direct high-velocity airflow across wet surfaces to accelerate evaporation. Airflow velocity should run around 600 feet per minute during the active drying phase, then drop to roughly 150 FPM during the later phase to pull deeper moisture to the surface.
- LGR dehumidifiers: Low-grain refrigerant dehumidifiers capture the moisture that air movers push into the air. Standard household dehumidifiers are largely ineffective for major water damage. Professional-grade LGR units remove far more moisture per kilowatt-hour and prevent secondary damage.
- Moisture meters: Pin-type and non-invasive meters measure moisture content inside walls, subfloors, and framing. You cannot confirm drying by touch or by how the room smells. Only a meter gives you a real number.
| Equipment | Primary function | Why it matters |
|---|---|---|
| Industrial extractor | Remove standing water | Clears bulk water before drying begins |
| LGR dehumidifier | Capture airborne moisture | Prevents re-absorption into materials |
| Air mover | Accelerate surface evaporation | Speeds drying and reduces drying time |
| Moisture meter | Measure material moisture content | Confirms actual drying progress |
| Hygrometer | Track relative humidity and temperature | Monitors environmental drying conditions |
Pro Tip: Never run electrical drying equipment in areas with standing water still present. Shut off power to affected circuits at the breaker before entering, and only restore power once standing water is fully removed.
You can review a full breakdown of professional and consumer options in this restoration equipment guide from Thecleangenius.
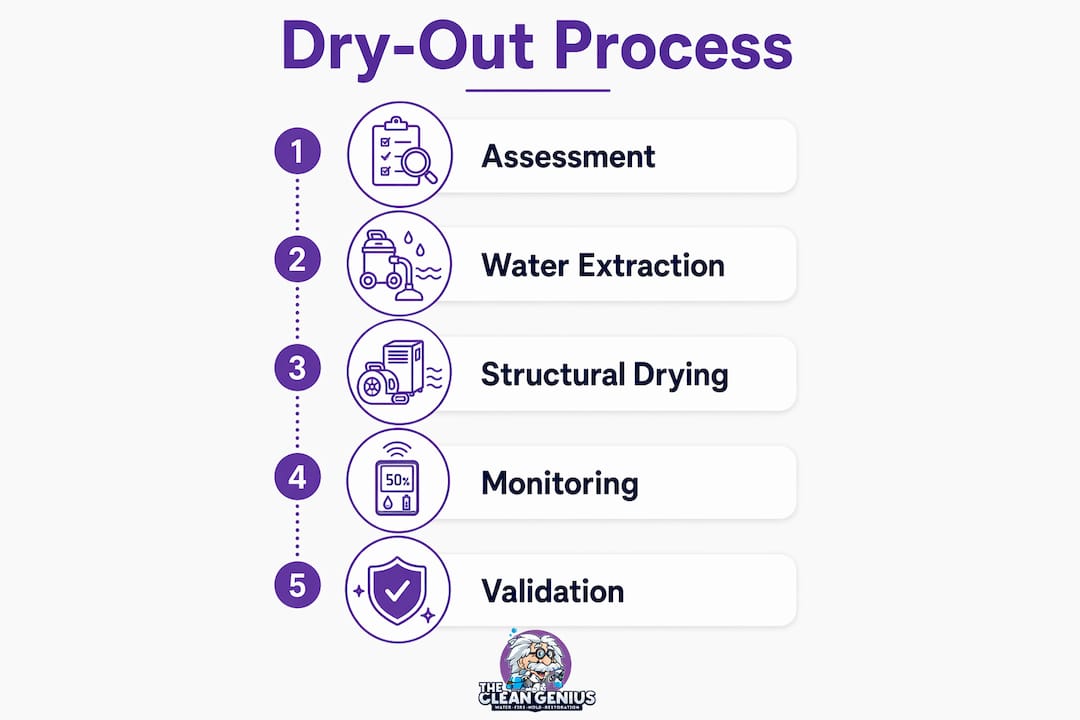
Step-by-step process for drying out a water-damaged home
Speed and sequence both matter. Doing the right things in the wrong order wastes time and increases damage.
The correct drying sequence
- Confirm safety first. Shut off electricity to affected areas at the breaker. Check for structural damage before entering. If the water source is a sewage backup or floodwater from outside, treat it as contaminated and wear protective gear.
- Stop the water source. A burst pipe, failed appliance, or roof leak must be stopped before any drying begins. Drying while water still enters the structure is pointless.
- Remove standing water immediately. Use a wet/dry vacuum for small areas or call a water removal service for larger volumes. The faster you extract, the less moisture soaks into flooring, drywall, and framing.
- Pull up saturated materials. Wet carpet, carpet padding, and vinyl flooring trap moisture against subfloors and accelerate mold growth. Remove them within the first few hours. Wet drywall that has absorbed water past the paper facing typically needs to come out too.
- Open everything up. Open interior doors, cabinets, and drawers to expose hidden cavities to airflow. Closed cabinet bases and vanities trap moisture against wood and create ideal mold conditions. Open windows when outdoor humidity is lower than indoor humidity.
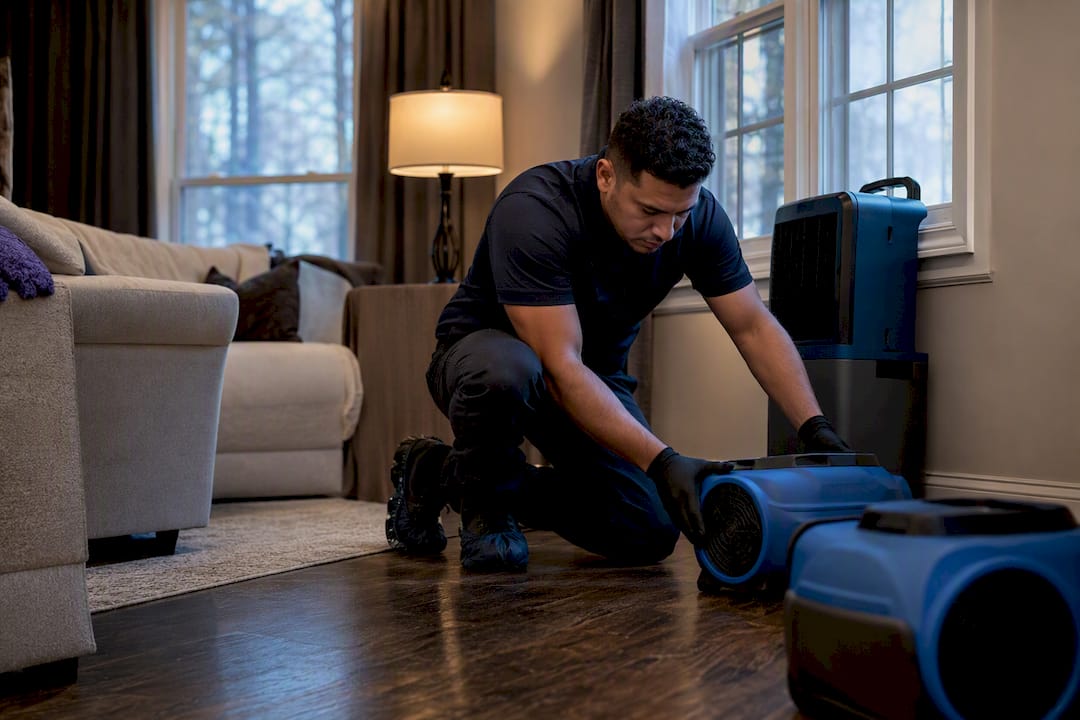
- Deploy air movers and dehumidifiers. Position air movers to create a circular airflow pattern around the room perimeter. Place dehumidifiers centrally so they capture moisture from all directions. For a standard room, one air mover per 50–70 square feet is a common starting point.
- Control temperature. Warmer air holds more moisture and speeds evaporation. Keep the space between 70°F and 90°F if possible. Do not use your HVAC system to do this. HVAC systems are not designed to dry water-damaged buildings and can spread mold spores if the system itself is contaminated.
- Monitor daily with a moisture meter. Take readings from the same reference points every day and log them. You need a trend, not a single number.
Pro Tip: If the damage involves Category 2 (gray water from appliances or toilets) or Category 3 (sewage or floodwater), skip DIY drying entirely. Contaminated water requires professional extraction, antimicrobial treatment, and documented disposal.
For a full checklist of immediate emergency actions, Thecleangenius has a homeowner-focused guide that covers the first critical hours.
Common mistakes that slow drying and increase mold risk
Most drying failures come down to a handful of predictable errors. Knowing them in advance saves you from a much larger repair bill.
- Trusting your senses over measurements. A wall that feels dry to the touch can still hold 20% moisture content inside the framing. Only moisture meters confirm true drying. Relying on feel is the single most common reason homeowners think a job is done when it is not.
- Sealing off wet areas too early. Closing doors to a wet room to “contain the mess” cuts off airflow and traps humidity. Wet areas need more airflow, not less.
- Using consumer fans and box-store dehumidifiers for serious damage. These units work for minor condensation issues. For a flooded basement or a burst pipe that soaked multiple rooms, they lack the capacity to dry materials before mold takes hold.
- Ignoring wall cavities and subfloors. Moisture migrates inward. A wet baseboard means the wall cavity behind it is likely wet too. Subfloors under wet carpet absorb water quickly and dry slowly. Missing these areas means mold grows out of sight.
- Running the HVAC without inspection. If floodwater reached your air handler, ductwork, or return vents, running the system spreads contamination through every room in the house.
The 2026 ANSI/IICRC S500 standard requires documented drying goals with daily moisture monitoring to verify success within 2%–4% of the dry standard moisture levels. Drying plans must include moisture maps, atmospheric readings, and final verification documentation. Skipping documentation does not just risk your health. It risks your insurance claim.
Pro Tip: If you are filing an insurance claim, photograph moisture meter readings at each measurement point every day. This documentation directly supports your claim and aligns with what the 2026 S500 standard requires from professional restorers.
Thecleangenius explains why drying validation matters for both health and insurance purposes.
How long does drying take, and how do you know when it is done?
Drying time depends on the severity of the damage, the materials affected, and the equipment deployed. Minor damage from a small leak can resolve in days. A major flood or burst pipe that saturated framing, subfloors, and drywall can take weeks.
| Damage level | Typical drying time | Key factors |
|---|---|---|
| Minor (Category 1, isolated area) | 3–5 days | Clean water, limited material saturation |
| Moderate (one room, multiple materials) | 5–10 days | Subfloor or wall cavity involvement |
| Severe (multiple rooms or floors) | 2–4 weeks | Deep saturation, structural materials affected |
How to confirm the property is genuinely dry
The ANSI/IICRC S500 standard defines drying success as reaching Equilibrium Moisture Content (EMC). A material is dry when its moisture content falls within 2%–4% of a dry standard reference material of the same type in the same environment. That reference reading comes from an unaffected area of the same home.
Signs that drying is complete:
- Moisture meter readings at all affected points match the dry standard reference
- Indoor relative humidity holds steady between 30% and 50%
- No musty odor remains
- No visible condensation on windows or cold surfaces
- Daily readings show no further downward trend (the numbers have stabilized at the dry standard)
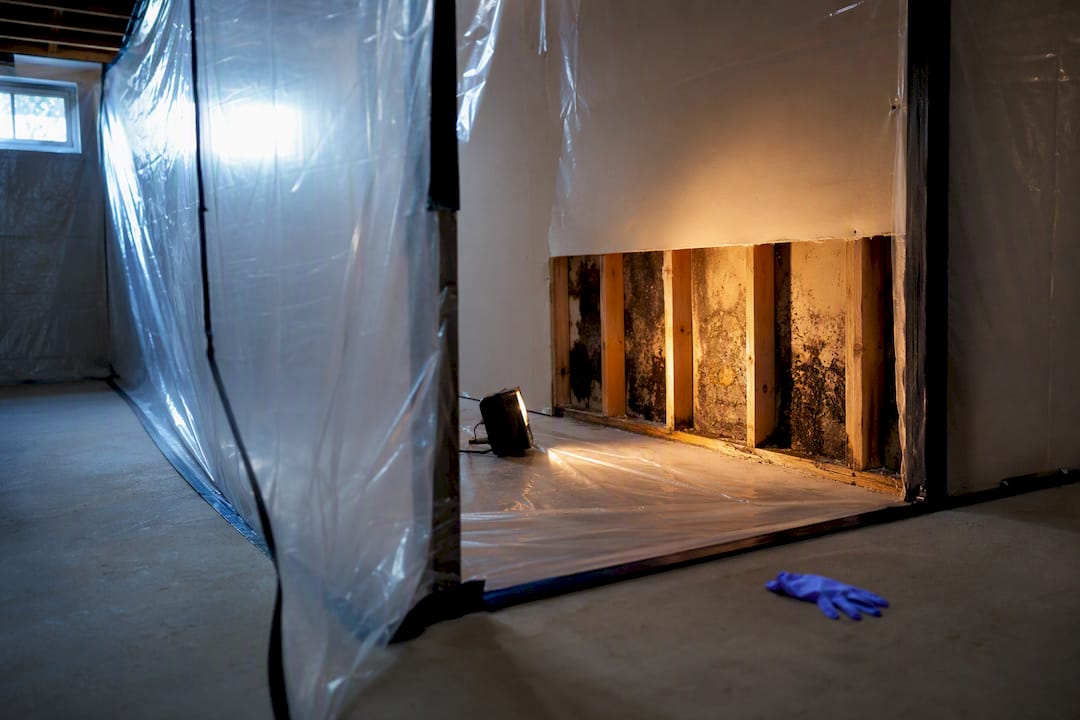
If readings plateau above the dry standard or mold becomes visible, the job has moved from drying into remediation territory. The 2026 S500 and S520 standards define exactly where that line falls and what documentation is required. At that point, professional remediation is the correct next step, not more fans.
Homeowners with pets should also review pet safety during flood events before starting any drying work, since animals are vulnerable to both contaminated water and the chemicals used in antimicrobial treatments.
Key Takeaways
Effective property dry-out requires acting within 48 hours, using professional-grade equipment, and verifying results with moisture meters rather than relying on appearance or feel.
| Point | Details |
|---|---|
| Act within 48 hours | Mold amplification begins after 48 hours; speed is the single most important factor. |
| Use the right equipment | LGR dehumidifiers and industrial air movers outperform consumer units for serious damage. |
| Open all cavities | Doors, cabinets, and drawers must stay open to expose hidden moisture to airflow. |
| Measure, do not guess | Moisture meters are the only reliable way to confirm drying progress and completion. |
| Document everything | Daily moisture logs support insurance claims and meet 2026 ANSI/IICRC S500 requirements. |
What 25 years of water damage jobs taught me about drying
I have walked into hundreds of homes where the homeowner was convinced the drying was done. The floors looked fine. The walls felt dry. The fans had been running for days. Then I put a moisture meter into the baseboard and watched the reading climb past 25%.
The biggest misconception homeowners carry is that drying is a visible process. It is not. The moisture that destroys a home hides inside wall cavities, under subfloors, and behind cabinets. By the time you see mold or smell it, the damage is already weeks old.
The second misconception is that more time equals more drying. Running a box fan for two weeks does not dry a saturated subfloor. The right equipment run for five days beats the wrong equipment run for a month. That is not a theory. I have seen it play out on job after job.
What actually works is the combination of fast extraction, proper equipment placement, daily readings, and patience. Drying is a process with a measurable endpoint, not a feeling. The 2026 S500 standard codifies what experienced restorers have known for years: if you cannot document it, you cannot prove it is done.
My honest advice to any homeowner is this. Do the immediate steps yourself. Stop the water. Extract what you can. Open everything up. Then call a professional to assess whether the equipment you have is matched to the damage you are dealing with. The cost of a professional assessment is a fraction of the cost of mold remediation six weeks later.
— Jim
Thecleangenius is ready when you need professional drying support
Water damage does not wait for business hours, and neither does Thecleangenius. The team serves Chicagoland homeowners 24 hours a day, 7 days a week, with certified technicians who handle everything from water extraction and structural drying to full mold prevention documentation and insurance coordination.

If you are dealing with a flood, burst pipe, or sewage backup right now, Thecleangenius brings industrial-grade LGR dehumidifiers, air movers, and moisture monitoring equipment directly to your home. The team works directly with your insurance company and follows 2026 ANSI/IICRC S500 documentation standards on every job. Get the professional restoration help your home needs before the 48-hour mold window closes.
FAQ
How quickly does mold grow after water damage?
Mold can begin growing within 24 to 48 hours if moisture is not removed. Starting the drying process immediately is the most effective way to prevent mold amplification.
Can I dry out my home myself after water damage?
Small-scale Category 1 (clean water) damage in a limited area can be handled with the right equipment, and DIY drying typically takes 3 to 5 days with proper tools and daily monitoring. Contaminated water or damage covering multiple rooms requires professional water removal services.
How do I know when my home is completely dry?
Your home is dry when moisture meter readings at all affected points fall within 2%–4% of a dry standard reference material in the same space. Indoor relative humidity should also hold steady between 30% and 50%.
Should I run my HVAC system to help dry out my home?
No. HVAC systems are not designed to dry water-damaged buildings and can spread mold spores throughout the house if the system has been exposed to floodwater. Have the system professionally inspected before turning it on.
What does the ANSI/IICRC S500 standard require for drying documentation?
The 2026 S500 standard requires documented drying goals, daily moisture maps, atmospheric readings, and final verification that materials have reached the dry standard. This documentation protects both your health and your insurance claim.