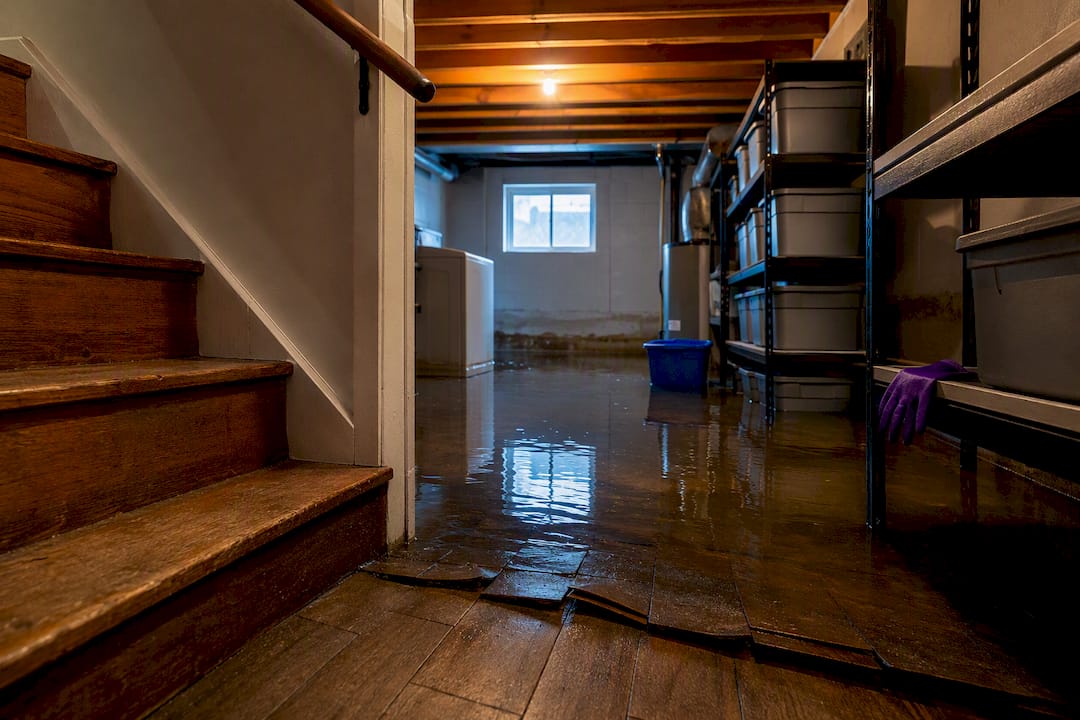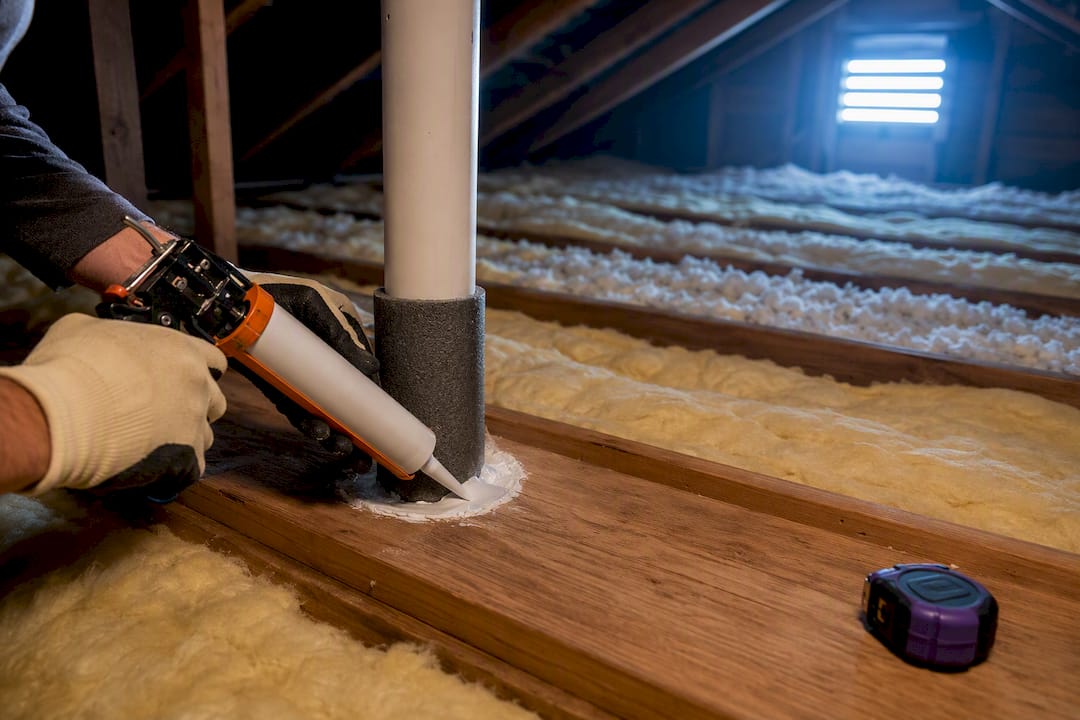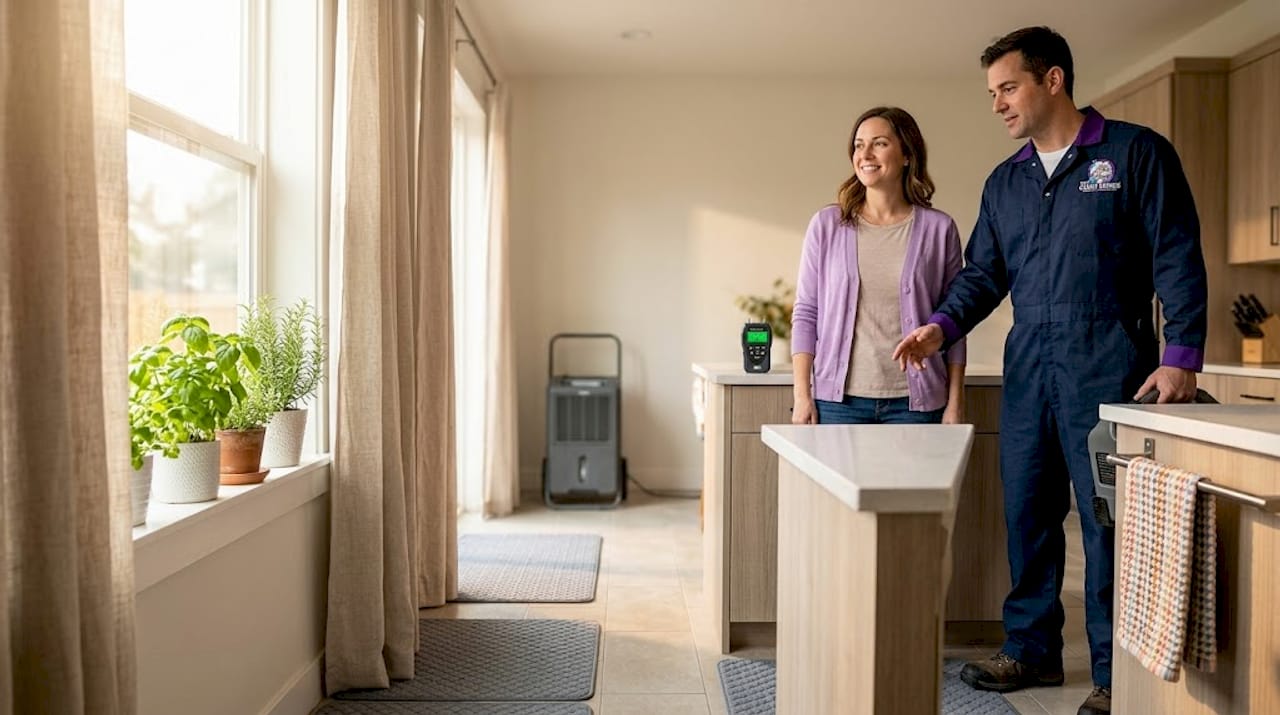

Water damage does not wait for a convenient time. A burst pipe at midnight, a flooded basement after a Chicago storm, a slow leak behind your kitchen wall that you finally noticed three weeks too late. When you are standing in the middle of it, the most useful thing you can find is proof that recovery is possible. These examples of successful water damage restoration are exactly that: real scenarios, proven methods, and the lessons behind each one so you can approach your own situation with far more confidence.
Table of Contents
- Key takeaways
- 1. What makes a water damage restoration truly successful
- 2. Rapid emergency response after a burst pipe
- 3. Dry-first preservation saving hardwood floors and cabinetry
- 4. Comprehensive restoration from extraction through full rebuild
- 5. Comparing restoration methods and outcomes
- My honest take after seeing hundreds of these situations
- How Thecleangenius handles water damage restoration across Chicagoland
- FAQ
Key takeaways
| Point | Details |
|---|---|
| Speed is the biggest factor | Early moisture control stops secondary damage from multiplying repair costs significantly. |
| Technology saves materials | Advanced drying and thermal imaging preserve floors and cabinets that older methods would demolish. |
| Insurance coordination matters | Professionals who work directly with insurers reduce your stress and speed up claims resolution. |
| One team is better than many | A single restoration company handling extraction through rebuild delivers more consistent results. |
| Mold risk is always present | Hidden moisture behind walls causes mold growth if not detected with professional equipment. |
1. What makes a water damage restoration truly successful
Before looking at real-life restoration examples, you need a clear picture of what success actually looks like. Not every dry house is a well-restored one.
The benchmarks that separate a good restoration from a great one include:
- Early moisture detection. Successful projects stop damage from spreading within the first few hours. Ignoring early water intrusion causes secondary damage that becomes far more expensive to remediate.
- Advanced drying technology. Moisture meters, industrial dehumidifiers, and thermal imaging cameras reveal what the eye cannot see.
- Mold prevention. Any moisture left behind walls, under flooring, or inside cavities becomes a mold problem within 24 to 72 hours.
- Material preservation. Modern methods aim to save, not gut. Preserving original materials reduces costs and emotional impact.
- Licensed professionals. Certified technicians follow industry drying standards and know how to document damage for insurance.
- Insurance coordination. Companies that work directly with insurance remove an enormous burden from homeowners during an already stressful time.
- Clear communication. You should always know what is happening, what comes next, and what the expected outcome is.
Pro Tip: Ask any restoration company you consider hiring whether they use thermal imaging cameras as part of their standard drying process. If they do not, hidden moisture is much more likely to become your problem again in three months.
The financial and emotional relief of getting this right the first time is significant. That is the bar every example below was measured against.
2. Rapid emergency response after a burst pipe
A homeowner in Schaumburg woke up to a burst supply line under the bathroom sink. By the time the water was shut off, the bathroom floor, the adjacent hallway, and the subfloor underneath both were saturated.
Here is what a successful rapid-response restoration looked like in that scenario:
- Technicians arrived within two hours of the call, well before secondary damage had any time to establish
- Moisture meters and thermal imaging during drying revealed water had wicked four feet into the hallway wall cavity, invisible from the surface
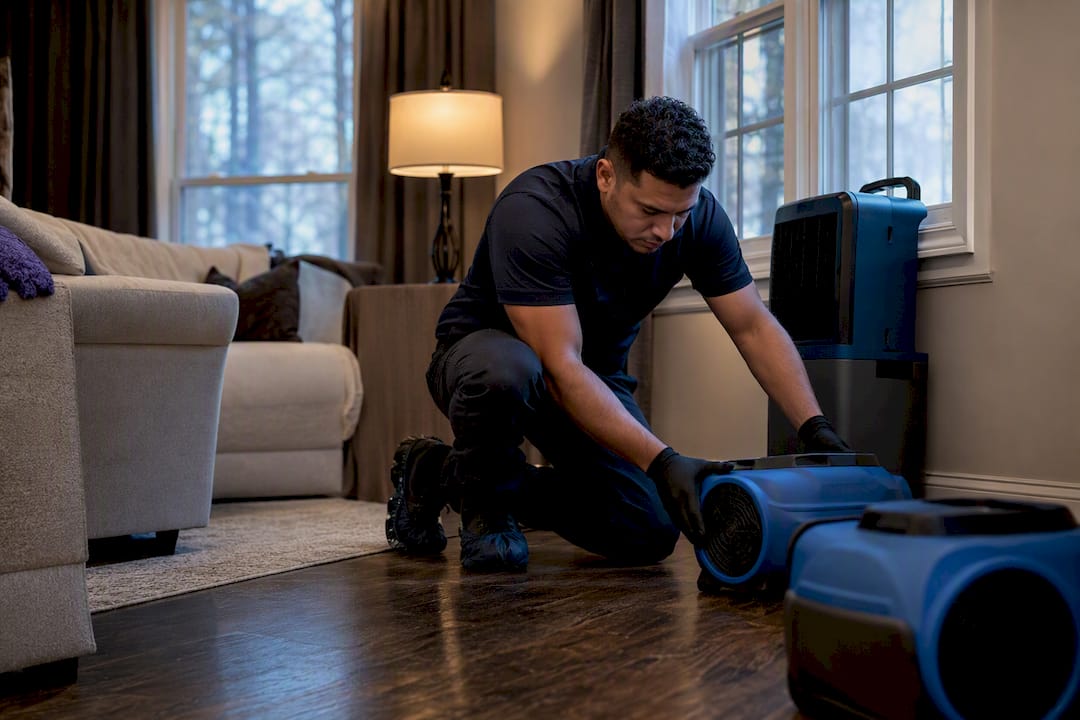
- Industrial air movers and dehumidifiers ran continuously, with daily monitoring adjustments
- The restoration team documented every reading and communicated progress directly to the insurance adjuster
- The subfloor dried successfully without replacement. The tile required removal and reinstallation, but the structure underneath was saved
“I expected them to start ripping out walls immediately. Instead, they spent the first hour mapping exactly where the moisture was. That approach saved me a significant portion of what I thought the repair would cost.”
This water damage recovery story illustrates why arrival time and diagnostic precision matter more than simply showing up with fans. Emergency water extraction done right starts with understanding the full scope before removing a single baseboard.
3. Dry-first preservation saving hardwood floors and cabinetry
A homeowner in Naperville had a dishwasher supply line fail while they were on vacation. The kitchen flooded for somewhere between 24 and 36 hours. The oak hardwood floors were visibly cupped and swollen. The lower cabinet toe kicks were soaked. Most people in that situation expect to lose the floors entirely.
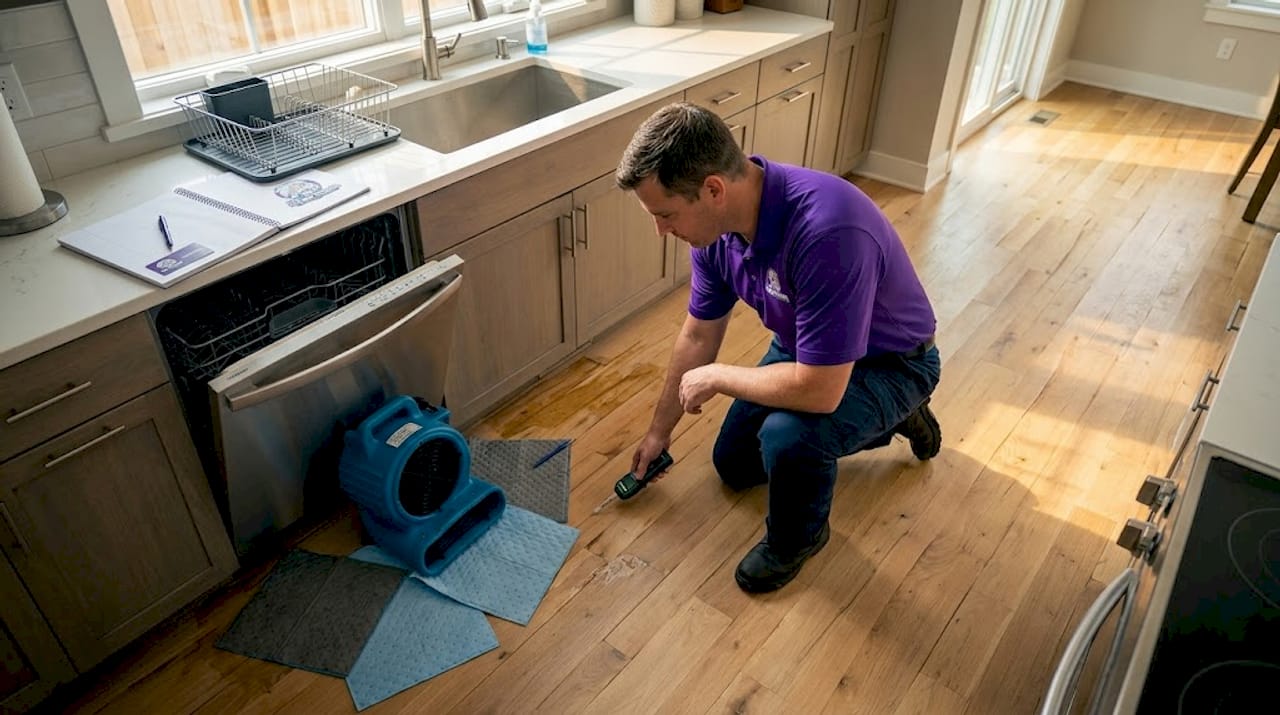
They did not, because the restoration company used a dry-first approach.
| Feature | Traditional method | Dry-first approach |
|---|---|---|
| Floor treatment | Demolition and replacement | Drying in place with mat systems |
| Cabinet handling | Full removal | Targeted drying with moisture mapping |
| Timeline | Longer due to rebuild phase | Shorter with no rebuild needed |
| Cost to homeowner | Higher out-of-pocket | Lower with more preserved materials |
| Emotional impact | High disruption | Lower disruption, faster normalcy |
Advanced psychrometric drying and moisture mapping allow technicians to calculate exactly how much moisture is in the wood and what equipment will draw it out without warping the floor further. This is drying science, not guesswork.
The results in this case:
- Hardwood floors: Dried successfully in place. The cupping reversed as moisture equalized. No replacement needed.
- Cabinetry: Lower cabinets dried without structural compromise. Hardware was removed, the interiors dried, and everything was reinstalled.
- Insurance claim: Preserving flooring and cabinetry lowered the total claim significantly compared to a full demolition scenario.
The industry is actively shifting toward sustainable dry-first methods precisely because homeowners and insurers both benefit. If a company quotes you for floor replacement without first attempting drying, get a second opinion.
4. Comprehensive restoration from extraction through full rebuild
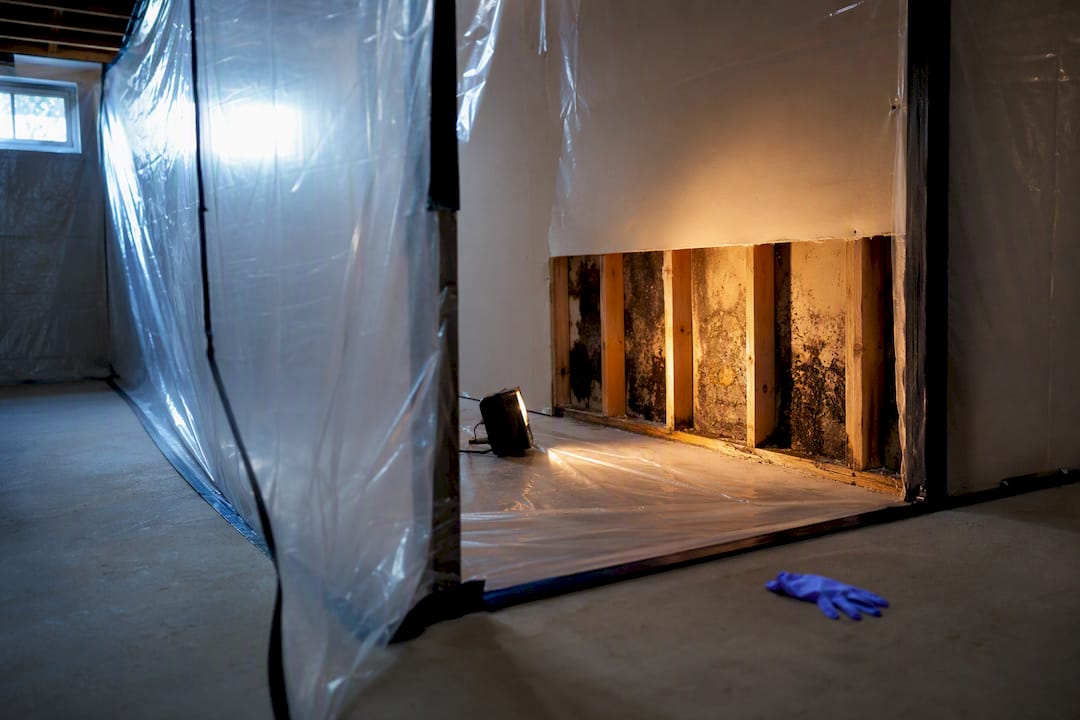
Some water damage situations are not contained to one room or one system. A Wheaton homeowner experienced a sewer backup after a heavy storm that sent water into the basement, saturated the drywall on two walls, and left contaminated water sitting on the concrete floor for over 24 hours.
This required every phase of restoration, not just drying.
- Water extraction. Contaminated water was removed with truck-mounted extraction units rated for sewage situations.
- Sanitization. All affected surfaces were treated with antimicrobial agents to address category 3 water contamination.
- Demolition. The lower sections of drywall were removed because contaminated water had wicked up 18 inches. This was a case where targeted demolition was the right call.
- Drying. With the affected drywall removed, professional drying equipment and moisture detection confirmed the framing and concrete dried completely before any rebuild began.
- Mold testing. Air quality and surface testing confirmed no mold colonies had formed in the 72-hour window.
- Rebuild. New drywall, paint, and flooring were installed by the same team, matching existing finishes.
Pro Tip: Never start the rebuild phase until you have third-party moisture readings confirming the structure is dry. Locking moisture inside new drywall creates a mold problem that will not show itself for months.
The single-team approach in this case meant one point of contact, consistent documentation, and no handoff gaps between contractors. For complex water damage restoration case studies like this one, that continuity is not a luxury. It is a requirement for a clean outcome.
5. Comparing restoration methods and outcomes
Not every water damage situation calls for the same approach. Here is how the three methods covered in these water damage restoration case studies compare, and how to decide which fits your situation.
| Factor | Rapid emergency response | Dry-first preservation | Comprehensive restoration |
|---|---|---|---|
| Best for | Clean water, contained area, fast response | Finished materials worth saving | Complex or contaminated damage |
| Timeline | 3 to 7 days | 5 to 10 days | 2 to 6 weeks |
| Average cost | Lowest | Moderate | Highest |
| Material preservation | High | Highest | Moderate (selective demo) |
| Mold risk if done correctly | Low | Low | Low with proper sequencing |
When choosing between these successful restoration methods, ask yourself:
- How long has the water been sitting? Longer exposure shifts you toward comprehensive restoration.
- What type of water is it? Clean, gray, or sewage determines the sanitization requirements.
- What materials are affected? High-value original hardwoods and custom cabinetry justify the dry-first investment.
- How quickly did you call a professional? Speed is the single biggest variable in every outcome above.
You can use this selection checklist to evaluate any restoration company before you commit. The right company will ask you these same questions before proposing a method.
My honest take after seeing hundreds of these situations
I have worked with homeowners across the Chicago suburbs for years, and the single most common regret I hear is this: “We waited too long to call someone.” Not days. Hours. People assume water damage is something you can manage yourself over a weekend, and they are usually right about the visible water. What they consistently underestimate is the moisture that migrated somewhere they cannot see.
The second thing I have come to believe strongly is that the demolition-first mentality is outdated. I have watched crews pull out perfectly salvageable hardwood floors because they did not have the equipment or training to try saving them first. Effective water damage repair today looks very different from what it looked like a decade ago. The tools exist to preserve more and demolish less. The question is whether the company you hire knows how to use them.
I will also say this plainly: working with your insurance company does not have to be a nightmare. When your restoration team documents damage thoroughly and communicates directly with your adjuster, the process moves faster and you get fairer outcomes. That coordination is not a courtesy. It is part of the service, and you should expect it.
If there is one thing these real-life restoration examples all have in common, it is that the homeowner who called sooner, asked the right questions, and hired a team with proper equipment came out better every single time. Not slightly better. Substantially better.
— Jim
How Thecleangenius handles water damage restoration across Chicagoland
When water damage hits your home, you need a team that shows up fast, knows exactly what to do, and handles every step from water removal through final repairs.

Thecleangenius has served Chicagoland homeowners for over 25 years, with more than 400 five-star reviews built on exactly the kind of outcomes described in this article. The team handles floods, burst pipes, sewage backups, and full property dry-out, working directly with your insurance company so you are not managing that process alone. If mold is a concern after water intrusion, the certified crews use advanced Pure Cloud dry-fog technology for complete mold removal after water damage. For homeowners across Arlington Heights, Naperville, Schaumburg, Barrington, Palatine, Mount Prospect, and the greater Chicagoland area, 24/7 emergency water damage restoration is one call away.
FAQ
What are the first signs of successful water damage restoration?
A successful restoration ends with confirmed moisture readings at or below normal levels in all affected materials, no visible or detectable mold, and all structural elements restored to pre-damage condition. Thermal imaging and moisture meters should confirm dryness before any rebuild work begins.
How long does water damage restoration typically take?
Timeline depends on damage type and scope. A contained clean-water incident may resolve in three to seven days, while a sewage backup or multi-room flood requiring rebuild can take two to six weeks. Faster professional response generally shortens the timeline significantly.
Can hardwood floors be saved after water damage?
Yes, in many cases. Dry-first restoration methods using psychrometric drying and mat drying systems can save cupped or swollen hardwood floors if treatment begins quickly. The longer the wood stays saturated, the lower the chance of successful preservation.
Does water damage restoration prevent mold growth?
Proper restoration substantially reduces mold risk by removing trapped moisture before spores can colonize. Professional drying equipment detects hidden moisture behind walls and under floors that fans and shop vacs cannot reach. Mold testing after restoration confirms the job is complete.
Should I use one company for everything or hire separate contractors?
One company handling extraction through rebuild consistently produces better outcomes, as shown across the water damage restoration case studies in this article. A single team maintains documentation continuity, communicates directly with your insurer, and has no incentive to rush the drying phase before the rebuild begins.