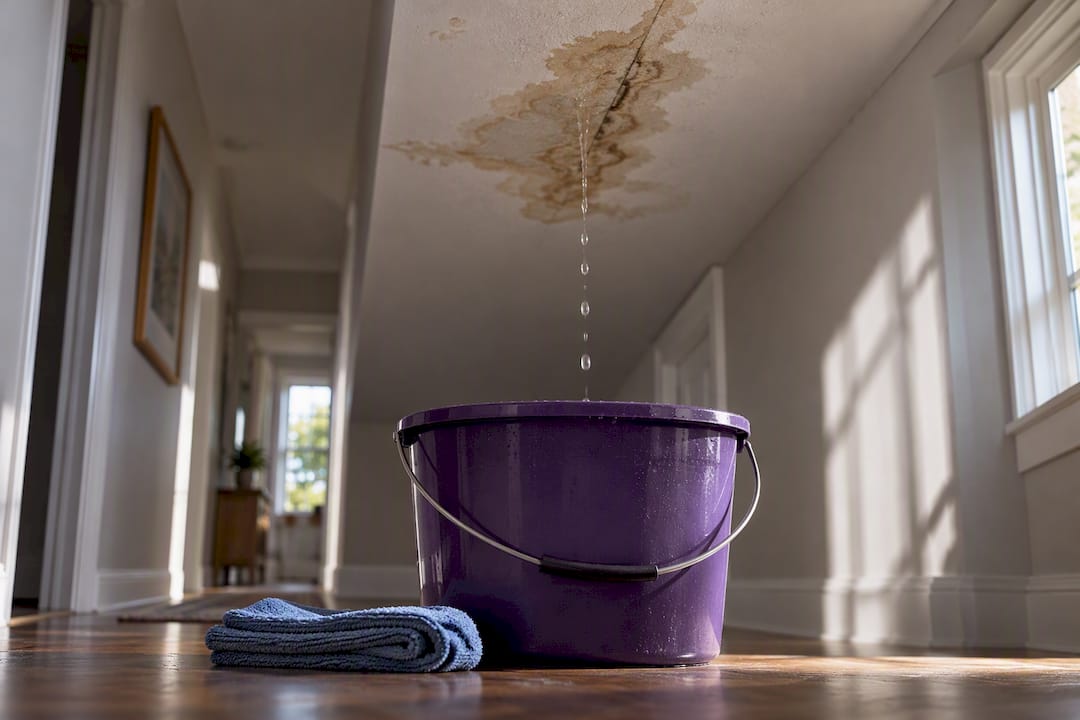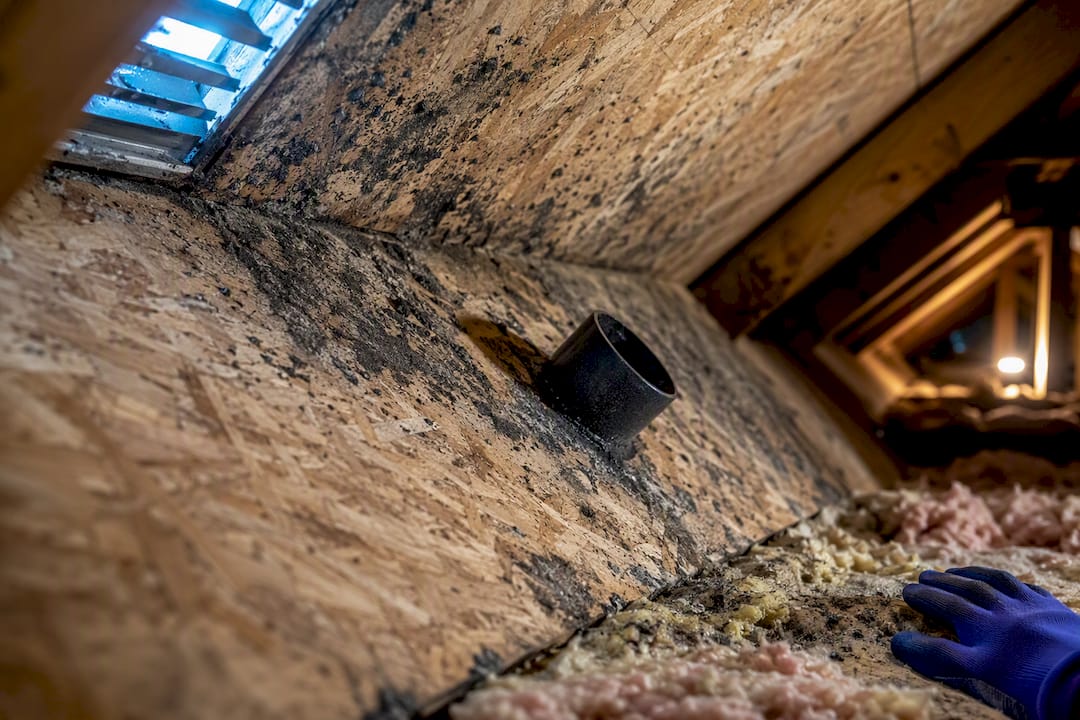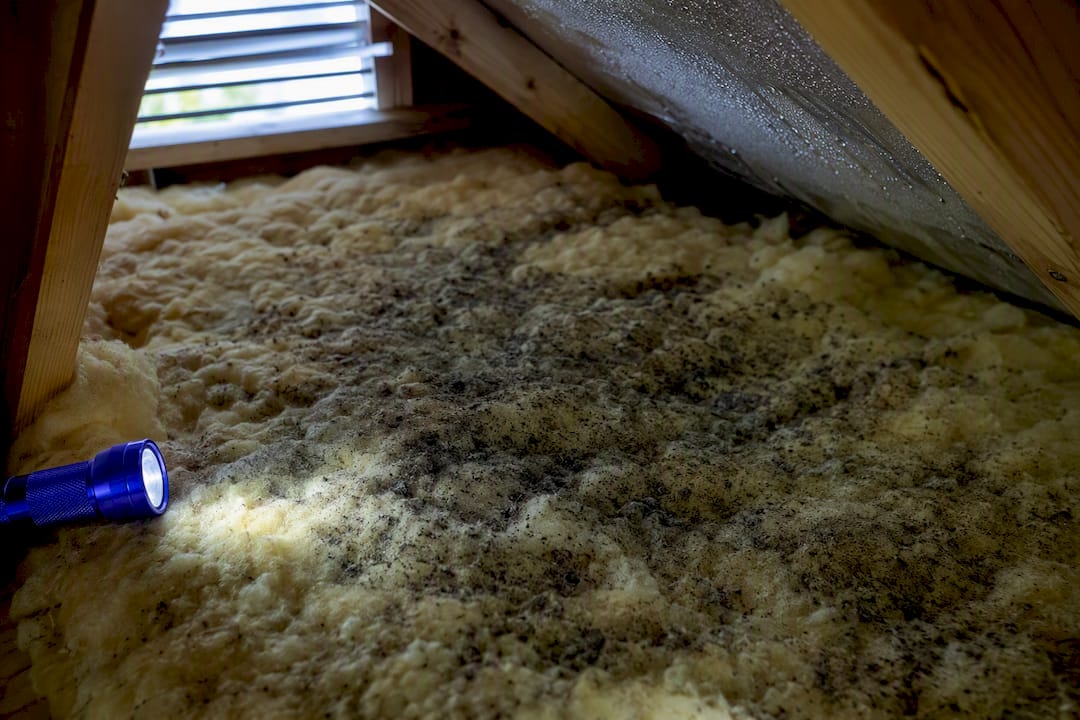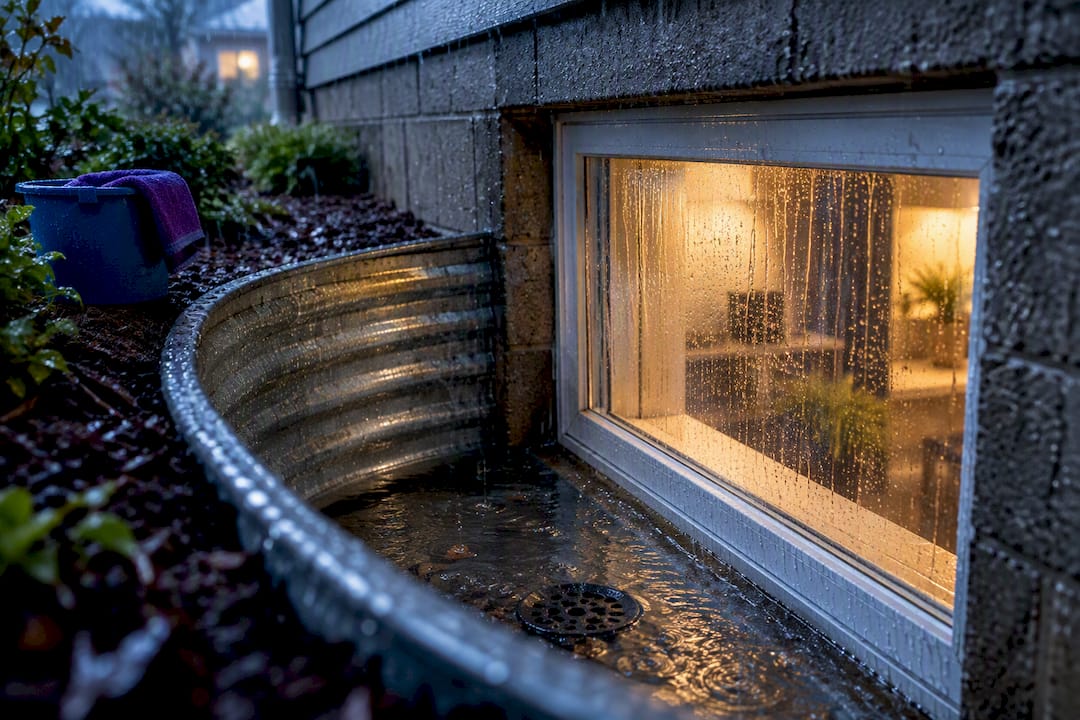

The fastest fix is pulling standing water out now with a submersible pump or wet/dry vac, then stopping new water from getting in by covering the well and redirecting downspouts away from the foundation. That buys time. If the leak keeps coming back or you find a cracked well or drain, you’re looking at a permanent drainage repair, and possibly a call to a waterproofing contractor before mold sets in.
TL;DR:
- Installing or repairing a perforated drain and regrading the yard can resolve most drainage issues, typically costing between $1,200 and $3,000.
- Regular maintenance, including clearing debris, checking drainage performance, and redirecting downspouts, can prevent most leaks and mold risks.
- Quickly pumping out water within 2 to 4 hours and testing drainage speed are critical steps to minimize foundation damage and mold growth.
- Call a professional if leaks persist despite repairs, cracks are widening, or visible mold or water damage appear in the basement.
- A proper window well cover, especially made of polycarbonate, significantly reduces routine rain and debris but does not replace a working drain system during heavy storms.
Table of Contents
- Emergency Steps for a Flooded Window Well
- What’s Actually Causing the Leak?
- Quick, Cheap Fixes You Can Do This Weekend
- Permanent Repairs and What They Cost
- When Should You Call a Restoration Professional?
- Seasonal Maintenance That Actually Prevents Leaks
- How Window Well Leaks Affect Air Quality and Mold Risk
- Which Window Well Cover Actually Keeps Water Out?
- Removing Water-Damaged Materials Safely
- Winter Freeze-Thaw and Other Seasonal Risks
- A Restoration Pro’s Take on Window Well Leaks
- Fast, Certified Help When a Window Well Leak Gets Ahead of You
- Sources
- FAQ
Emergency Steps for a Flooded Window Well
Water sitting against your foundation for hours, not days, is what turns a nuisance into a repair bill. Move fast.
- Pump it out. A submersible utility pump or a wet/dry vac clears water quickest. Run the discharge hose downhill and at least 20 feet from the house, and keep any extension cords on a GFCI outlet away from standing water.
- Block more water from coming in. Sandbags around the well rim, a tarp weighted with bricks, or a quick downspout extension can hold the line for a day or two.
- Time yourself. Get water out within 2 to 4 hours of noticing it. Waiting longer raises the odds of seepage through the wall and mold starting behind drywall or insulation.
- Run a quick drain test. Pour a bucket of water into the well and watch how fast it disappears. A slow or stalled drain tells you exactly where the problem lives.
Pro Tip: Keep a $30 wet/dry vac and a coil of garden hose in the basement year round. The five minutes it saves during a storm is the difference between a mop-up and a mold problem.
What’s Actually Causing the Leak?
Before you fix anything, figure out what’s actually broken. Most window well leaks trace back to one of these:
- Clogged well drain. Leaves, dirt, and gravel settle over the drain opening until water has nowhere to go.
- No drain at all. Older homes often have window wells with zero drainage tied into anything.
- Poor grading. If the soil near your foundation slopes toward the house instead of away, every rain sends water straight into the well.
- Clogged or misdirected gutters. Overflowing gutters near a window well act like a hose aimed at your foundation.
- Damaged well walls. Rust holes in metal wells or cracked corrugated plastic let groundwater seep in from the sides.
- High water table. In low-lying yards, groundwater can push up through gravel even without heavy rain.
- Foundation cracks. Water tracking down the foundation wall itself, not through the window, means the well isn’t your real problem.
Run the pour test described above. A functioning drain clears 3 to 5 gallons in about 20 to 30 seconds; anything slower than a minute points to a partial clog or an undersized pipe. Next, check where the water is actually entering, through the window seal, along a wall crack, or bubbling up from the gravel bed. That single observation usually tells you whether you’re dealing with a drainage problem or a foundation problem, and those two get fixed very differently.
Quick, Cheap Fixes You Can Do This Weekend
Not every leak needs a contractor. Several fixes cost under $100 and take an afternoon.
- Clear the well of debris. Pull out leaves, dirt, and old mulch, then check whether the drain opening at the bottom is actually visible or buried.
- Refresh the gravel backfill. Compacted gravel holds less water than fresh, loose gravel. Swap it out and you’ll see faster drainage almost immediately.
- Reseal the window perimeter. Use a polyurethane or silicone-based exterior caulk rated for below-grade use, not standard interior latex caulk, which fails fast underground.
- Add or reinstall a well cover. A snug-fitting cover keeps out rain, leaves, and small animals between storms.
- Extend downspouts. Redirecting roof runoff at least 6 feet from the well often solves the problem on its own.
- Build a temporary soil berm. A few inches of packed soil or sandbags on the uphill side of the well can redirect surface water during the next storm while you plan a permanent fix.
Permanent Repairs and What They Cost
Short-term fixes buy time. If the well floods every heavy rain, you need a permanent solution, and the right one depends on what your diagnosis turned up.
For a simple drainage problem, installing or repairing a 4-inch perforated drain that runs to daylight, a sump pit, or a storm connection usually solves it for good. Regrading the yard so soil slopes at least 6 inches over the first 10 feet away from the house, the standard the International Residential Code recommends, often gets paired with this work. If the well itself is cracked, rusted, or undersized, replacement with a properly sealed unit and fresh gravel backfill is the fix. Foundation cracks are a different animal entirely: those require excavation, crack injection, and exterior waterproofing membrane, which is why costs jump sharply once a foundation issue turns up.
HomeGuide’s cost data puts basic replacement projects as low as $1,200 and premium jobs, larger wells, custom covers, added drainage, over $3,000. Contractors frequently find hidden foundation damage once they start digging, which is the main reason final invoices run higher than initial estimates. Budget a contingency rather than treating any single number as fixed.
When Should You Call a Restoration Professional?
Some situations are beyond a weekend fix. Call a waterproofing or restoration contractor if you see any of these red flags:
- The same well floods after every storm, no matter what you clear or reseal.
- Water pushes in with visible pressure, not a slow trickle.
- Foundation cracks wider than a quarter inch, or cracks that are growing.
- Visible mold on framing, drywall, or insulation near the window.
- Carpet, drywall, or subfloor already shows water staining or a musty smell.
A professional typically runs a moisture map of the affected wall, sometimes a CCTV camera down the drain line to spot the exact blockage, and can excavate and connect the well to a sump or French drain system in a single visit. They’ll also document the damage for your insurance adjuster, which matters if a sudden pipe or drain failure is covered under your policy.
Pro Tip: Before a contractor arrives, take dated photos of the standing water, the well drain, and any interior damage. That documentation speeds up both the diagnosis and the insurance claim.
Seasonal Maintenance That Actually Prevents Leaks
Most window well problems are preventable with two checkups a year.
- Clear wells of leaves and debris after fall leaf drop and again after spring storms.
- Keep the well cover free of buildup so it seals properly.
- Clean gutters and confirm downspouts still discharge at least 6 feet from the foundation.
- Check that grading still slopes away from the house at 6 inches per 10 feet; soil settles over time and can reverse the slope.
- Run a drain performance test on each drain once a season, and inspect caulk and fasteners around the window for cracking.
How Window Well Leaks Affect Air Quality and Mold Risk
Water sitting in a window well doesn’t just threaten your foundation. It’s often the first domino toward an indoor air quality problem. Moisture that seeps through the window seal or the surrounding wall gets trapped behind drywall, baseboards, and insulation, exactly the dark, damp conditions mold needs to establish itself.
The EPA’s guidance on mold and moisture is blunt about the timeline: mold growth follows moisture problems, and prompt drying is the primary defense. That’s not a “get to it eventually” recommendation. Damp drywall and wet carpet padding can support mold growth within 24 to 48 hours under the right conditions, and once spores establish themselves in wall cavities, you’re no longer looking at a surface cleaning job.
The health concern isn’t limited to visible mold patches, either. Musty odors, persistent allergy symptoms in household members, and a general “stuffy basement” smell are often signs of hidden moisture doing damage you can’t see yet. Anyone with asthma or mold sensitivities tends to notice these effects first, sometimes before there’s any visible staining.
If a window well leak has already soaked drywall, carpet, or insulation, drying alone usually isn’t enough. Materials that stayed wet for more than a day or two typically need to be removed and remediated rather than dried in place, which is a different job than fixing the drainage problem outside.
Which Window Well Cover Actually Keeps Water Out?
Not all covers perform the same, and the material you choose matters more than most homeowners expect.
Polycarbonate covers are the most common upgrade. They’re clear, letting light into the basement window, and they hold up well against hail and foot traffic. Properly fitted, they block the majority of rain and debris, though they still rely on a functioning drain underneath for anything beyond routine rainfall.

Metal mesh or grate covers are cheap and keep out leaves and larger debris, but they do little against heavy rain since water passes straight through the gaps. These work best as a safety cover for wells near foot traffic, not as a flood-prevention measure.
Bubble-style dome covers seal more tightly around the well perimeter than flat covers, and they shed water off the sides rather than letting it pool on top. They’re the closest thing to a true rain barrier among the common cover types, but a poor fit against an irregular well shape defeats the purpose.
Custom-fit fiberglass or acrylic covers cost more but seal tightest against irregular wells and older window frames. For homes with a documented flooding history, this is usually the better long-term investment over a generic hardware-store cover.
Whatever you choose, a cover is a defense against light rain and debris, not a substitute for a working drain. Covers prevent most routine flooding but won’t help when heavy rain or a high water table overwhelms the well faster than the cover can shed water.
Removing Water-Damaged Materials Safely
Once the water is out, the cleanup itself carries its own risks if you rush it. Wet drywall, carpet, and insulation are heavy, can harbor mold spores, and sometimes hide sharp debris or exposed nails.
Start by wearing gloves, closed shoes, and an N95 mask if you smell mustiness or see discoloration. Cut damaged drywall at least 12 inches above the visible waterline since moisture wicks upward past what’s visible. Pull wet carpet and padding entirely rather than trying to dry them in place. Insulation that’s absorbed water, whether fiberglass batts or blown-in cellulose, loses its effectiveness permanently and needs full removal, not drying.
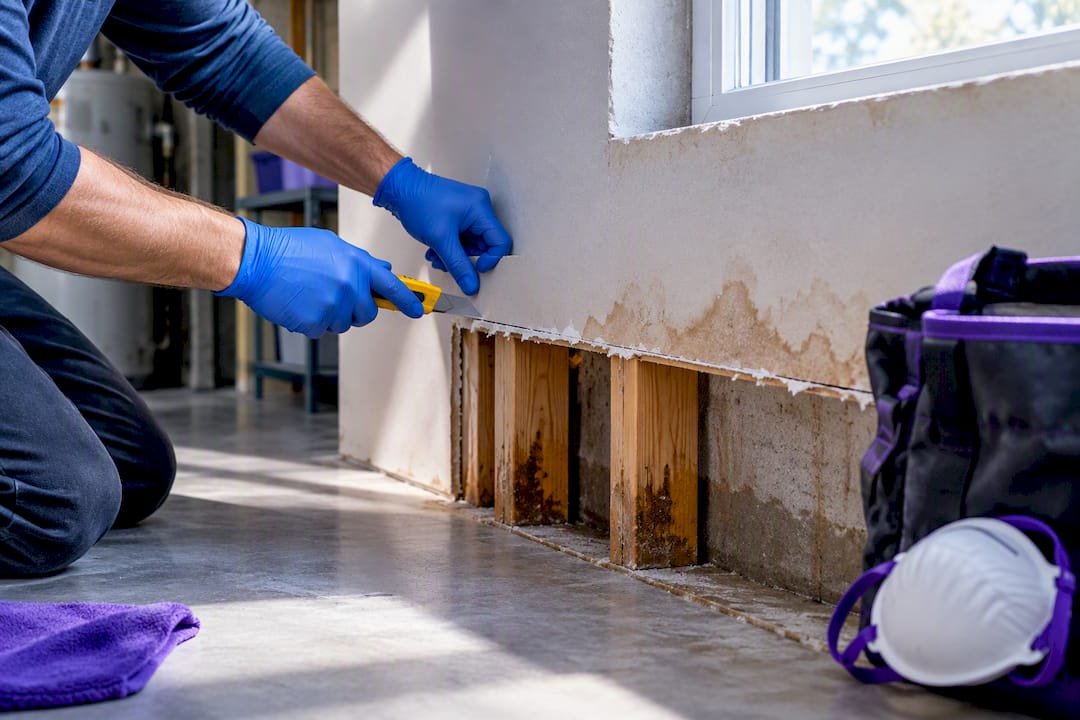
Bag damaged materials in heavy contractor bags before carrying them through the house to limit spore spread to unaffected rooms. Most municipal waste programs accept water-damaged household materials as regular bulk trash, but check with your local sanitation department first since some areas require mold-contaminated debris to be double-bagged or hauled separately. Never run damaged drywall or insulation through a standard trash compactor, since that can aerosolize mold spores into the air you’re breathing.
If the affected area exceeds roughly 10 square feet or you’re unsure how far the water traveled behind the walls, that’s the point where a professional assessment beats guesswork.
Winter Freeze-Thaw and Other Seasonal Risks
Window wells don’t leak the same way in every season, and your maintenance schedule should reflect that.
Winter brings freeze-thaw cycles that are brutal on drainage systems. Water that pools in a well and then freezes expands, which can crack plastic well liners or widen existing gaps in metal wells. Snowmelt refreezing at the base of a well can also block the drain opening entirely with ice, so a well that drained fine in October can back up completely in February even without a new clog.
Spring is the highest-risk season for most homeowners. Snowmelt combines with spring rain to saturate soil that’s already near capacity, and that’s when a marginal drain or slightly-off grading finally fails. This is also the best time to run your pour test, since a drain struggling in April will only get worse as rainfall increases.
Summer brings a different threat: intense, short thunderstorms that dump more water than a clogged or undersized drain can handle, even if that same drain handles steady spring rain fine.
Fall leaf drop clogs wells fast, sometimes within a couple of weeks of a clean-out, which is why the twice-a-year cleaning schedule matters more than a one-time fix.
A Restoration Pro’s Take on Window Well Leaks
Most calls we get start the same way: a homeowner noticed water days ago, hoped it would dry out on its own, and called once the basement smelled musty. Waiting almost always costs more than the leak itself would have. A fast pump-out, a flushed drain, and a tarp over the well while you plan repairs beats a mold remediation job every time. When insurance is involved, document the damage with photos before cleanup starts.
— Jim
Fast, Certified Help When a Window Well Leak Gets Ahead of You
Some restoration companies offer 24/7 emergency response services for water damage in the Chicagoland area, aiming to respond quickly when a window well leak turns into standing water in your basement.

We handle the whole arc, not just the pump-out. Our certified technicians assess the water damage on-site, document everything your insurance adjuster will need, and extract standing water the same day. If the moisture has already reached drywall, carpet, or insulation, we coordinate directly with your insurance company and move into full water damage restoration without you juggling separate contractors. And because window well leaks are a common trigger for hidden mold, our teams are equipped to run mold remediation with Pure Cloud dry fog technology if inspection turns up growth behind the walls. If you are experiencing water in your window well or detect a musty basement odor, it is advisable to call a professional restoration company to get a technician on-site before the damage spreads further.
Sources
- A brief guide to mold, moisture, and your home | US EPA
- 2026 Window Well Replacement Cost | Angi
- How Much Does it Cost to Replace a Window Well? (2026) | HomeGuide
- Emergency basement window well flooding fix: complete guide | WetNot
FAQ
How much does it cost to replace a basement window well?
A standard window well replacement typically runs $1,800 to $3,000, with basic jobs starting around $1,200 and premium projects with added drainage work exceeding $3,000, according to HomeGuide. Final cost depends heavily on well size, material, and whether foundation work turns up once excavation starts.
Will insurance cover a window well leak?
Coverage usually depends on the cause: sudden, accidental water intrusion (a burst pipe or a sudden storm surge) is often covered, while gradual seepage from poor grading or a long-neglected drain typically is not. Document the damage with photos immediately and call your insurer before starting cleanup, since a restoration company can help provide the documentation adjusters require.
Should basement window wells be covered?
Yes. A properly fitted cover keeps out leaves, debris, and most routine rain, though it still needs a functioning drain underneath to handle heavy storms. Polycarbonate and custom-fit acrylic covers generally outperform basic metal mesh grates for actual water protection.
How do you seal a window well to the foundation?
Use an exterior-rated polyurethane or silicone caulk around the window frame where it meets the foundation, not standard interior latex caulk, which fails quickly below grade. Reseal annually as part of seasonal maintenance, and pair it with a functioning drain and proper grading since caulk alone won’t stop water that’s pooling faster than it can drain.