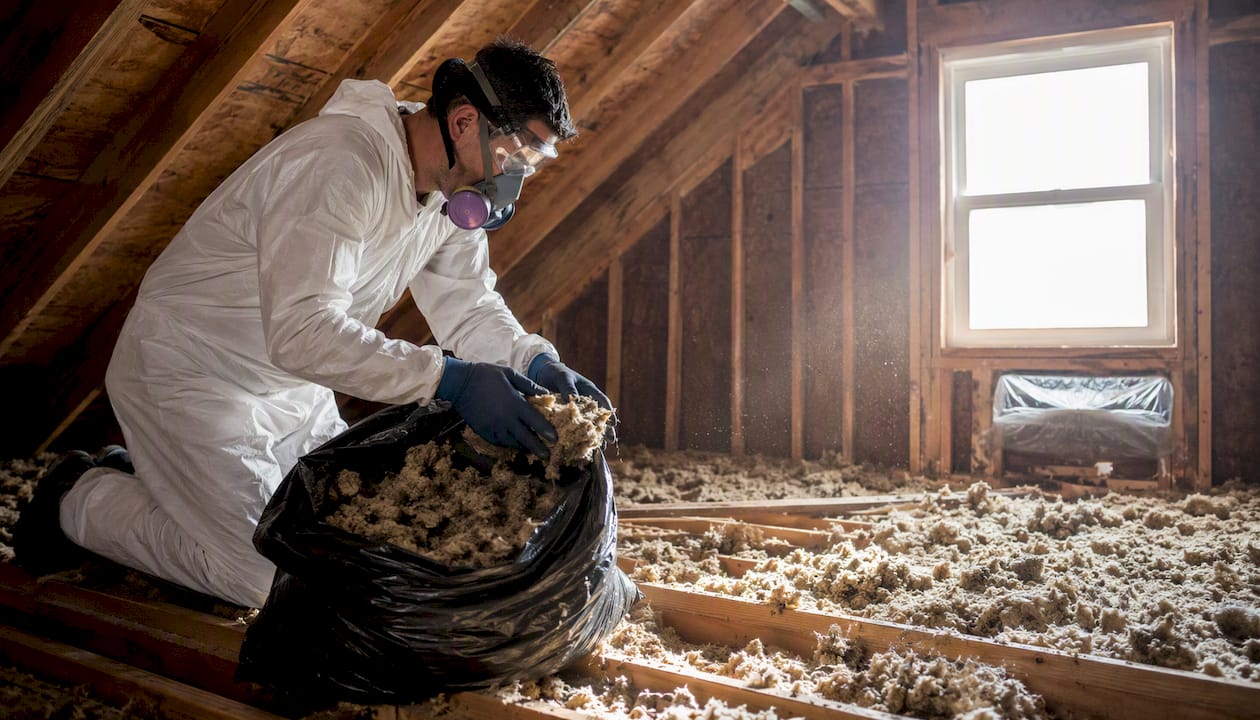

You can remove old attic insulation yourself if the material is dry, uncontaminated fiberglass batts or loose-fill cellulose with no signs of mold, rodent activity, smoke damage, or vermiculite. Stop immediately and call a licensed professional if you spot any of those red flags.
Before you touch anything, check for these conditions that require a pro:
- Vermiculite or pebble-like granules — the EPA advises treating all loose-fill vermiculite as asbestos-contaminated; do not disturb it
- Visible mold covering more than 10 square feet — this crosses into professional remediation territory
- Active or heavy rodent infestation — droppings can carry hantavirus, and disturbing contaminated insulation aerosolizes those particles
- Soot, smoke odor, or fire damage — smoke permeates porous insulation and requires specialized soot removal protocols
- Wet or water-damaged insulation — saturated material almost always harbors mold even when it is not yet visible
If none of those conditions are present, the DIY steps below apply. If even one is present, get a professional assessment before proceeding.
Pro Tip: Take photos of the attic before you start. You will need them for contractor bids, insurance claims, or resale disclosures.
Key Takeaways
Safe attic insulation removal requires a clear hazard assessment first: DIY is appropriate only for dry, uncontaminated fiberglass or cellulose, while vermiculite, mold, rodents, or smoke damage all require licensed professional remediation.
| Point | Details |
|---|---|
| DIY vs. pro decision | DIY is safe only for dry, uncontaminated fiberglass or cellulose; all other conditions require a licensed contractor. |
| Minimum PPE | Use an N95 respirator, safety goggles, Tyvek coveralls, and nitrile gloves for every clean-material job. |
| Vermiculite rule | Treat all vermiculite as asbestos-contaminated per EPA guidance; do not disturb it or bag it yourself. |
| HVAC sealing | Seal all return air vents and turn off the air handler before starting; this is the most commonly skipped step. |
| Thecleangenius | Provides certified attic insulation removal, mold remediation, and air clearance testing across Chicagoland, 24/7. |
Table of Contents
- What you need to check, wear, and gather before starting
- How to remove old attic insulation safely, step by step
- How to contain dust, ventilate, and do a final cleanup
- How to bag and dispose of removed insulation legally
- When you need to stop and call a professional
- What DIY vs. professional removal actually costs
- How a professional restoration firm approaches attic insulation removal
- What the field actually teaches you about attic insulation removal
- Thecleangenius handles the jobs that DIY cannot
- Sources
What you need to check, wear, and gather before starting
A quick visual inspection before you climb into the attic can save you from a serious health mistake. Bring a flashlight and look for wet spots, dark staining on joists, pebble-like granules mixed into the insulation, rodent droppings, or any smell of smoke or ammonia. If the insulation is dry and uncontaminated, you are cleared to proceed.
Minimum PPE for clean, low-hazard jobs:
- N95 respirator (at minimum; an N100 or P100 half-face respirator is better for blown-in fiberglass)
- Safety goggles, not just glasses
- Disposable Tyvek coveralls
- Nitrile gloves
Escalate to full PPE if you find any biological contamination:
- P100 half-face respirator
- Full Tyvek suit with hood and booties
- Double nitrile gloves, taped at the wrist
Tools and rentals to line up before you start:
- Insulation vacuum (available at most equipment rental centers; a shop vac with a HEPA filter is a workable substitute for small jobs)
- 6-mil contractor bags, at least 30 of them for a standard attic
- Plastic sheeting, 4 mil or heavier, for containment barriers
- Duct tape and a utility knife
- Portable work lighting rated for attic use
Pro Tip: Seal every HVAC return air vent in the attic with plastic sheeting and tape before you begin. Skipping this step is the single most common DIY mistake — an active air handler will pull contaminated dust straight into your living space.
How to remove old attic insulation safely, step by step
This procedure covers dry, uncontaminated fiberglass batts and loose-fill fiberglass or cellulose only. Practical PPE and removal guidance for these materials is well established. If you have any doubt about contamination, stop and call a pro.
-
Seal the attic access and set up containment. Hang plastic sheeting over the attic hatch and any doorways leading to living areas. Tape all seams. Turn off the HVAC system and seal every return air vent with plastic and tape. This keeps the work zone isolated.
-
Set up lighting before you move any material. Clip lights to joists or use a portable LED work light on a stand. You need to see what you are stepping on and what you are handling.
-
Work from the far end of the attic toward the access point. This keeps you from walking over disturbed material and tracking debris back through the house. Pros stage their work the same way, routing vacuum hoses through a sealed opening to an exterior collection point.
-
Remove batts by rolling, not shaking. Grab one end of a fiberglass batt, roll it tightly toward you, and slide it into a contractor bag without letting it unfurl. Shaking or tossing batts releases a cloud of glass fibers. Seal each bag with tape before moving to the next.
-
Vacuum loose-fill with the insulation vacuum. Feed the hose from the far end of the attic and work in rows. Keep the hose end close to the surface to minimize airborne dust. Most rental insulation vacuums connect to a large collection bag outside the attic; if you are using a shop vac, empty it frequently and seal the waste in contractor bags immediately.
-
Check wiring and fixtures as you go. Do not pull insulation off junction boxes or knob-and-tube wiring without pausing to inspect. Damaged wiring exposed during removal is a separate issue that needs an electrician before you reinsulate.
Estimated material yield for planning purposes:
| Material | Approx. bags per 100 sq ft | Notes |
|---|---|---|
| Loose-fill fiberglass | 3–5 bags | Varies with depth; deeper fill = more bags |
| Loose-fill cellulose | 4–6 bags | Cellulose compresses more; bags fill faster |
| Fiberglass batts | 2–3 bags | Roll tightly to fit more per bag |
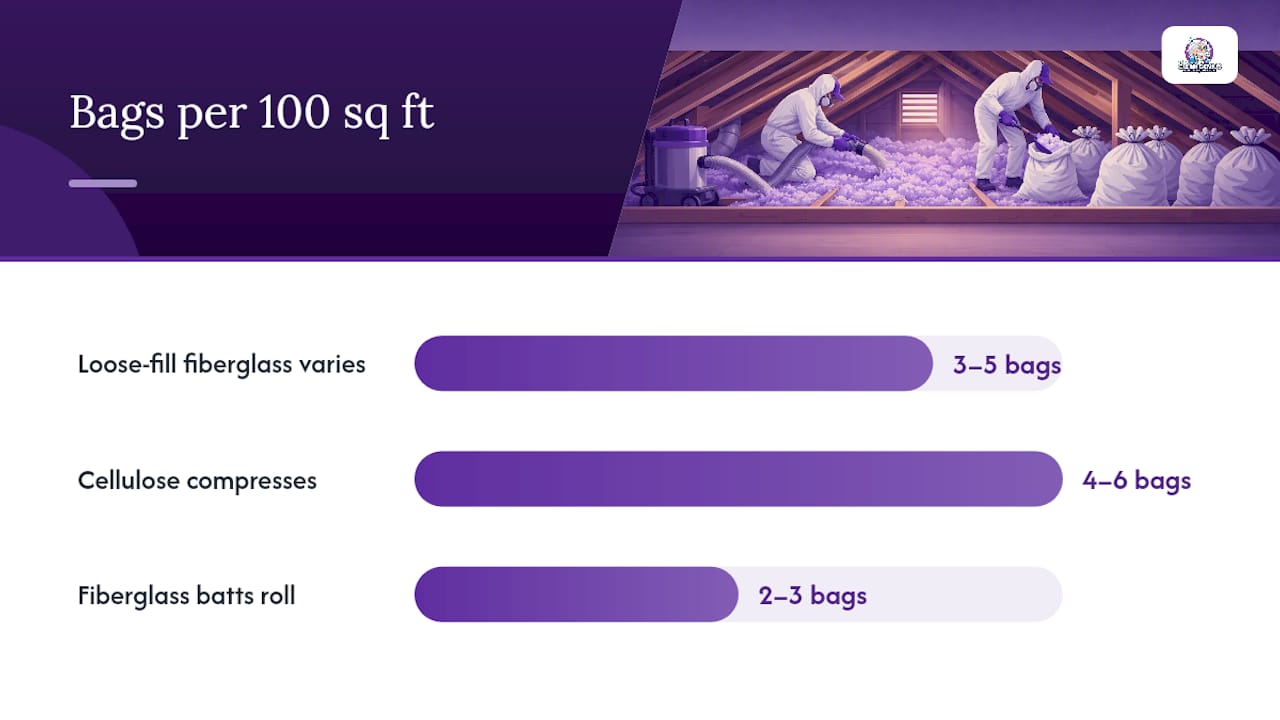
These are rough planning figures. Actual yield depends on existing depth and how tightly you pack the bags.
How to contain dust, ventilate, and do a final cleanup
Getting the insulation out is only half the job. Contaminated dust on joists, rafters, and the attic floor is still a health hazard until it is cleaned up.
Containment and ventilation during the job:
- Keep the HVAC system off for the entire duration of work and for at least two hours after you finish
- Maintain the plastic sheeting barriers over the attic hatch and any interior doorways
- If you have a window or gable vent that opens to the exterior, crack it slightly to create a mild outward airflow; do not use a fan that blows air back into the house
- Wear your respirator every time you re-enter the attic, even for a quick check
Post-removal cleanup checklist:
- HEPA-vacuum all exposed joists, rafter faces, and the attic floor systematically, working from far to near
- Wipe down any hard surfaces with a damp cloth; dispose of the cloth in a sealed bag
- If rodent contamination was present (even minor), apply a disinfectant approved for hantavirus decontamination before vacuuming; the CDC guidance on hantavirus recommends wetting contaminated material with disinfectant before disturbing it
- Remove and bag your Tyvek coveralls inside the attic before you descend; seal the bag immediately
- Shower and change clothes before entering the rest of the house
Pro Tip: If you found any rodent activity during removal, even a small amount, consider hiring a professional for a post-removal air quality test before you reinsulate. The cost is modest and the peace of mind is worth it.
For attic spaces where moisture caused mold before or during the insulation’s life, a professional HEPA pass and air clearance test is the right call before new insulation goes in.
How to bag and dispose of removed insulation legally
Clean fiberglass and cellulose insulation is generally accepted at municipal transfer stations and construction-debris landfills, but the rules vary by county and state. Check with your local waste authority before you haul anything.
General disposal steps for clean material:
- Double-bag all insulation in 6-mil contractor bags and seal each bag with tape
- Label bags clearly: “Fiberglass Insulation Waste” or “Cellulose Insulation Waste”
- Call your local transfer station or landfill ahead of time to confirm they accept construction debris and whether a tipping fee applies
- Do not mix insulation waste with household garbage; most municipalities prohibit it
- Keep a record of your disposal receipts — useful if you are getting contractor bids afterward or filing an insurance claim
If you suspect asbestos or vermiculite:
Do not bag it, transport it, or take it to a standard landfill. The EPA is explicit that vermiculite should be treated as asbestos-contaminated. Licensed abatement contractors handle packaging, transport, and disposal under specific regulatory requirements. Attempting to dispose of asbestos-containing material yourself can result in significant fines and health liability.
Document everything regardless of material type. Photographs of the removed material, disposal receipts, and any lab test results are valuable for insurance purposes and for any future buyer of your home.
When you need to stop and call a professional
Some conditions make DIY removal genuinely dangerous, not just inconvenient. Recognizing them before you start protects your health and avoids making a contaminated situation worse.
Red flags that require professional remediation:
- Pebble-like, gray-brown granules mixed into the insulation (vermiculite)
- Visible mold growth covering more than 10 square feet on insulation or structural surfaces
- Significant water damage or wet insulation from any source
- Heavy rodent droppings, nesting material, or carcasses
- Soot or smoke odor permeating the insulation after a fire
- Any insulation installed before 1980 that you cannot positively identify as fiberglass or cellulose
The EPA’s position on vermiculite is unambiguous: assume it contains asbestos and do not disturb it. Testing is not always the recommended first step — the Minnesota Department of Health and the EPA both advise homeowners to leave vermiculite in place and hire a licensed abatement contractor for removal and air monitoring. The mine in Libby, Montana supplied over 70% of U.S. vermiculite between 1919 and 1990, and that ore was contaminated with asbestos.
What professionals do differently comes down to equipment and containment. Licensed contractors use industrial HEPA vacuums, negative-air machines that maintain lower pressure inside the work zone than outside (so air flows in, not out), and full-face respirators with supplied air for asbestos work. Asbestos abatement also requires certified disposal at a licensed facility, with chain-of-custody documentation.
For mold-driven removal, professionals follow a similar containment protocol and add post-removal air clearance testing to confirm the space is safe before reinsulation. You can read more about what that attic mold removal process looks like in practice.
Hantavirus is the other serious biological risk. The CDC is clear that disturbing rodent-contaminated material aerosolizes particles that can transmit the virus. If you have heavy rodent activity, this is a professional job.
What DIY vs. professional removal actually costs
Costs vary with attic size, contamination level, and your local market, but the ranges below give you a realistic planning baseline.
| Scenario | Estimated cost | Typical timeline |
|---|---|---|
| DIY clean removal (small attic) | $150 | 1–2 days |
| DIY clean removal (full attic) | $300 | 2–4 days |
| Professional clean removal (standard) | $1,000 | 4 hours |
| Professional removal with mold remediation | $2,000 | 1–3 days |
| Licensed asbestos abatement | $2,500 | 1–3 days |
DIY costs include PPE, rental equipment, contractor bags, and disposal fees. Professional costs vary with access difficulty, contamination level, and whether air clearance testing and reinsulation are bundled.
Factors that push professional costs higher:
- Limited attic access (low pitch, no pull-down stair)
- Contamination requiring air clearance testing before and after
- Disposal fees for regulated materials (asbestos, biohazard)
- Structural repairs needed before reinsulation
- Bundled air sealing, which Energy Star recommends completing before any new insulation is installed
DIY saves money on clean, straightforward jobs. The calculus shifts fast when contamination enters the picture — the equipment, disposal, and liability costs of a contaminated job make professional removal the more economical choice in most cases.
How a professional restoration firm approaches attic insulation removal
A qualified contractor does not just haul material out. The workflow matters as much as the equipment, and knowing what to expect helps you evaluate bids and ask the right questions.
A professional removal workflow typically looks like this:
- Assessment: Visual inspection plus moisture readings; identification of insulation type, contamination, and structural condition
- Containment setup: Plastic barriers at the access point, HVAC sealed, negative-air machine installed if contamination is present
- Removal: Industrial HEPA vacuum with exterior collection; batts removed by hand and bagged; all material staged for compliant disposal
- Structural inspection: Joists, rafters, and sheathing inspected for rot, mold, or damage before reinsulation
- Air clearance testing: Post-removal air sampling to confirm particulate levels are within safe limits
- Air sealing and reinsulation: Penetrations sealed per Energy Star guidance before new insulation is installed
Questions worth asking any contractor before you sign:
- Are you licensed for asbestos abatement if vermiculite is found?
- Does your estimate include air clearance testing and disposal fees?
- Will you provide documentation of disposal for my records?
- Is air sealing included, or is that a separate line item?
Thecleangenius serves the greater Chicagoland area with certified crews available 24/7. The team handles the full sequence: assessment, containment, removal, structural inspection, air clearance, and reinsulation. Every job comes with documentation you can hand to your insurance carrier or a future buyer. For attic spaces where indoor air quality is a concern, that post-removal verification step is not optional.
After removal, proper attic venting is worth reviewing before new insulation goes in, particularly if ventilation problems contributed to the original moisture or mold issue.
What the field actually teaches you about attic insulation removal
The two mistakes that come up most often in attic insulation jobs are skipping HVAC sealing and underprotecting the respiratory system. Homeowners routinely pull on a dust mask, crack the attic hatch, and start pulling batts — with the air handler running. Within minutes, the return ducts are pulling contaminated air through every room in the house. A proper N95 or P100 respirator and sealed HVAC returns cost almost nothing compared to the remediation bill that follows.
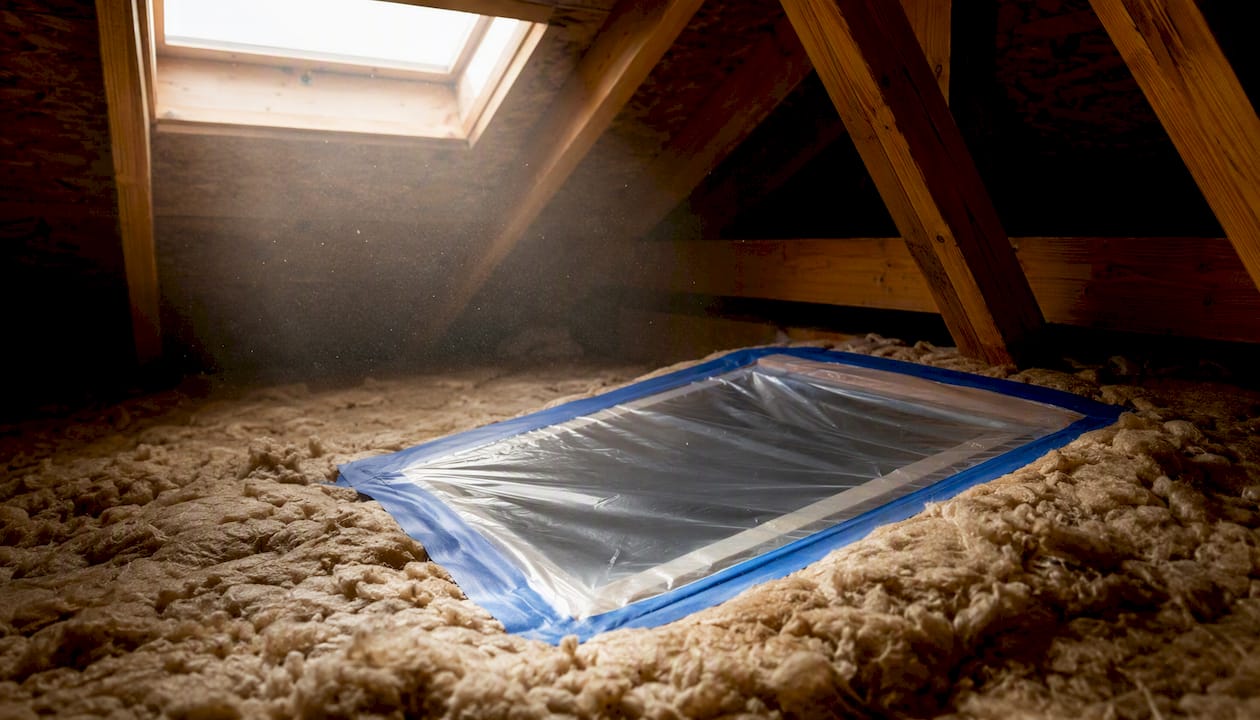
The other underestimated issue is documentation. A homeowner who photographs the attic before, during, and after removal, keeps disposal receipts, and gets a post-job air quality report has a file that can support an insurance claim, satisfy a home inspector, or justify a higher asking price at resale. Most DIYers skip this entirely and regret it when a buyer’s inspector asks questions they cannot answer.
Thecleangenius handles the jobs that DIY cannot
When the attic inspection turns up mold, rodent contamination, suspected vermiculite, or smoke damage, the job moves out of DIY territory fast. Thecleangenius is the Chicagoland option for homeowners who need certified, fully documented attic insulation removal without managing the containment, disposal, and air testing themselves.

The team brings 25 years of combined restoration experience, more than 400 five-star reviews, and 24/7 emergency availability across Arlington Heights, Elgin, Naperville, Schaumburg, Wheaton, and the broader Chicagoland region. Services include full attic insulation removal, mold removal and remediation using proprietary dry-fog technology, asbestos-aware handling protocols, and post-removal air clearance testing. Every estimate covers inspection, removal, disposal, air sealing, and reinsulation as a single bundled scope.
Request an on-site assessment at Thecleangenius and get a written estimate with line-item detail before any work begins.
Sources
These are the primary references for the safety-critical claims in this article:
- Protect Your Family from Asbestos-Contaminated Vermiculite Insulation | US EPA
- Hantavirus | CDC
- Vermiculite Insulation – MN Dept. of Health
- Air Sealing Factsheet | ENERGY STAR
- Atticcleaning
This article is general information, not a substitute for advice from a qualified doctor. Consult a qualified healthcare professional about your own circumstances before acting on anything here.