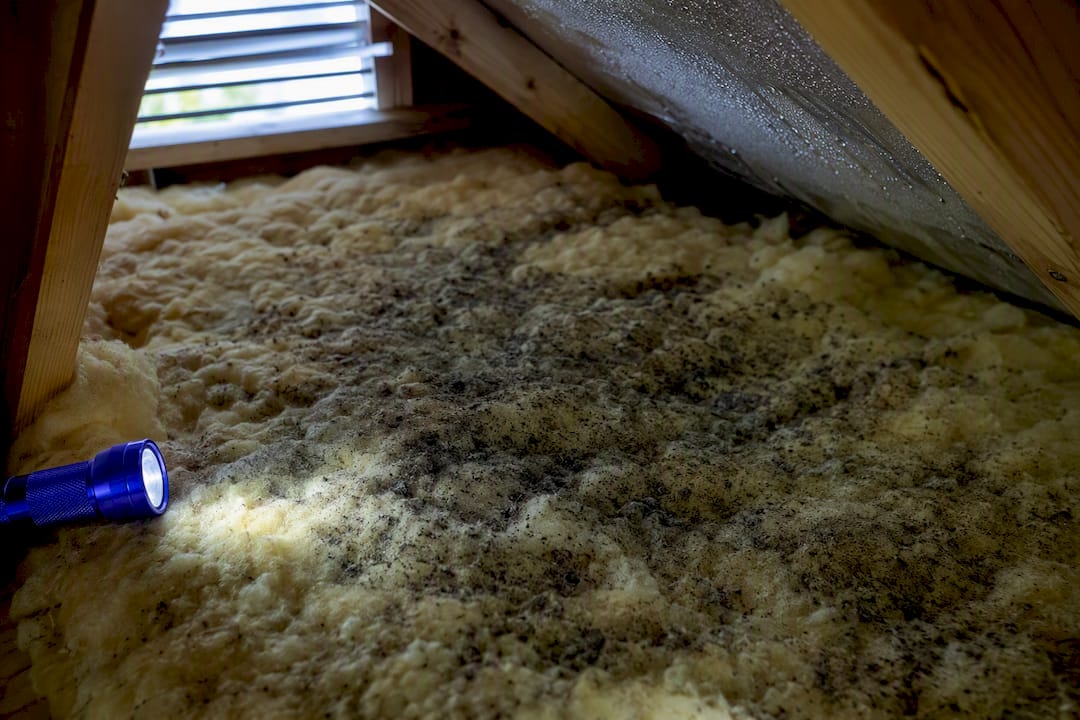

If you found mold on attic insulation, the first move is to stop the moisture source, not scrub the mold. The EPA treats less than roughly 10 square feet as a manageable DIY cleanup with the right PPE; anything bigger, or anything near ductwork, electrical, or tight rafters, usually calls for a professional. Limit attic access, skip the vacuum and the bleach spray until you know what you’re dealing with, and check the DIY-versus-pro breakdown below before you touch anything.
TL;DR:
- Mold on attic insulation larger than 10 square feet usually requires professional removal due to safety and structural risks.
- Common moisture sources include roof leaks, plumbing stacks, bathroom fans venting into the attic, and poor ventilation from blocked soffit vents or insulation blocking airflow.
- Wet or moldy fiberglass should be removed and replaced, while cellulose insulation must be fully removed if contaminated, as it absorbs and holds water.
- Using bleach on moldy attic insulation is ineffective, as it doesn’t address underlying moisture problems or deeply embedded spores, leading to regrowth.
- Preventing mold recurrence depends on fixing airflow, sealing leaks, venting humidity outside, and maintaining indoor humidity between 30 and 50 percent.
Table of Contents
- Why Mold Grows on Attic Insulation and Where to Look
- Mold vs. Dirt or Rodent Stains: A Quick Inspection Checklist
- Should You Remove It Yourself, or Call a Pro?
- Removing and Replacing Insulation by Type
- Stopping Mold From Coming Back
- What Professional Attic Mold Remediation Actually Involves
- Why the Bleach Spray Never Actually Works
- How The Clean Genius Handles Attic Mold the Right Way
- Sources
- FAQ
Why Mold Grows on Attic Insulation and Where to Look
Mold needs moisture, and attics collect it in predictable ways. Roof leaks are the obvious culprit, but bathroom and kitchen exhaust fans that vent straight into the attic instead of outside are just as common, and just as damaging over time. Warm, moist household air also sneaks up through gaps around light fixtures, the attic hatch, and plumbing stacks, hitting cold roof sheathing and condensing exactly where insulation sits.
Ventilation problems make it worse. Blocked soffit vents, missing baffles, or insulation piled too high against the roofline trap humid air instead of letting it escape, and that trapped moisture soaks into whatever insulation is nearby. Attic moisture that goes unaddressed tends to compound, because wet insulation loses its ability to insulate, which changes the attic’s temperature balance and invites more condensation.
When you inspect, focus on these spots first:
- Around plumbing stacks and roof penetrations, where flashing often fails quietly
- Near the attic hatch or pull-down stairs, a common air leak point
- Directly above bathroom exhaust fans and kitchen vent ducts
- Around recessed lighting fixtures that punch through the ceiling
- Along the roofline where soffit vents may be blocked by insulation
Mold vs. Dirt or Rodent Stains: A Quick Inspection Checklist
Not every dark patch on insulation is mold. Old water stains from a leak that’s already been fixed often look flat, brownish, and dry. Active mold usually has texture, fuzzy, powdery, or slightly raised, in shades of black, green, gray, or white, and it tends to carry a musty smell that gets stronger the closer you get.
Rodent droppings and dirt streaks are easy to confuse with mold at a glance, but they don’t smell musty and they don’t spread across the surface the way active colonies do. A few checks help you sort it out:
- Does it smell musty, especially when the attic is closed up and warm?
- Is it near a known moisture source, like a stack, vent, or roof valley?
- Does the material feel damp or does it crumble differently than dry, dusty insulation?
Testing rarely changes the recommendation here. Experts generally agree that visible growth and a moisture history are more useful than lab results. If insulation is wet or visibly moldy, removal is the standard advice regardless of what a swab test would show.
Should You Remove It Yourself, or Call a Pro?
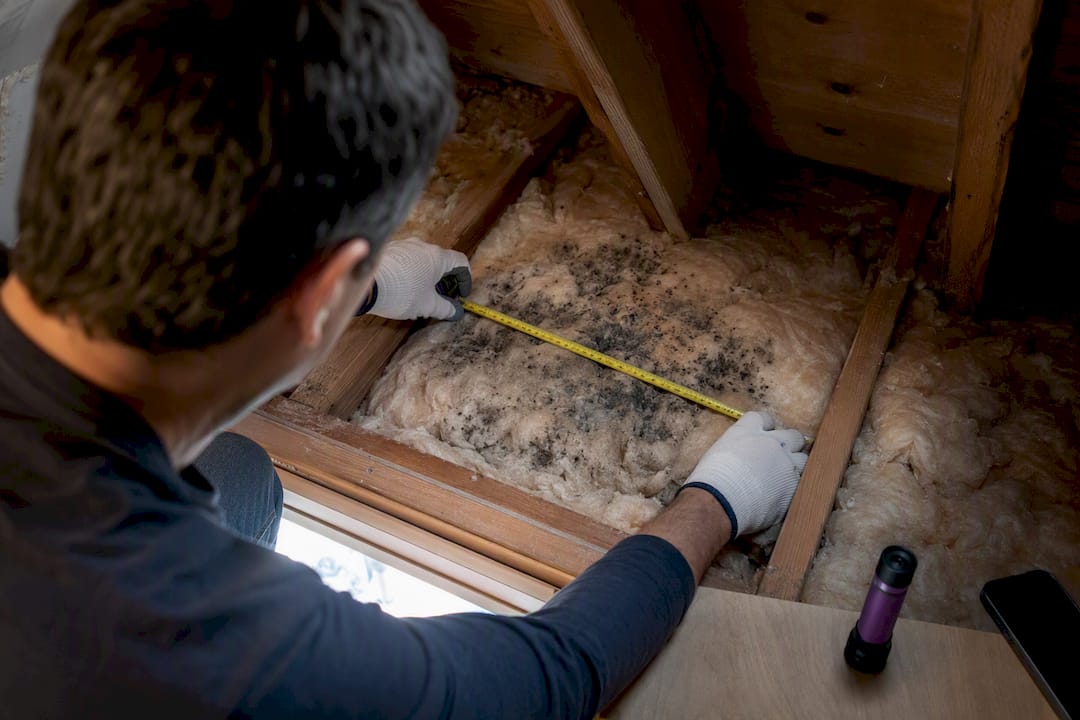
The EPA’s own threshold is the cleanest decision point available: areas under about 10 square feet can often be handled by a homeowner wearing gloves, an N95 or better respirator, and eye protection. Past that size, or in situations where the attic itself creates extra risk, professional remediation is the safer call.
Attics complicate DIY work in ways a bathroom or basement doesn’t:
- Confined space and heat. Summer attic temperatures can exceed 120°F, which turns a simple cleanup into a health risk.
- Structural and duct proximity. Disturbing insulation near HVAC ducts or recessed lighting risks damaging systems you can’t easily see.
- Ceiling damage potential. Walking off the joists, even briefly, can crack drywall below.
If you’re getting quotes, a solid professional estimate should spell out containment method, HEPA filtration equipment, how they’ll verify the space is dry afterward, and disposal of contaminated material.
Pro Tip: Take photos and a rough measurement of the affected area before calling anyone. It speeds up the estimate and helps you sanity-check whether the quote matches the actual scope.
Removing and Replacing Insulation by Type
Different insulation materials respond to mold differently, and that changes what “cleanup” actually means for each.
- Fiberglass batts. If fiberglass is wet or shows visible growth, remove and replace it rather than trying to clean it. Fiberglass doesn’t hold moisture the way cellulose does, but mold on the paper facing or dust layer won’t come out with cleaning. Bag contaminated batts before carrying them through the house, and HEPA-vacuum the exposed framing once the material is out.
- Blown-in cellulose. Cellulose absorbs and holds water, so wet or moldy sections need full removal, not spot treatment. Once it’s out, check the sheathing underneath for staining or lingering dampness before replacing insulation.
- Spray foam. Mold on spray foam itself is less common because it doesn’t hold moisture like cellulose, but a sealed attic can trap condensation against the roof deck. If you see growth on the foam surface or on wood behind it, that needs professional evaluation rather than a simple wipe-down.
- Kraft-faced batts and paper facings. Contaminated facing material should be removed even if the fiberglass behind it looks fine, since mold can grow on the paper while staying invisible from the room side.
For any small DIY job, wear an N95 or P100 respirator, gloves, goggles, and disposable coveralls, and seal off the work area with plastic sheeting to keep spores from spreading into the living space below.
Stopping Mold From Coming Back
Removing contaminated insulation fixes the symptom. Fixing airflow and moisture fixes the cause. Balanced ventilation matters most: soffit vents pulling in fresh air, a ridge or gable vent letting warm air escape, and baffles keeping insulation from choking off that intake path.
- Confirm bathroom and kitchen exhaust fans vent all the way outside, never into the attic itself.
- Seal air leaks around the attic hatch, plumbing stacks, and recessed lights where warm household air sneaks upward.
- Keep indoor relative humidity in the 30 to 50 percent range, and dry any wet materials within 48 hours to prevent regrowth.
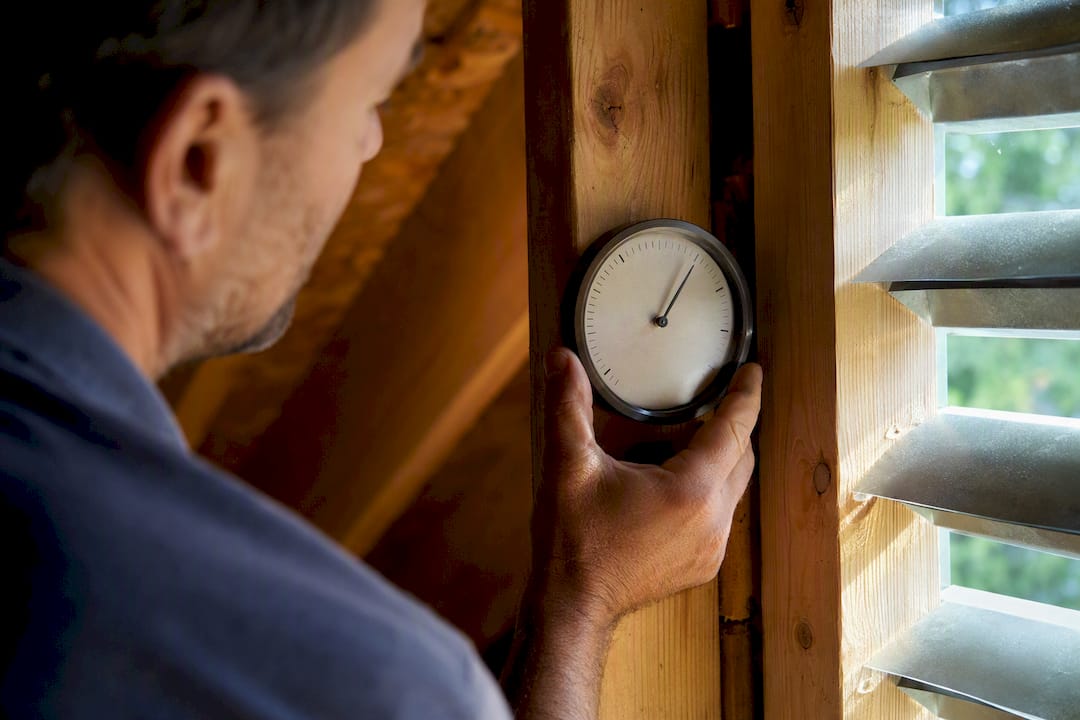
A cheap hygrometer left in the attic for a week tells you more than a single inspection ever will. Consistent prevention steps matter more than any one-time cleanup, because attics that stay humid will grow mold again no matter how thoroughly you cleaned it the first time.
Pro Tip: Check your attic hygrometer reading on the hottest and most humid day of summer, not a mild spring morning. That’s when ventilation problems show up fastest.
What Professional Attic Mold Remediation Actually Involves
Professional crews follow a sequence that’s different from a DIY wipe-down, and it’s worth knowing what you’re paying for. Work typically starts with inspection and containment, then moves to removing porous materials like insulation and cardboard, HEPA vacuuming the framing, and mechanically cleaning wood surfaces with wire brushing or media blasting rather than just spraying a chemical on them.
- Moisture readings taken before and after cleaning, not just a visual check
- Containment barriers to keep spores out of the rest of the house
- HEPA-filtered vacuums and air scrubbers during the actual removal
- A drying verification step before insulation goes back in
A remediation estimate should separate insulation replacement from wood cleaning as distinct line items. That split exists because structural wood typically gets treated in place while insulation, being porous, usually gets removed and replaced entirely.
The Clean Genius’s attic mold removal process follows this same logic: fix the moisture problem, remove what can’t be salvaged, verify dryness before closing the job.
Why the Bleach Spray Never Actually Works
I’ve seen the same mistake play out over and over: someone sprays bleach on moldy insulation, it looks better for a week, and the mold comes back because nothing about the moisture changed. Bleach barely touches porous material anyway. The bigger error is skipping the diagnosis step entirely, patching visible spots without checking why the attic got wet in the first place. A correct diagnosis costs less upfront and saves you from paying twice.
— Jim
How The Clean Genius Handles Attic Mold the Right Way
This company is the alternative to guessing your way through a bleach-and-hope cleanup: crews diagnose the moisture source first, then remove and replace contaminated insulation instead of masking it. That distinction is what keeps mold from coming back six months later.

Attic services can include mold removal, full insulation removal and replacement, and moisture diagnostics using dry-fog technology, with emergency response available in Chicagoland areas including Naperville, Schaumburg, and Elgin. An on-site estimate may include moisture readings, a containment plan, and coordination support with insurance carriers to assist with the process. If you’ve found mold on attic insulation and you’re past the point of a small DIY patch, get a remediation estimate started today.
FAQ
Can attic insulation actually grow mold?
Yes. Fiberglass, cellulose, and paper-faced batts can all support mold growth when they stay damp from roof leaks, poor ventilation, or condensation, though the mold typically feeds on dust and organic material rather than the fiberglass itself.
Should moldy insulation always be removed?
Insulation that’s wet or visibly moldy should generally be removed and replaced rather than cleaned, since porous materials hold spores deep in their structure where cleaning can’t reach.
How serious is mold in the attic?
It ranges from a minor, contained patch you can handle yourself to a widespread problem requiring professional remediation. The EPA’s roughly 10-square-foot threshold is a useful gauge for deciding which category you’re in.
Is attic mold covered by homeowners insurance?
It depends on the cause. Mold from a sudden covered event, like a burst pipe, is often covered, but mold from long-term neglect or gradual condensation is typically excluded, so check your policy language and document the cause carefully.