A professional mold inspection delivers three things a DIY check never can: documented health protection, early structural damage control, and financial evidence you can take to an insurer or a negotiating table. Here is the short version of what you get:
- Hidden moisture sources identified before mold spreads further
- Health risk reduced by locating growth behind walls, in attics, and inside HVAC systems
- Moisture map and cause-finding report, not just a positive/negative result
- Independent documentation for insurance claims and seller disclosures
- Negotiation leverage for buyers when findings are discovered during contingency
- Prioritized remediation plan so you fix the right things first
- Lab analysis (when genuinely needed) from an accredited, chain-of-custody lab
- Prevention guidance to stop recurrence after remediation
- Clearance baseline for post-remediation verification
- Peace of mind backed by a credentialed, independent professional
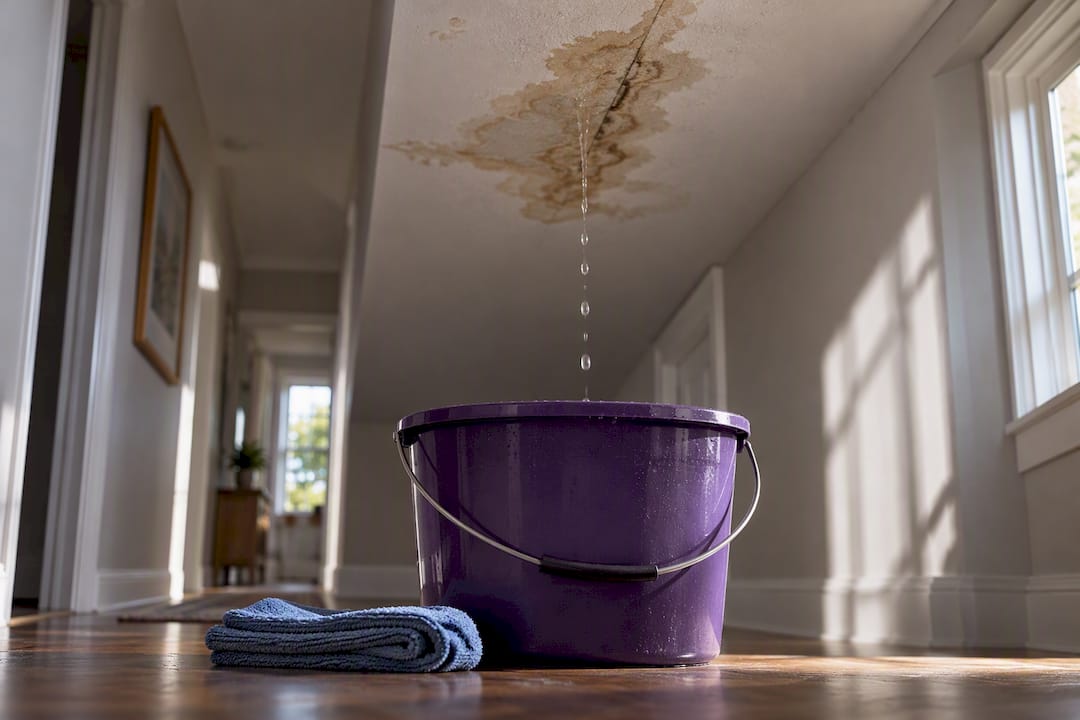
The inspection pays for itself most clearly in three situations: before closing on a home, within days of a water event, and when occupants are experiencing unexplained respiratory symptoms.
Pro Tip: Small visible patches on non-porous surfaces under roughly 10 square feet can often be cleaned safely without a full inspection. Spend professional resources on hidden problems, symptom-driven cases, and transaction documentation, where the findings actually change what you do next.

Table of Contents
- 1. How inspections protect your family’s health
- 2. How inspections protect your home’s structure and value
- 3. Financial and insurance benefits you can actually use
- 4. What a professional mold inspection actually includes
- 5. What inspections can and cannot prove
- 6. What does a professional mold inspection cost?
- 7. How to choose a qualified, independent mold inspector
- 8. What to do with the inspection report
- 9. What a high-quality, insurance-ready inspection report looks like
- Key Takeaways
- Why independent documentation changes everything
- Thecleangenius handles what comes after the inspection
- Useful sources for further reading
1. How inspections protect your family’s health
Professional inspections reduce health risk by finding the dampness sources that drive mold amplification, not just the surface growth you can already see. That distinction matters because the mold you can see is rarely the whole picture.

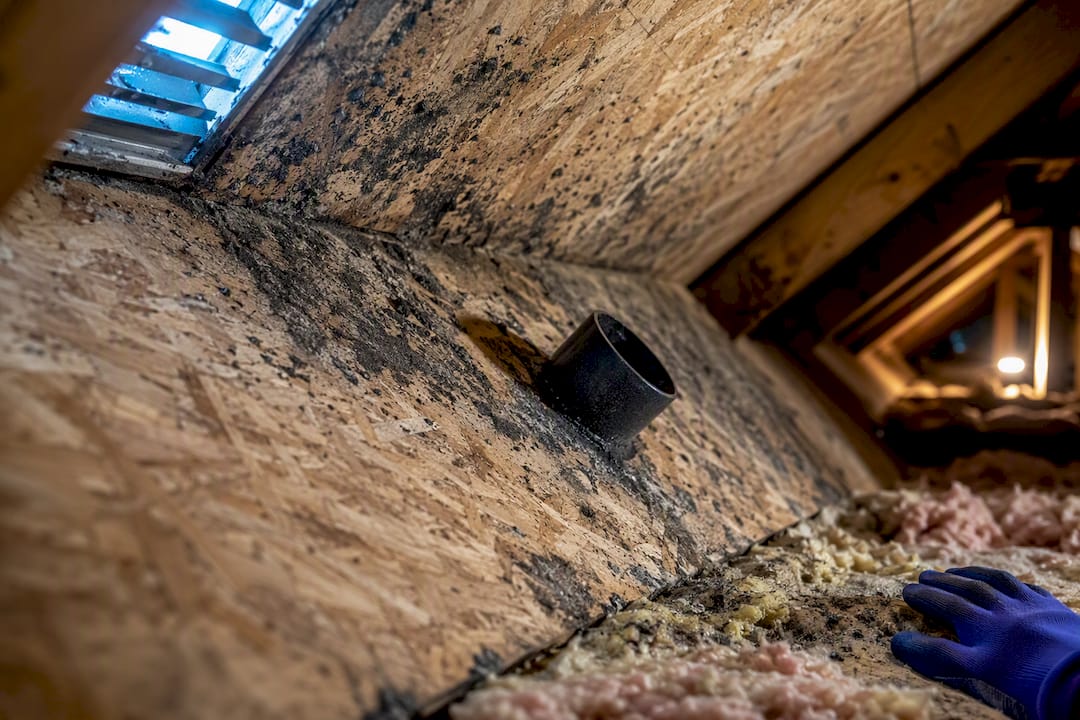
NIOSH and CDC recommend visual inspection and detection of musty odors as better indicators of dampness-related hazards than routine air sampling. An experienced inspector uses moisture meters, thermal cameras, and a trained eye to locate the wet building materials feeding hidden colonies in attic sheathing, basement framing, and HVAC ductwork.
Common health-relevant findings inspectors flag:
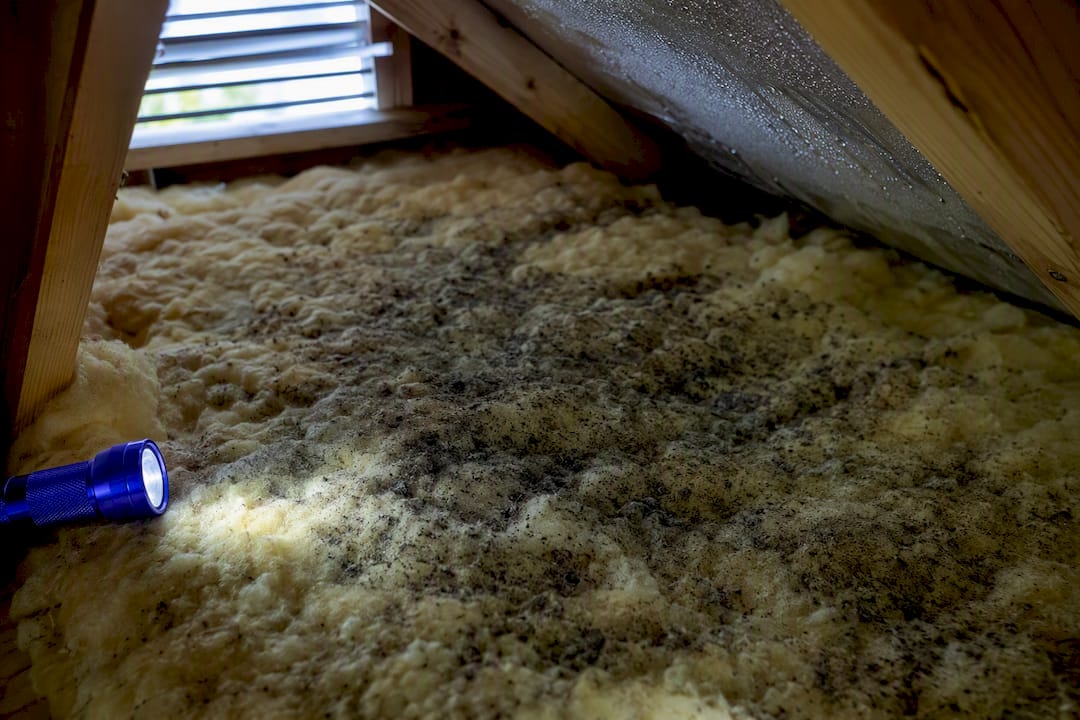
- Active attic or crawlspace growth fed by roof leaks or inadequate ventilation
- HVAC contamination that circulates spores through every room
- Ongoing plumbing seepage inside wall cavities
- Basement or foundation water intrusion creating chronic dampness
- Condensation on cold surfaces from humidity imbalance
People with allergies, asthma, or immune suppression face the highest risk from prolonged exposure. CDC guidance is direct: individuals with chronic respiratory conditions like asthma or COPD should not be present during mold cleanup, and they should not remain in a heavily contaminated home. An inspection gives those households a documented picture of actual exposure risk before anyone’s health deteriorates further.
Pro Tip: When occupant symptoms are driving the investigation, document a symptom timeline before the inspection date. An inspector who sees that symptoms worsen at home and improve elsewhere will prioritize HVAC and hidden cavity checks accordingly.
2. How inspections protect your home’s structure and value
Professional inspections reduce long-term structural damage by catching moisture intrusion before it reaches framing, subfloor, and load-bearing components. Mold itself is the symptom; the moisture is the disease. Fix one without the other and the problem returns.
Inspectors use pin and pinless moisture meters to measure actual moisture content in wood and drywall, thermal cameras to detect temperature anomalies behind surfaces, and borescopes to look inside wall cavities without destructive opening. Together these tools separate active, ongoing leaks from historic staining that dried out years ago. That distinction determines whether you need emergency remediation or a monitoring plan.
Property-focused findings a thorough inspection delivers:
- Roof or attic leaks causing sheathing rot and rafter damage
- Plumbing seepage inside walls feeding framing and insulation
- Foundation or slab water intrusion in basements and crawlspaces
- HVAC condensation drip pans overflowing onto structural components
- Subfloor moisture from poor drainage or hardwood floor moisture issues
Early detection limits remediation scope directly. A contained moisture problem caught at the wall cavity stage requires far less demolition than one that has migrated into floor joists and subfloor sheathing. Smaller containment zones mean lower contractor costs, less disruption, and faster return to normal occupancy. Understanding what structural water damage actually looks like helps homeowners interpret what the inspector’s moisture map is telling them.
3. Financial and insurance benefits you can actually use
Inspections protect money in two ways: they produce documentation that supports insurance claims, and they give buyers hard evidence for negotiation before closing. Neither benefit is available from a visual walk-through or a DIY test kit.
Financial advantages an inspection report provides:
- Insurance documentation: A moisture map, photos, and lab chain-of-custody give adjusters the scope evidence they need to process claims without dispute
- Seller disclosure support: Documented findings create a defensible record of known conditions at the time of sale
- Buyer negotiation leverage: A report showing active moisture intrusion and hidden growth gives buyers grounds to request price reductions or remediation credits
- Remediation cost control: A prioritized scope prevents contractors from expanding work beyond what the evidence supports
- Avoiding surprise escalation: Catching a contained problem early costs far less than discovering it mid-renovation when walls are already open
For buyers specifically, the water damage insurance claim checklist process starts with documentation, and an independent inspection report is the foundation of that documentation.
Pro Tip: Timing is everything in a real-estate transaction. Book sampling within 48 hours of the general home inspection so lab turnaround (typically three to five business days) fits inside your contingency window. Results that arrive after the deadline hand all leverage back to the seller.
One honest caveat: small cosmetic stains with no active moisture reading rarely move a purchase price. Inspectors who find a dry, historic stain on a non-porous surface will say so. That honesty is a feature of a good inspector, not a failed inspection.
4. What a professional mold inspection actually includes
An inspection is primarily a methodical moisture and visual assessment. Sampling is targeted and optional, ordered when documentation of mold genus or legal proof is genuinely required, not as a default.
The inspection process, step by step
- Pre-inspection history intake: The inspector asks about past water events, occupant symptoms, recent repairs, and areas of concern. This shapes where they focus.
- Visual walkthrough: A systematic room-by-room examination covering walls, ceilings, floors, windows, HVAC registers, and accessible attic and crawlspace areas.
- Moisture mapping: Pin and pinless moisture meters measure actual moisture content in building materials. Thermal cameras identify anomalies behind surfaces. Readings are recorded on a floor-plan map.
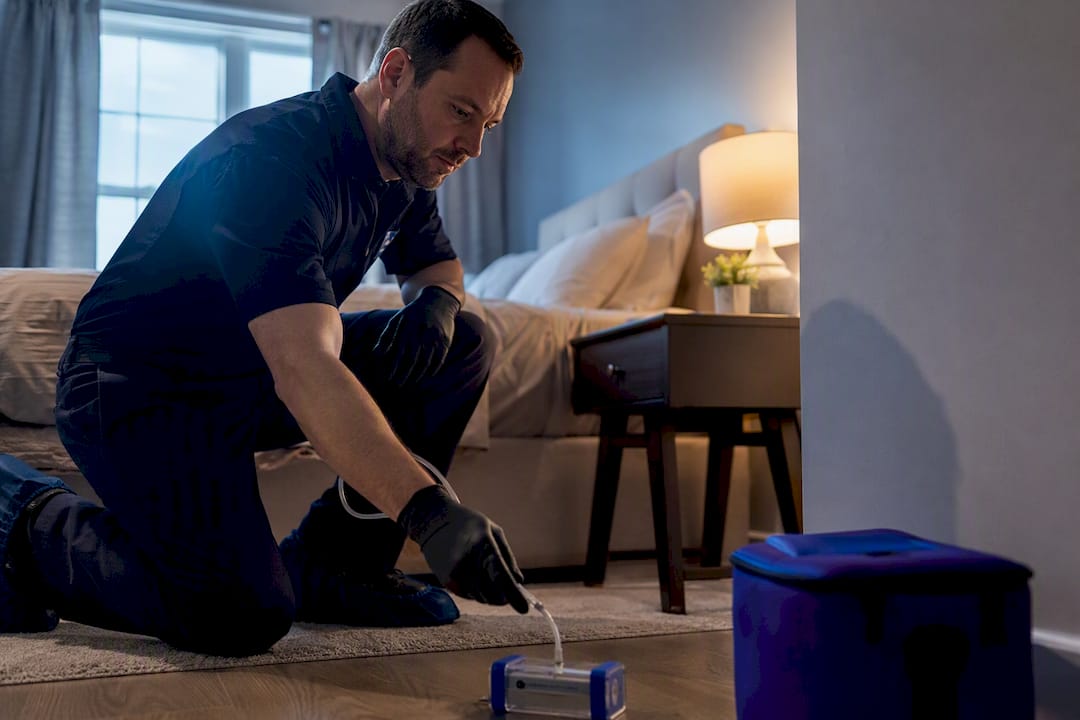
- Targeted sampling (if indicated): Air, surface, or bulk samples collected when visual/moisture evidence is ambiguous, when genus documentation is needed for insurance, or when legal proof is required.
- Lab analysis: Samples sent to an AIHA-LAP accredited laboratory with chain-of-custody documentation. Turnaround is typically three to five business days.
- Report delivery: Written report with moisture map, photos, lab results (if ordered), interpretive narrative, and prioritized remediation steps.
Tools inspectors use and why
| Tool | Purpose |
|---|---|
| Pin moisture meter | Measures moisture content in wood and drywall at the surface |
| Pinless moisture meter | Scans larger areas non-invasively for moisture anomalies |
| Thermal (IR) camera | Detects temperature differences indicating hidden moisture behind surfaces |
| Borescope | Visualizes inside wall cavities and plumbing chases through small openings |
| Hygrometer | Measures ambient relative humidity and temperature |
| Air pump / spore trap | Collects air samples for lab analysis when ordered |
A high-quality inspector explains tool selection on site, showing you what the thermal camera is reading and why a particular wall warranted a moisture meter check. If an inspector cannot explain why they used a tool, that is a red flag.
Typical timeline: two to four hours on site for an average home, three to five business days for lab results, and report delivery within one to two days after results return.
5. What inspections can and cannot prove
No EPA or other federal limits have been set for mold or mold spores. Sampling cannot be used to check a building’s compliance with federal mold standards, and air sampling is not recommended for routine building evaluations.
That is the regulatory reality, and it shapes what an inspection can honestly deliver. There is no numerical threshold an air sample can clear to declare a space “safe.” Federal agencies have not set one, and no private lab can create one on their behalf.
What this means practically:
- Clearance after remediation is best confirmed through independent visual verification, absence of musty odors, and improvement in occupant symptoms, not solely through post-remediation air counts
- Surface sampling is useful to confirm whether a specific area was adequately cleaned
- Lab analysis adds value when you need documented genus identification for insurance, legal proceedings, or medical records, not as a routine step in every inspection
CDC and NIOSH guidance reinforces this: independent visual clearance and occupant symptom improvement are the most reliable evidence of successful remediation. Air numbers alone are not.
Pro Tip: For insurance or legal use, insist on AIHA-LAP accredited lab analysis and independent third-party clearance, meaning a different firm from the one that performed the remediation. A remediation company clearing its own work is a conflict of interest, not a quality control step.
6. What does a professional mold inspection cost?
Expect a meaningful but modest investment, with the total depending on home size, number of samples, and equipment used.
Typical cost drivers:
- Base inspection fee: Covers visual walkthrough, moisture mapping, and the written report
- Air or surface sampling: Each sample adds lab analysis cost; lab culture testing can add $300–$600 to the total and is recommended only when genus documentation or legal proof is required
- Thermal imaging: Some inspectors include it in the base fee; others charge separately
- Borescope use: Usually included but worth confirming
- Travel and home size: Larger homes and longer drive times increase on-site hours
Scheduling timeline
- Book the inspection as soon as a concern arises, or immediately after a water event
- Expect two to four hours on site for a typical single-family home
- If samples are collected, allow three to five business days for lab turnaround
- Report delivery follows within one to two business days after results return
- For buyers: schedule sampling within 48 hours of the general home inspection to keep results inside contingency windows
EPA guidance notes that visible mold on small, non-porous surfaces can often be cleaned without a full professional inspection. Spending on a full inspection and sampling suite for a minor cosmetic stain with no active moisture is unnecessary. Save that investment for hidden problems, symptom-driven cases, and real-estate transactions.
7. How to choose a qualified, independent mold inspector
Choose inspectors with documented credentials, a written scope of work, and a transparent methodology. The word “professional” is not federally defined for mold inspectors, so credential verification is entirely on you.
Credentials and deliverables to require
- IICRC S520 standard familiarity (the industry remediation standard inspectors should know)
- ACAC (American Council for Accredited Certification) or IICRC inspector certification
- AIHA-LAP accredited laboratory for any samples collected
- Published methodology and a sample report you can review before booking
- Chain-of-custody documentation for all samples
- State licensing verification where your state requires it (requirements vary significantly by state)
Questions to ask before booking
- Do you subcontract lab sampling, and which lab do you use?
- Can I see a sample report from a comparable inspection?
- Who performs clearance testing after remediation, and is it independent of the remediation firm?
- What tools will you use, and will you explain findings on site?
- Do you also sell remediation services?
Red flags to avoid
- Free inspections bundled with remediation services (a direct conflict of interest)
- Vague scope with no written deliverable list
- No credential proof or refusal to name the lab
- No sample report available for review
- No chain-of-custody process for samples
The water restoration company selection checklist applies the same logic to remediation firms: verify credentials, demand a written scope, and confirm independence before signing anything.
Pro Tip: Ask specifically whether the inspector carries errors-and-omissions insurance. It signals professional seriousness and protects you if a significant finding is missed.
8. What to do with the inspection report
Use the report’s moisture map and prioritized remediation steps as your operational plan. A defensible report ties moisture measurements, photos, and an interpretive narrative to show cause, not just presence.
Turning findings into action
- Compare remediation bids against the report scope. Any bid that expands significantly beyond the documented findings warrants a written explanation from the contractor.
- Verify containment and HEPA protocols. The report’s affected-area map defines the containment zone. Proper containment prevents cross-contamination during work.
- Preserve all documentation. Keep the inspection report, lab results, chain-of-custody forms, and remediation contracts together. Insurers and future buyers may request them.
- Address the moisture source first. Remediation without fixing the underlying leak or humidity problem means mold comes back. The report should identify the source; the remediation scope must include fixing it.
- Schedule independent clearance. After remediation, have a different firm (not the remediation contractor) confirm visual clearance and absence of musty odors before re-occupying affected areas.
Pro Tip: Keep the original inspector available for bid review and post-remediation clearance. Their familiarity with the baseline findings makes their clearance opinion far more defensible than a fresh inspector’s.
9. What a high-quality, insurance-ready inspection report looks like
A credible report has a clear methodology, moisture map, chain-of-custody, lab accreditation, and prioritized remediation scope. Reports under roughly five pages usually lack the depth required for insurance or legal use.
Eight components every solid report includes
- Executive summary: Key findings and risk level in plain language
- Methodology and standards: Which tools were used, why, and which protocols were followed
- Moisture map with photos: Floor-plan overlay showing readings, affected areas, and photographic evidence
- Sampling plan: What was sampled, where, and why (or a documented rationale for no sampling)
- Lab results with chain-of-custody: Accredited lab analysis tied to specific sample locations
- Interpretive narrative: What the findings mean, what caused them, and how they relate to each other
- Prioritized remediation recommendations: Ranked by urgency and scope, not a generic “remediate all mold”
- Inspector credentials: Certifications, license numbers (where applicable), and contact information
Credential checklist
- IICRC S520 standard familiarity
- ACAC or IICRC inspector certification
- AIHA-LAP accredited lab for all sample analysis
- State license number where required
A short report with raw lab counts and no interpretive narrative is not insurance-ready. Adjusters need cause-and-effect documentation, not just a spore count. The same applies to legal use: a number without context is not evidence.
Pro Tip: Before paying, request a written scope of work and a deliverable list. If the inspector cannot specify what the report will contain before the inspection, you have no basis for holding them accountable to a standard afterward.
Key Takeaways
A professional mold inspection is worth the cost when hidden moisture, occupant symptoms, or a real-estate transaction is involved, and the report’s moisture map and prioritized remediation scope are what make it useful.
| Point | Details |
|---|---|
| When to get an inspection | Before buying a home, within days of a water event, or when occupants have unexplained respiratory symptoms. |
| What actually matters in the report | Moisture map, cause-finding narrative, and prioritized remediation steps, not just raw lab counts. |
| Sampling is optional, not default | Lab analysis adds cost and is recommended only when genus documentation or legal proof is required. |
| Inspector independence is non-negotiable | Never hire an inspector who also sells remediation; the conflict of interest undermines every finding. |
| Thecleangenius for Chicagoland remediation | After an inspection, Thecleangenius provides certified mold remediation with HEPA containment and insurance coordination across the greater Chicagoland area. |
Why independent documentation changes everything
Here is what most homeowners underestimate: the inspection report is not the end of the process. It is the beginning of accountability.
When a remediation contractor knows an independent inspector has already documented the moisture map, the affected areas, and the probable cause, the scope of work becomes much harder to inflate or minimize. That dynamic alone, independent documentation creating contractor accountability, is worth a significant portion of what the inspection costs.
The conventional wisdom treats inspections as a pass/fail test for mold presence. That framing misses the point. The real value is the cause-and-effect narrative: where moisture entered, what it damaged, and what must be fixed to prevent recurrence. A report that answers those three questions is a management tool. One that only confirms mold is present is a receipt.
Restoration providers who work from solid inspection reports consistently produce better outcomes because the scope is defined before anyone picks up a tool. Ambiguity in remediation scope is where costs escalate and disputes begin. An inspection eliminates most of that ambiguity before it costs you money.
Thecleangenius handles what comes after the inspection

Finding mold on an inspection report is the moment most homeowners feel stuck. Thecleangenius is the Chicagoland restoration team that picks up exactly where the inspection leaves off. With over 25 years of combined experience and more than 400 five-star reviews, the certified crews use advanced Pure Cloud dry-fog technology and full HEPA containment to remove mold safely and completely, following the prioritized scope your inspection report defines.
Thecleangenius works directly with your insurance carrier, handles documentation, and coordinates the full remediation workflow from containment through clearance. For attic mold, basement moisture, or post-flood remediation across Arlington Heights, Naperville, Schaumburg, and the broader Chicagoland area, the team is available 24/7.
Ready to move from inspection findings to a clean, documented result? Visit the mold removal and remediation service page or call for a same-day assessment.
Useful sources for further reading
- A Brief Guide to Mold, Moisture, and Your Home (EPA): The EPA’s primary homeowner guide covering moisture control, when sampling is needed, and how to find qualified help.
- Who Can Test My Home? (EPA): EPA guidance on inspector qualifications, credential verification, and the limits of air sampling.
- Mold Testing and Remediation (CDC/NIOSH): NIOSH’s position on visual inspection vs. air sampling and the Dampness and Mold Assessment Tool (DMAT).
- Preventing Occupational Respiratory Disease from Dampness Exposures (NIOSH): Technical guidance on clearance practices and why visual verification outperforms air sampling for post-remediation confirmation.
- Mold Cleanup After Disasters (CDC): CDC’s homeowner and renter guide covering when to hire certified professionals (NEHA, AIHA, IICRC, ACAC) and when sampling is not recommended.
- EPA Mold Information Slideshow: Quick-reference EPA slides on the 24–48 hour drying window, federal sampling limits, and AIHA/ACGIH lab standards.
- Mold Testing for Home Inspectors (InterNACHI): Industry reference covering inspection tools, air and surface sampling methods, and inspector training standards.