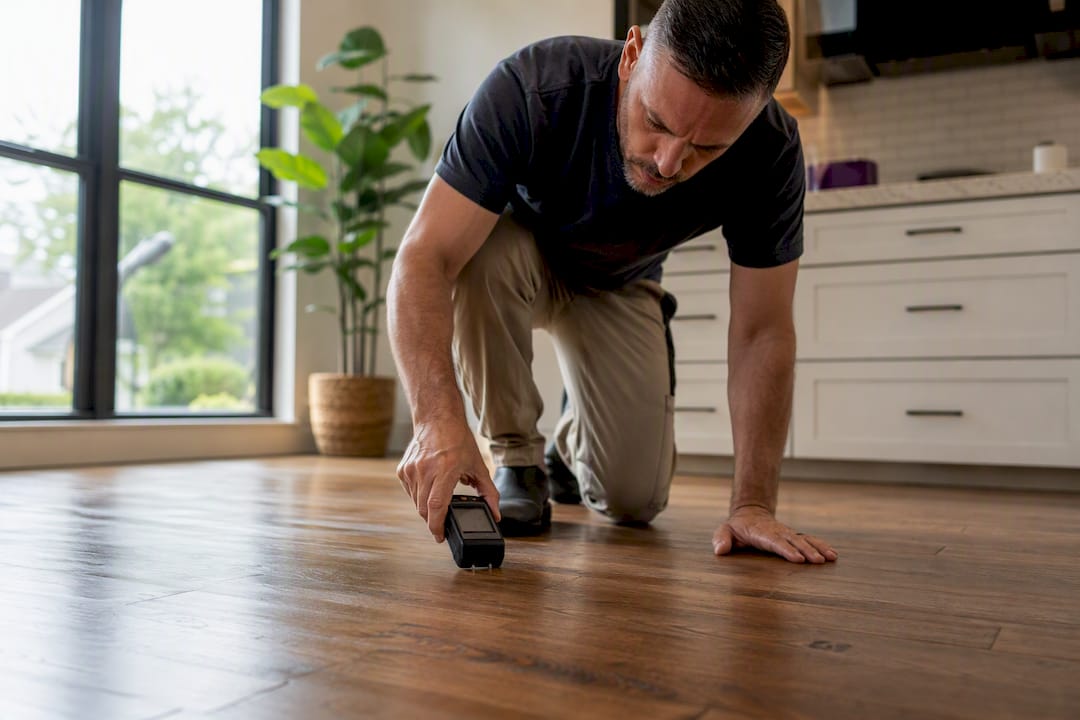

If you press a floor spot and it gives like a sponge, stop the water source right now, snap photos and moisture readings before you touch anything, and check whether the soft area is bigger than a dinner plate. That last part decides everything else.
Do this in the next 30 minutes:
- Shut off the water supply or fix the leak point.
- Photograph the affected area, including any staining, warping, or standing water.
- Press and probe the floor by hand to gauge how far the softness spreads.
Call a restoration professional immediately if any of these apply:
- The wet area covers more than one or two joist bays, water is contaminated (sewage backup), you see visible rot or structural sag, or you’re planning to file an insurance claim.
Key Takeaways
Subfloor water damage is safe to repair yourself only when the area is small, confirmed dry by a moisture meter, and the surrounding joists probe solid.
| Point | Details |
|---|---|
| Confirm before you cut | Use a moisture meter and probe test to verify how far damage extends before opening up the floor. |
| Know your size threshold | Damage limited to one or two joist bays is generally DIY territory; anything larger warrants a professional look. |
| Dry to a real number | Target roughly 12 to 15% moisture in plywood or OSB before closing up any repair. |
| Document everything early | Photos, timestamped moisture logs, and receipts strengthen any insurance claim you file. |
| Call in backup when it counts | The Clean Genius offers 24/7 emergency response, validated drying, and mold remediation across Chicagoland when the damage exceeds safe DIY scope. |
Table of Contents
- What Does Subfloor Water Damage Look Like?
- How Do You Confirm and Inspect Subfloor Damage?
- What Should You Do in the First Hours After Water Damage?
- How Do You Repair a Small Water-Damaged Subfloor Section?
- How Long Does Subfloor Drying Take and When Do You Need Mold Removal?
- How Fast Does Water Damage Spread and What Does Repair Cost?
- How Can You Prevent Subfloor Water Damage in the Future?
- When Should You Call a Restoration Professional Instead of DIYing It?
- Frequently Asked Questions
- Sources
What Does Subfloor Water Damage Look Like?
Subfloor water damage rarely announces itself with a flood. It shows up first as a change in how the floor feels underfoot, not how it looks. A spot that used to feel solid starts to give slightly when you step on it, or you notice a new squeak that wasn’t there last month.
The full list of warning signs includes:
- Soft, spongy, or bouncy spots when you walk across the floor
- Visible sagging or dipping between joists
- New or worsening squeaks in areas that were previously silent
- Swelling or raised seams at the edges of vinyl, laminate, or tile flooring
- Musty, earthy odors that return even after cleaning
- Staining on ceilings below bathrooms or kitchens, or discoloration around baseboards
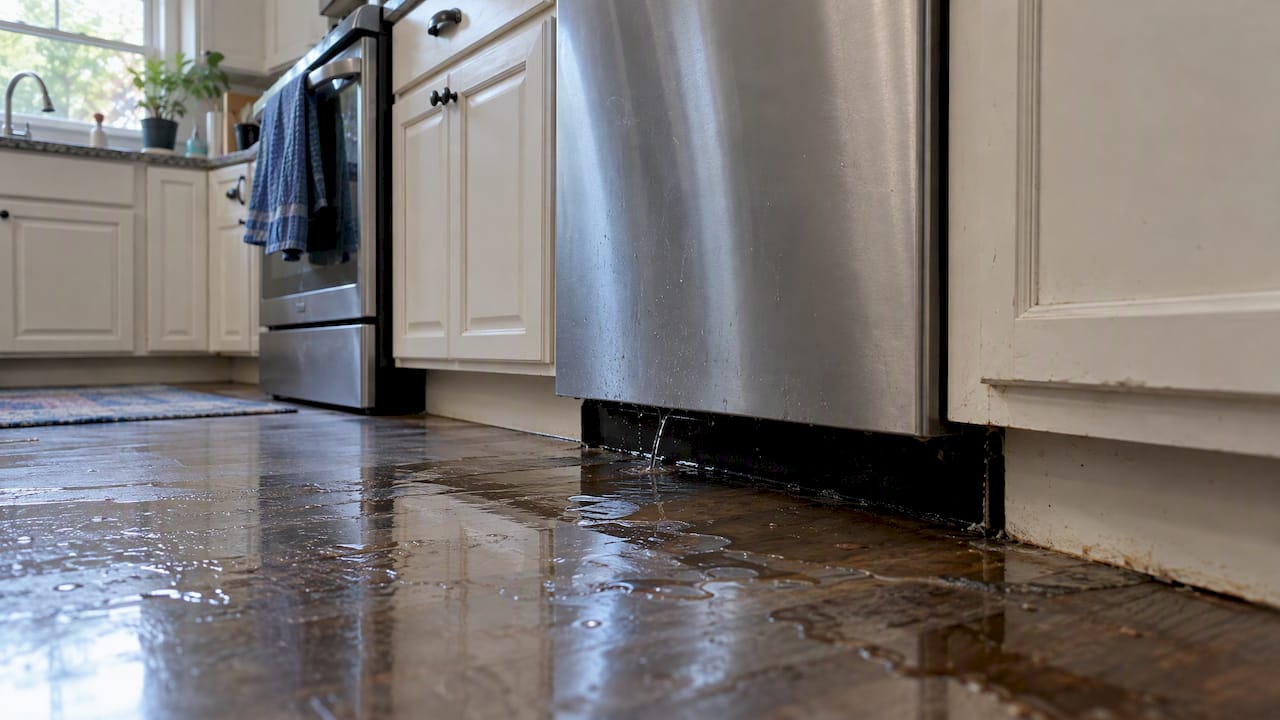
Location tells you a lot about the likely cause. A ring-shaped stain around the base of a toilet almost always points to a failed wax ring. A straight linear stain running along a wall usually traces back to a plumbing leak inside that wall cavity, not a surface spill. Damage clustered near the refrigerator or dishwasher usually means a supply line or drain hose has been slowly weeping for weeks. Common trouble spots include bathrooms, kitchens, laundry rooms, and the areas just inside exterior doors where wind-driven rain sneaks under thresholds. The Total Dry Restoration guide on subfloor damage signs notes that swelling, delamination, and fastener pull-out are the clearest indicators that a section has moved from “wet” to “compromised.”
Pro Tip: Watch for floor flex that only shows up after humid weather and disappears when things dry out. That fluctuating softness usually means the subfloor is still absorbing and releasing moisture rather than staying saturated, which is actually a better sign than constant sponginess. It also means you’re catching the problem early, before the wood loses structural integrity for good.
How Do You Confirm and Inspect Subfloor Damage?
You need three tools before you cut into anything: a moisture meter, a screwdriver or awl, and a flashlight. A pin-style meter gives you a precise reading at a specific depth, while a pinless meter scans a wider area without leaving holes, which is useful for a first pass before you commit to probing.
Work through the inspection in this order:
- Scan the suspected area with the moisture meter, moving outward from the worst spot until readings return to normal.
- Press a screwdriver or awl into the wood at the perimeter of any stain or soft spot. If the tip sinks in easily or the wood feels stringy and pulpy, the subfloor has lost structural strength.
- Lift a small section of finish flooring, tile, or a baseboard if you need direct access to the subfloor surface.
- Check from below in the crawlspace or basement, if it’s safe to access, since joists and the subfloor’s underside often show rot before the top surface does.
- Use an infrared camera as an optional step to spot temperature differences that indicate hidden moisture, though this isn’t necessary for most homeowner inspections.
What the numbers mean: Wood-based panels like plywood and OSB typically need to reach around 12 to 15% moisture content before they’re considered dry enough to close up, a benchmark outlined in this subfloor repair guide. Anything reading well above that range signals active moisture that needs continued drying, not just surface cleanup. Log every reading with a date, location, and photo. That record becomes your evidence if you end up filing an insurance claim for water damage.
What Should You Do in the First Hours After Water Damage?
Speed matters more than perfection here. Every hour water sits against wood, it soaks deeper and softens fibers you’ll need to cut out later.
- Stop the leak at its source, whether that’s a shutoff valve, a burst pipe, or a failed appliance connection.
- Cut power to any outlets or fixtures in the wet zone if there’s any chance water has reached wiring.
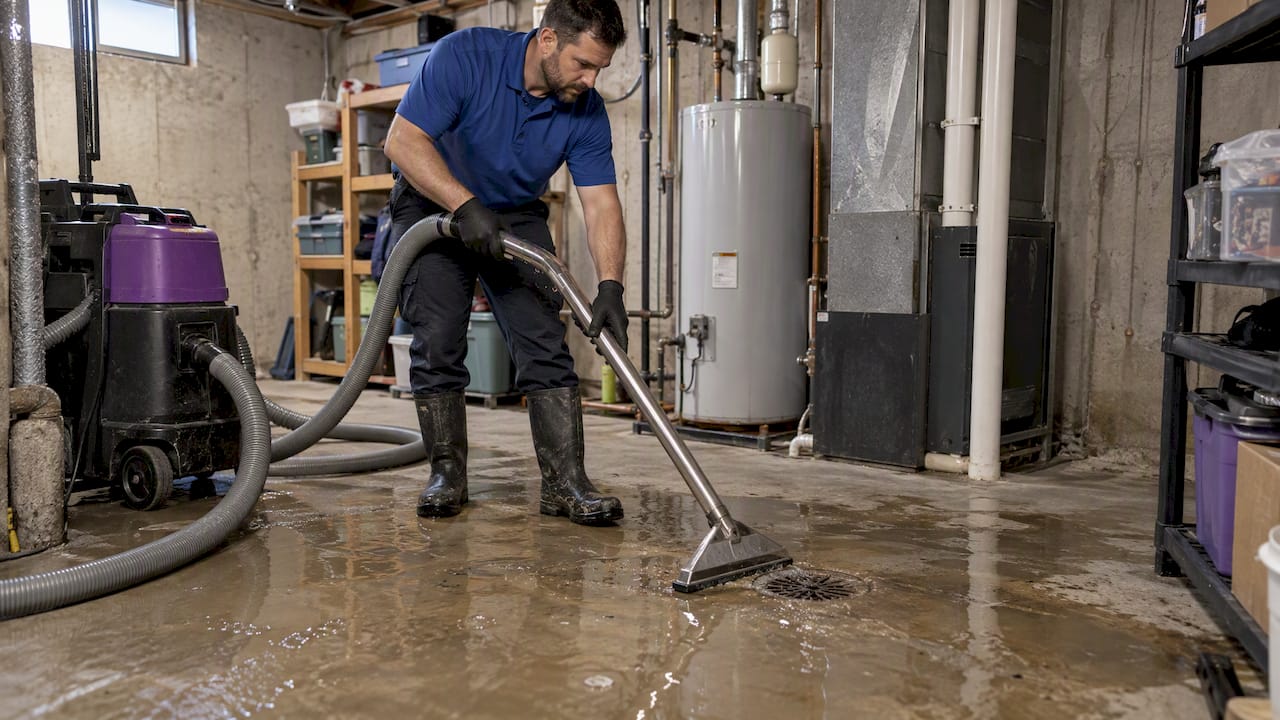
- Remove standing water with a wet vac or mop, then move furniture, rugs, and belongings out of the area.
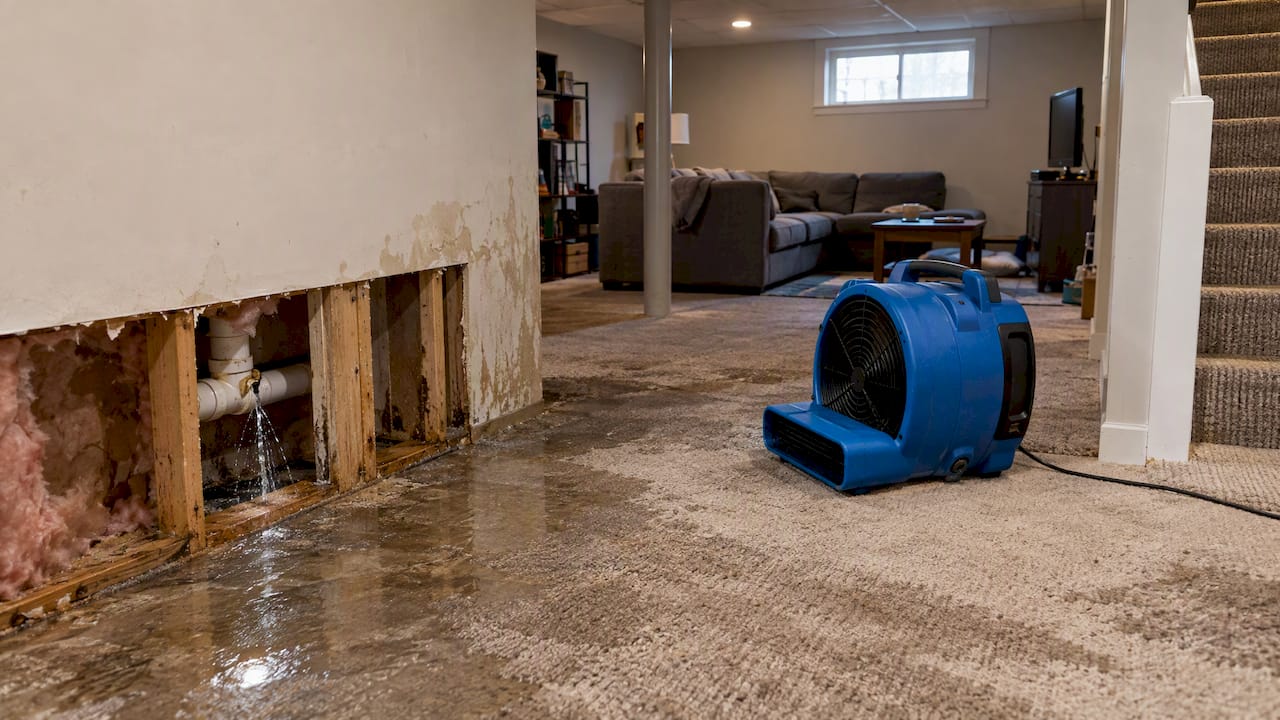
- Open windows, run fans, and set up a dehumidifier to start pulling moisture out of the air and materials.
Never wade into standing water if there’s a chance it’s contaminated by sewage backup, and never touch outlets or switches in a wet room until the power is confirmed off. When in doubt, evacuate the area and call an emergency restoration line.
Before you clean anything, build your paper trail:
- Timestamped photos of the damage from multiple angles
- Moisture meter readings logged by location
- Receipts for any water pulled, materials removed, or emergency mitigation you paid for
Homeowners policies generally cover sudden, accidental events like a burst pipe, but they often exclude damage from slow, ongoing seepage, according to guidance on subfloor water damage insurance claims. Proper documentation is important to support insurance claims.
How Do You Repair a Small Water-Damaged Subfloor Section?
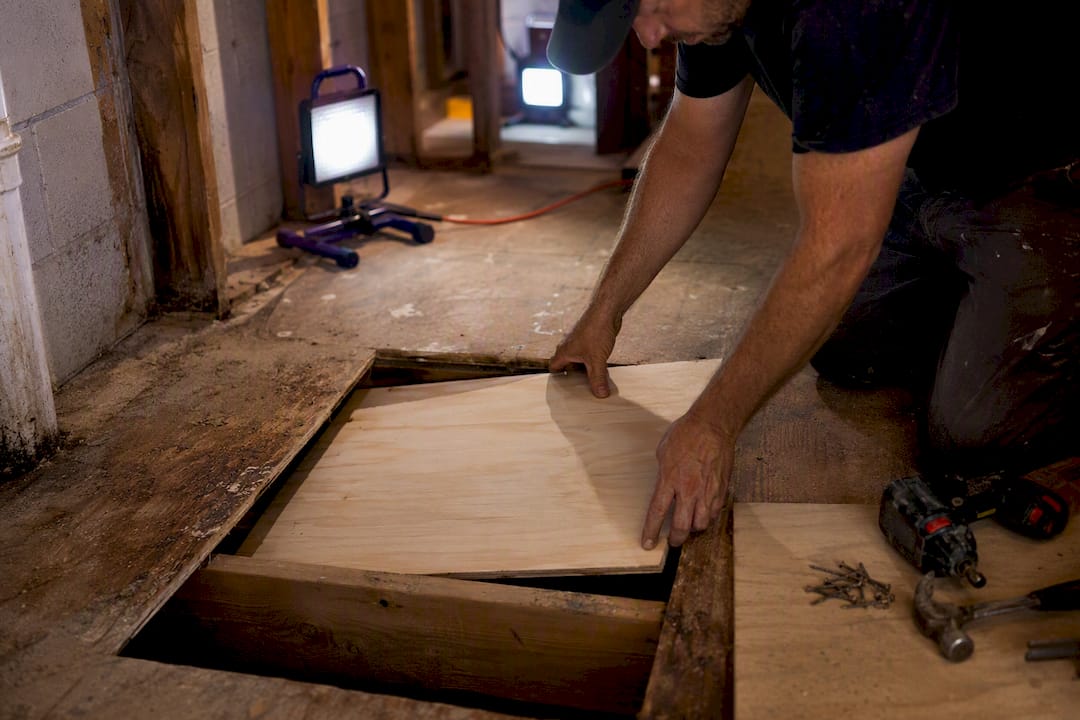
A localized patch is a realistic weekend project if the damage is contained to one or two joist bays and you’ve confirmed the wood around it is dry. You’ll need CDX plywood matched to your existing subfloor thickness, construction adhesive, deck screws, 2×4 lumber for blocking, a moisture meter, and a circular saw with the blade depth set carefully.
Here’s the sequence that keeps the repair solid:
- Confirm the surrounding wood is dry with your moisture meter before cutting anything.
- Mark the full extent of the damaged area, then extend your cut lines out to the center of the nearest healthy joists on each side.
- Set your saw’s cutting depth to match the subfloor thickness exactly, so you don’t slice into joists or hidden wiring and plumbing below.
- Remove the damaged section and inspect the joists themselves for rot; sister a new joist alongside any compromised one for extra support.
- Install 2×4 blocking along the perimeter where the new panel’s edges will land, since subfloor panels need solid backing at every seam.
- Cut your replacement CDX plywood to fit tightly, apply construction adhesive to the joists and blocking, then set the panel in place.
- Fasten with deck screws spaced roughly every 6 inches along the edges and every 8 inches in the field, following the same pattern LP’s technical repair guide recommends.
A tight-fitting patch with proper perimeter blocking is the difference between a repair that disappears under new flooring and one that squeaks every time someone walks across it.
Pro Tip: Dry-fit your replacement panel before applying any adhesive. Gaps wider than about a sixteenth of an inch along the seams tend to telegraph through finished flooring as a visible line or a soft edge, especially with vinyl plank or laminate. Community repair threads on sites like DIY Stack Exchange echo the same lesson: measure twice, set your saw depth conservatively, and never assume a stud finder alone tells you exactly where a joist edge sits.
Not every material recovers the same way from wetting, either. Some composite and engineered wood products lose edge strength permanently once soaked, which is part of why the Consumer Product Safety Commission has recalled certain composite decking products for unexpected deterioration. Stick with standard CDX plywood for subfloor patches rather than experimenting with alternative panel products.
How Long Does Subfloor Drying Take and When Do You Need Mold Removal?
Drying isn’t finished when the surface feels dry to the touch. It’s finished when a moisture meter confirms the wood has actually released the water trapped inside its fibers.
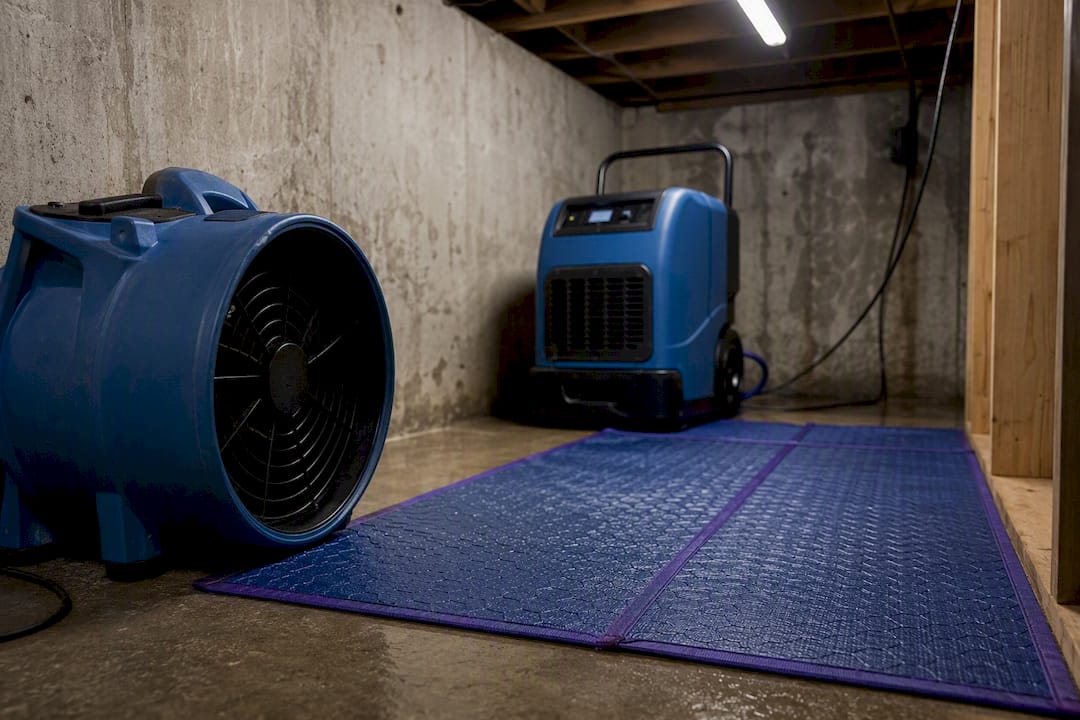
Standard equipment for the job includes box fans and axial fans for air movement, a refrigerant or desiccant dehumidifier to pull moisture from the air, and drying mats or professional Injectidry systems for saturated areas that need forced airflow directly through the material.
What to expect timeline-wise: A small, localized leak caught early might dry within 2 to 3 days with fans and a dehumidifier running continuously. Large-scale saturation from a flood or burst pipe often takes 7 to 10 days of active drying with industrial equipment, based on drying benchmarks used across the restoration industry. The target before you re-cover anything is that typical moisture range previously mentioned, confirmed by meter, not by guesswork or duration.
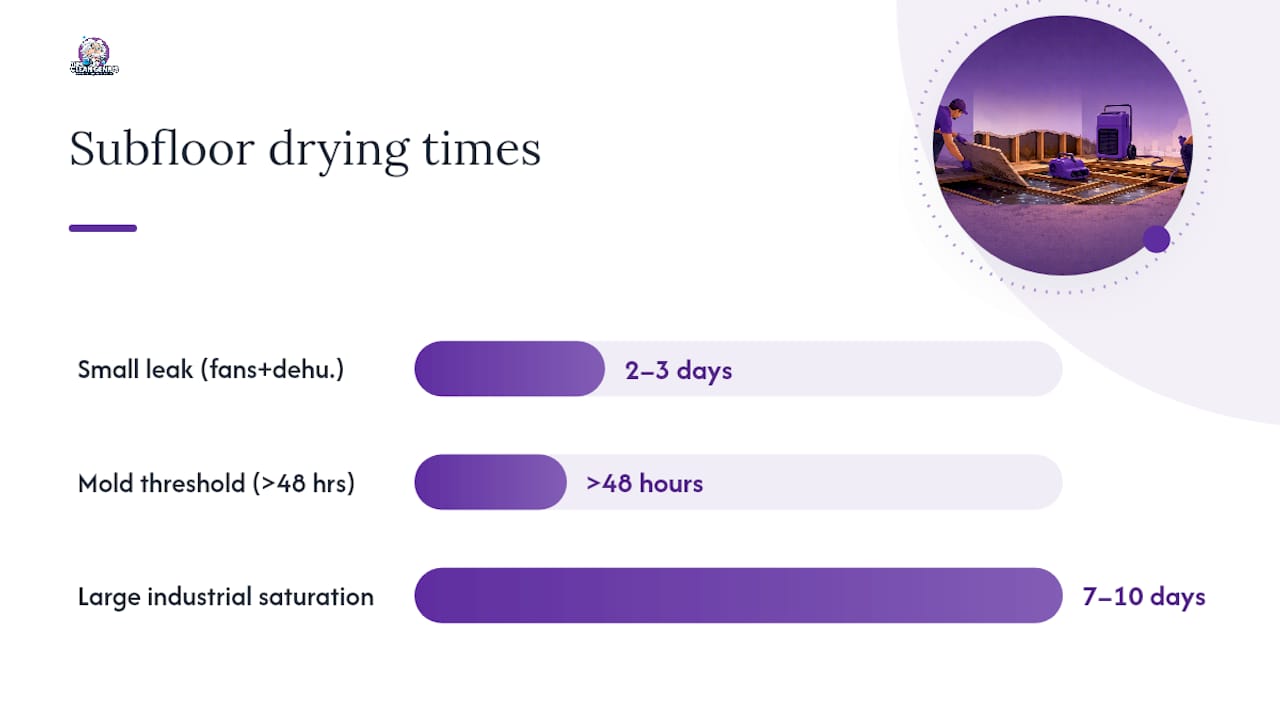
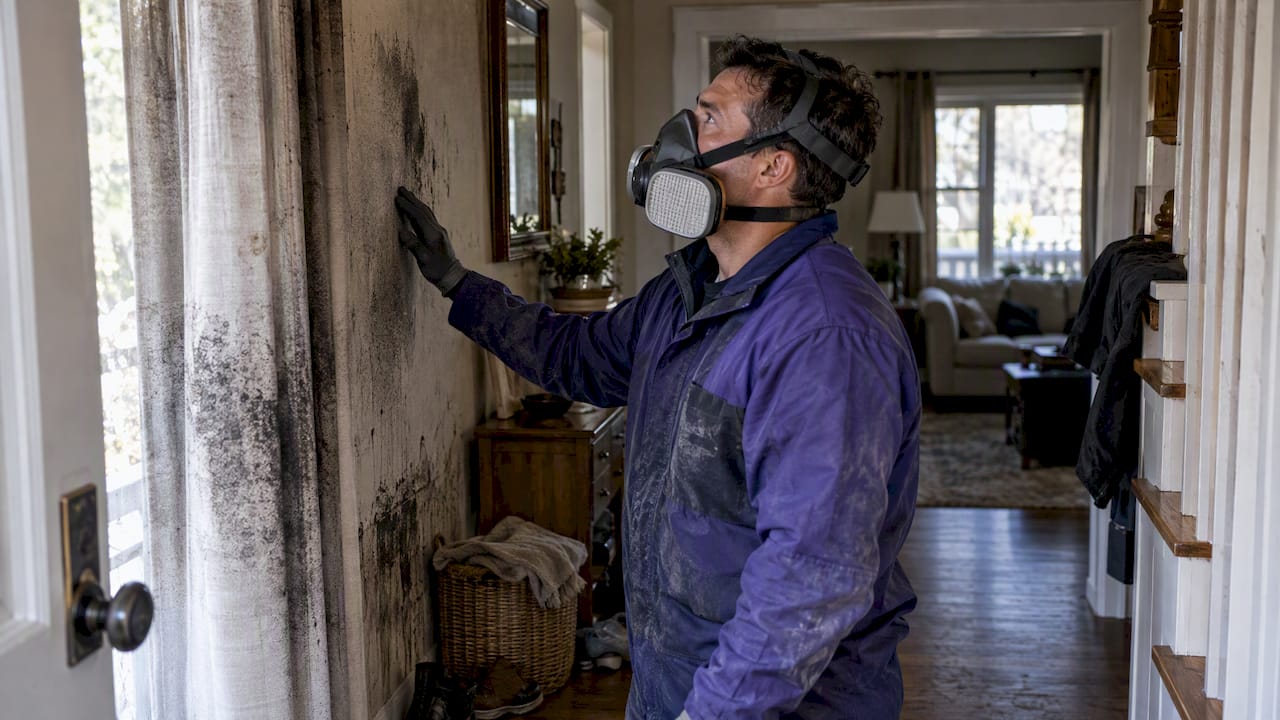
If you see visible mold growth, smell an odor that won’t lift even after the wood tests dry, or the affected area is larger than a small patch, bring in a remediation contractor rather than tackling it yourself. Pro Tip: Surface cleaning with bleach can make mold look gone while it keeps growing inside the wood fibers. If mold has been present for more than 48 hours or covers an area larger than roughly 10 square feet, professional remediation with containment is the safer call than a DIY scrub.
How Fast Does Water Damage Spread and What Does Repair Cost?
Mold can begin colonizing damp wood within 24 to 48 hours, and structural softening in a saturated subfloor can start within days if the area isn’t dried. The first 24 to 48 hours are your best window to limit both the size of the repair and the odds of mold taking hold.
Cost depends heavily on scope:
- A small patch repair covering one or two joist bays often runs a few hundred dollars in materials if you’re doing the work yourself.
- A bathroom-scale repair with tile removal and reinstallation typically lands in the low thousands once labor and finish flooring are included.
- A full kitchen or whole-room replacement, especially with mold remediation involved, can run several thousand dollars or more, according to cost ranges from restoration contractors.
Insurance typically covers sudden events like a burst pipe or appliance failure, but gradual seepage from a slow leak or deferred maintenance is usually excluded, which is worth confirming with your homeowners insurance coverage details before you assume a claim will pay out.
How Can You Prevent Subfloor Water Damage in the Future?
Most subfloor damage traces back to a handful of predictable failure points, and a short seasonal checklist catches them before they turn into a repair project.
- Inspect appliance supply hoses and drain lines annually, and replace rubber hoses with braided stainless steel lines.
- Check and reseat wax rings under toilets if you notice any rocking or staining at the base.
- Seal transitions between showers, tubs, and flooring where caulk commonly cracks and lets water seep underneath.
- Keep gutters and downspouts clear so water is directed away from the foundation instead of pooling near entry points.
- Install leak detection sensors and drip pans under water heaters, washing machines, and dishwashers.
- Maintain proper crawlspace ventilation and a rated vapor barrier to control ambient moisture from below.
Flooring systems that trap moisture underneath, like some resinous or epoxy coatings, can also mask a slow leak until it’s already caused damage, a risk covered in more depth by Show Me Epoxy’s guide on mold growth under sealed floors.
When Should You Call a Restoration Professional Instead of DIYing It?
Some situations aren’t worth the risk of getting wrong. Call a professional immediately if the water is contaminated with sewage, you find structural sag or joist rot, the saturated area spans more than one or two joist bays, or mold and odor persist even after the wood tests dry.
A professional restoration team typically handles the job in stages:
- Full documentation and moisture mapping of the affected area for insurance purposes
- An active drying plan using commercial-grade dehumidifiers and air movers
- Structural repairs including joist sistering where rot has compromised support
- Mold remediation with containment if growth is present
- Final moisture verification and a written drying report you can hand to your insurer
DIY repair remains a reasonable choice when the damage is small, localized, verified dry with a moisture meter, and you’re comfortable with basic carpentry tools. Pro Tip: If you’re unsure whether an area qualifies as “small,” measure it. Anything under about 4 square feet with joists that probe solid is usually a safe DIY candidate; anything larger or touching multiple framing members deserves a second opinion.
A Homeowner’s Reality Check on Subfloor Repairs
Moisture readings and probe tests tell you more than any visual inspection ever will, and they matter far more than whether the floor looks fine again after drying. The wood can look dry and still test wet three days later.
When a project crosses from a confident weekend patch into structural guesswork, The Clean Genius is built to take that decision off your hands.
Get Help Fast From The Clean Genius
Thecleangenius is the alternative to guessing your way through a subfloor repair: instead of hoping a patch holds, you get a certified team that measures moisture before and after, so you know for certain the job is done right. Thecleangenius handles 24/7 emergency water damage response, active drying with validated moisture readings, mold remediation using Pure Cloud dry-fog technology, and direct coordination with your insurance carrier from the first call.

On a first visit, expect full documentation of the affected area, moisture mapping across the subfloor and surrounding structure, and a clear timeline estimate before any work begins. Thecleangenius serves homeowners throughout Chicagoland, including Naperville, Schaumburg, Elgin, and Arlington Heights. If you’re staring at a soft spot you can’t confidently diagnose, request an inspection or emergency service today and get a moisture reading from a certified team instead of a guess.
Frequently Asked Questions
Can you walk on a subfloor with water damage?
Walking on a soft or spongy subfloor risks worsening the damage and potentially breaking through, especially if rot has already set into the wood. Limit foot traffic to what’s necessary for inspection until you’ve confirmed how far the damage extends.
How do you know if subfloor water damage requires full replacement instead of a patch?
Full replacement usually makes sense when panels have delaminated, fasteners no longer hold, or the damage spans multiple joist bays rather than a single contained spot, per guidance from Total Dry Restoration.
Does homeowners insurance cover subfloor water damage?
Coverage typically applies to sudden, accidental events like a burst pipe, but slow leaks from neglected maintenance are commonly excluded. Review your specific policy coverage and document damage thoroughly regardless of the cause.
How long can a subfloor stay wet before mold becomes a concern?
Mold can begin developing within 24 to 48 hours in damp wood, which is why fast mitigation and proper airflow matter more than almost anything else in the first two days.
What’s the difference between a pin and pinless moisture meter?
A pin meter measures moisture at a specific depth by inserting small probes into the wood, while a pinless meter scans a broader surface area without leaving marks, making it a good first tool before targeted probing.
Sources
- How to Repair Water Damaged Subfloor
- Subfloor Water Damage Repair: 2026 Guide
- Water Damaged Subfloor: Signs, Repair Options, and When to Replace It — Total Dry Restoration
- Guide To Subfloor Water Damage, Repairs, Costs, & Insurance Claims