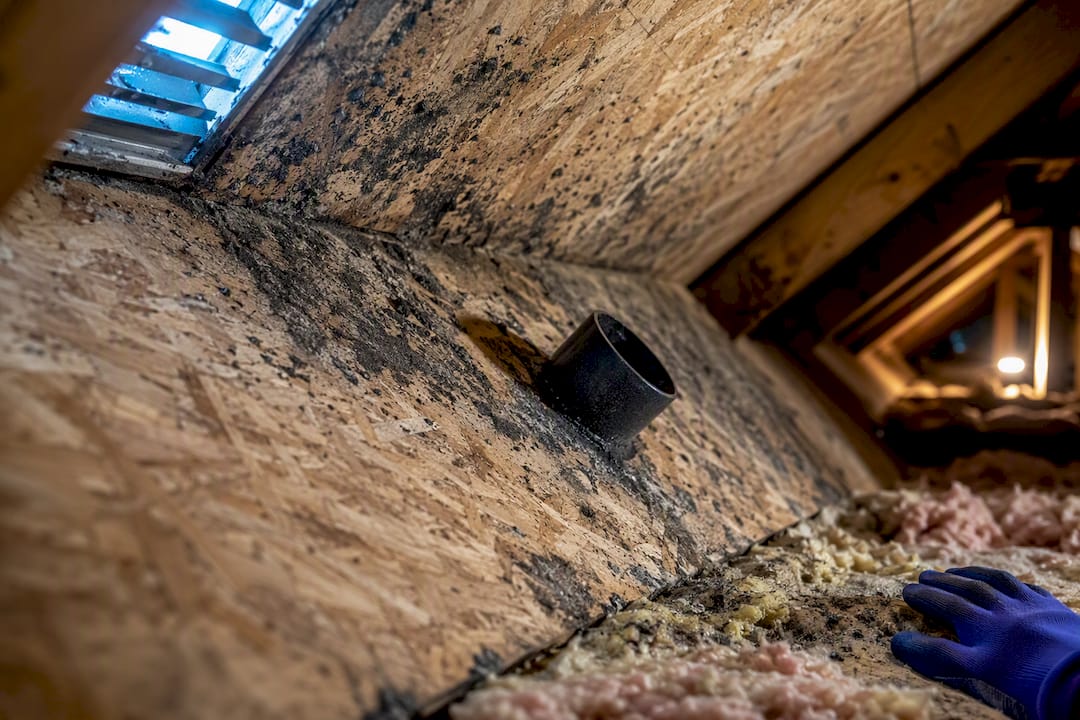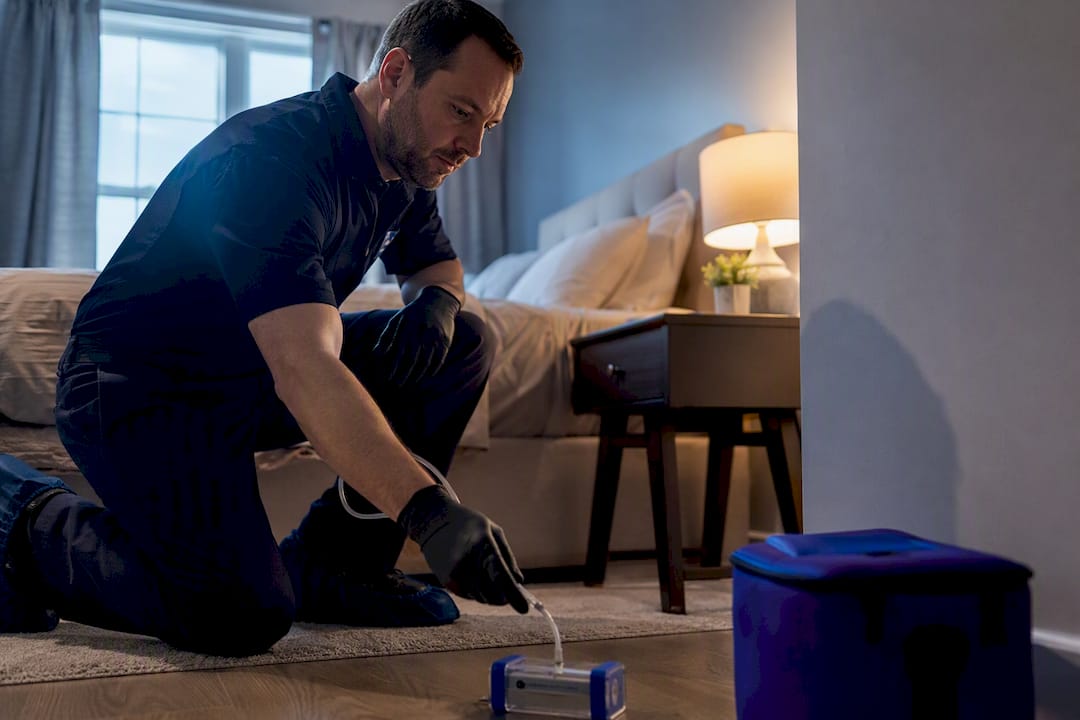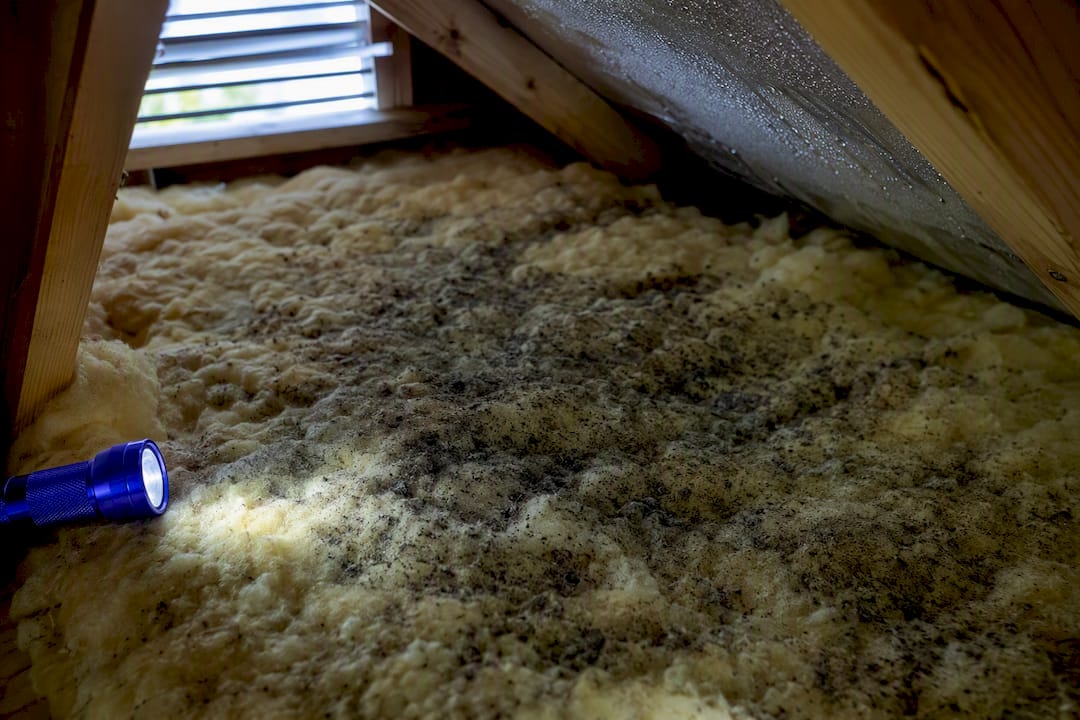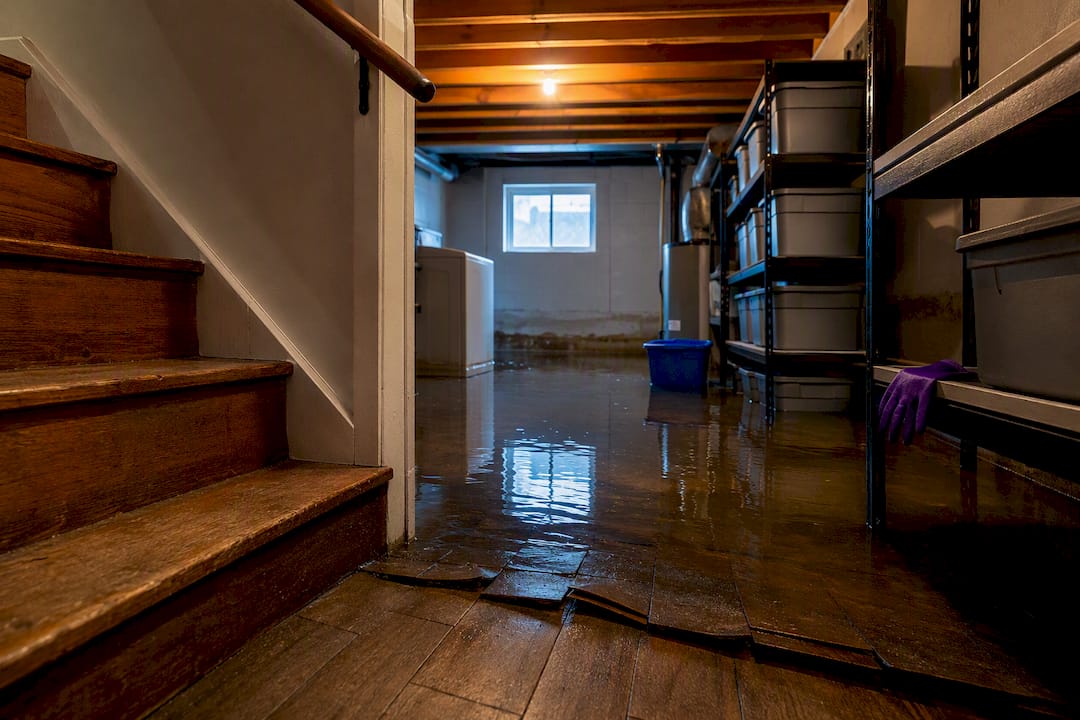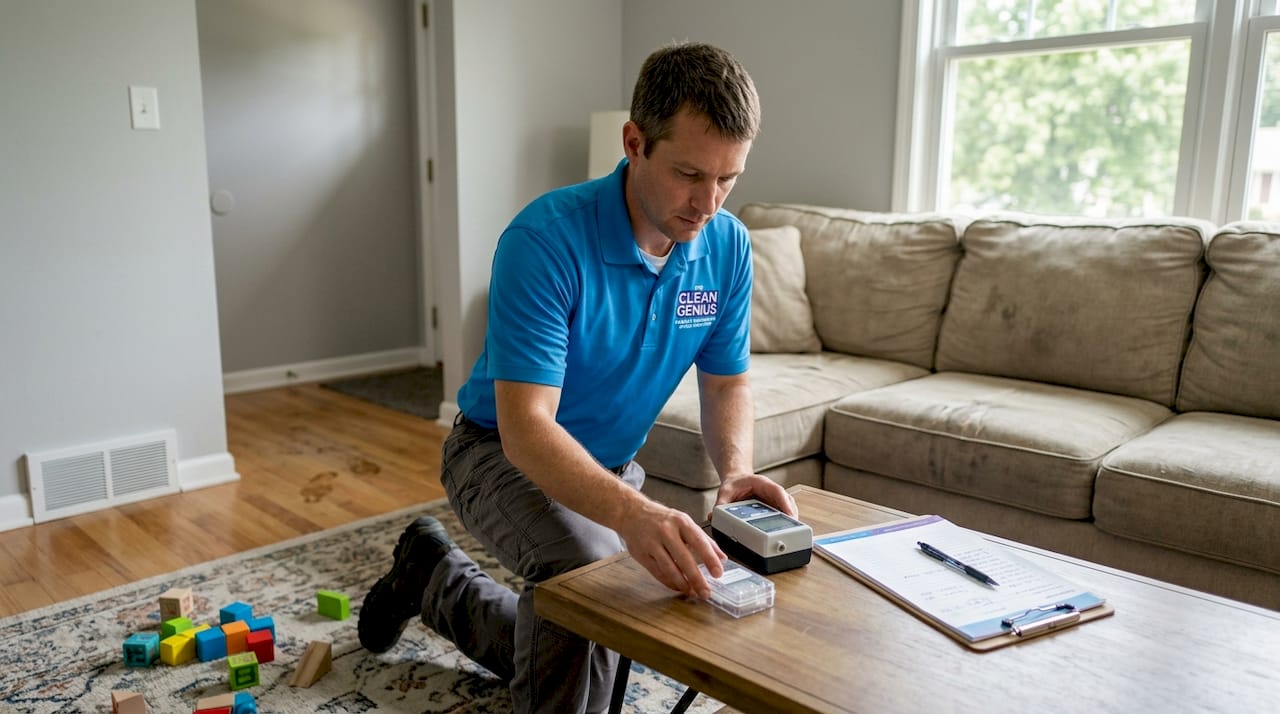

A burst pipe in your Schaumburg basement or a backed-up sewer line in your Naperville crawl space leaves behind more than a mess. It leaves behind moisture, and moisture is exactly what mold needs to take hold. Within 24 to 48 hours, conditions can shift from “we had a water problem” to “we may have a mold problem,” and that transition happens quietly inside walls, under flooring, and above ceiling tiles where you can’t see it. Most homeowners immediately think about mold testing, which makes complete sense. But rushing to test before you’ve addressed the water is often the wrong first move, and it can cost you time, money, and real peace of mind.
Table of Contents
- What to do first: immediate steps after water intrusion
- When and why mold testing makes sense
- How professional mold testing works: methods and best practices
- Interpreting mold test results and what to do next
- Why DIY mold tests rarely give peace of mind after water intrusion
- Professional help for water damage and mold concerns in Chicagoland
- Frequently asked questions
Key Takeaways
| Point | Details |
|---|---|
| Dry first, test later | Eliminate moisture and dry completely before mold testing even crosses your mind. |
| Visible mold means act | If you see mold, skip the test and start cleanup or remediation immediately. |
| DIY kits have limits | Home testing kits can’t reliably ensure your home is mold-free. |
| Trust professional protocols | If testing is needed, certified pros following industry standards get the most reliable results. |
What to do first: immediate steps after water intrusion
Before you even think about mold testing, your priority has to be moisture. Mold cannot survive without it. Eliminate the water source and dry everything out, and you dramatically reduce the risk of a serious mold problem developing in the first place.
Here’s what needs to happen fast:
- Stop the water source. Whether it’s a broken pipe, roof leak, or appliance failure, the flow has to stop before anything else matters.
- Remove standing water immediately. Every hour counts. Use wet vacuums, pumps, or call in professionals for large volumes.
- Pull out saturated materials. Wet drywall, carpeting, and insulation are mold’s favorite food. If it’s soaked and can’t be dried within 24 to 48 hours, it needs to come out.
- Run dehumidifiers and air movers. Industrial-grade equipment dries structural materials far faster than household fans.
- Document everything. Photos and video of damage support insurance claims and help restoration crews plan their work.
FEMA confirms that eliminating the moisture source and removing affected materials is the critical first step. Visible mold is sufficient justification to begin remediation, not testing for species identification.
This point is worth sitting with for a moment. If you can see mold, you don’t need a test to tell you it’s there. You need remediation. Testing at that stage only delays action and adds cost without changing the outcome.
| Action | Timing | Purpose |
|---|---|---|
| Stop water source | Immediately | Prevent further damage |
| Extract standing water | Within hours | Reduce mold risk window |
| Remove wet materials | Within 24 to 48 hours | Eliminate mold food sources |
| Begin structural drying | Same day | Bring moisture levels down |
| Mold testing (if needed) | After full drying | Assess hidden or residual mold |
| Early mold testing (before drying) | Not recommended | Results are unreliable and misleading |
Pro Tip: Don’t skip the drying phase just because the water looks gone. Moisture hides inside wall cavities, subfloors, and concrete. A professional moisture meter reading is the only way to confirm true dryness. You can learn more about the full sequence of water damage restoration steps to make sure nothing gets missed.
When and why mold testing makes sense
Once your home is dry and immediate repairs are underway, you can decide when and if mold testing is justified. The answer isn’t always yes, and knowing the difference saves you from wasting hundreds of dollars on tests that don’t give you actionable information.
Here are the specific scenarios where mold testing genuinely adds value:
- You suspect hidden mold but can’t see it. Musty odors, unexplained allergy symptoms, or a history of water damage in a wall cavity are all reasons to investigate further with testing.
- You need to define the scope of contamination. If mold is visible in one area, testing can reveal whether spores have spread to adjacent rooms or the HVAC system.
- Your insurance company requires it. Some insurers ask for pre-remediation and post-remediation testing as part of the claims process.
- You want clearance testing after remediation. This is one of the strongest use cases for professional mold testing. A clearance test confirms the job was done correctly before you close up walls or move back in.
- You’re buying or selling a home with a known history of water damage and want an objective assessment for negotiations or disclosure purposes.
Notice what’s not on that list: testing before you’ve dried the structure, or testing just to “check” when there’s no specific reason to suspect a problem.
| Test type | Advantages | Limitations |
|---|---|---|
| Air sampling | Detects airborne spores, good for HVAC spread | Snapshot in time, affected by airflow and activity |
| Surface/tape lift | Identifies specific mold species on surfaces | Only tests where sampler is placed |
| Bulk sample | Good for confirming mold in building materials | Invasive, requires lab analysis |
| DIY petri dish kits | Inexpensive, widely available | Cannot prove absence of mold, highly misleading |
| Professional air cassette | Most reliable for clearance testing | Requires professional interpretation |
DIY mold test kits cannot prove that your home is mold-free after water intrusion. Results depend heavily on where you sample, when you sample, and whether the moisture problem has actually been corrected. A negative result from a petri dish kit does not mean mold isn’t present. It means mold didn’t land in that dish during that window of time.
Pro Tip: If your goal is to confirm that mold removal guidance was followed correctly, clearance testing by a certified industrial hygienist is the gold standard. It’s the one scenario where testing gives you a genuinely meaningful answer.
How professional mold testing works: methods and best practices
If you determine mold testing is appropriate, understanding how professionals do it helps you avoid wasted effort and get real answers. Professional mold testing isn’t just about collecting a sample. It’s about designing a sampling plan that produces valid, interpretable results.
Here’s what sound professional testing looks like in practice:
- Indoor and outdoor comparison samples are collected simultaneously. Without an outdoor baseline, there’s no way to know whether spore counts inside your home are elevated above normal background levels.
- Sampling conditions are matched. Professionals use the same sampling height, duration, and airflow conditions for each sample to ensure apples-to-apples comparison.
- Calibrated equipment is used. Air-o-cell cassettes or equivalent devices are run through calibrated pumps at consistent flow rates.
- Samples go to accredited labs. Results are analyzed using methods aligned with professional industrial hygiene organizations like the American Industrial Hygiene Association (AIHA) and the American Conference of Governmental Industrial Hygienists (ACGIH).
- A written report is provided. The report includes spore counts, species identified, sampling conditions, and interpretation by a qualified professional.
EPA guidance is clear: sampling plan design matters for validity. Compare indoor versus outdoor using similar conditions, match sampling height, time, and airflow, and use lab methods aligned with professional industrial hygiene organizations.
| Feature | Professional testing | DIY kit |
|---|---|---|
| Indoor/outdoor comparison | Yes, standard practice | No |
| Calibrated equipment | Yes | No |
| Accredited lab analysis | Yes | Rarely |
| Written interpretation | Yes | No |
| Clearance testing capability | Yes | No |
| Reliability for insurance | High | Very low |
| Cost | $300 to $800+ | $10 to $50 |
That cost difference is real, but so is the difference in what you get. A professional test from an expert mold removal team gives you a defensible, actionable result. A DIY kit gives you a petri dish and a lot of uncertainty.
Interpreting mold test results and what to do next
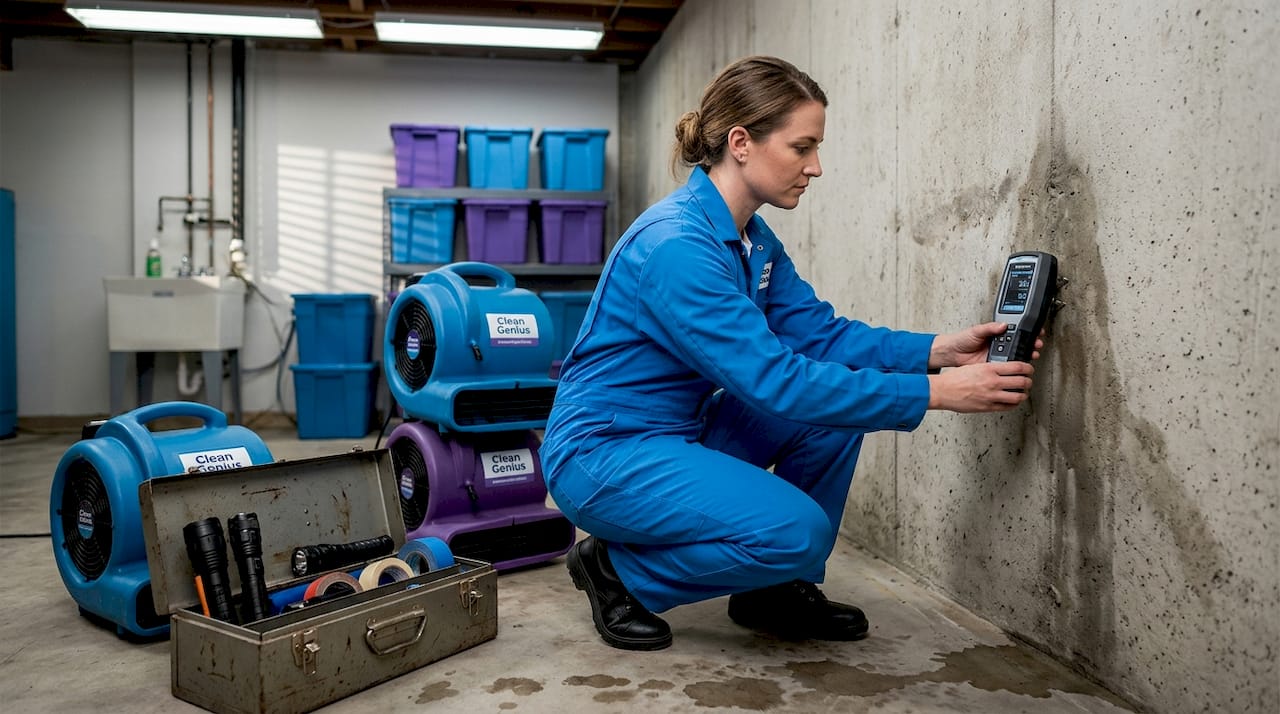
After testing, the toughest part is knowing what your results mean and what you should do next. This is where many homeowners get stuck, because mold test reports are not self-explanatory, and there is no universal “safe” level of mold spores established by any regulatory agency.
Here’s a practical step-by-step approach to making sense of your results:
- Review the report with a qualified professional. A certified industrial hygienist or experienced restoration contractor can explain what the spore counts mean relative to your outdoor baseline and your specific situation.
- Look at the indoor-to-outdoor ratio. If indoor counts are significantly higher than outdoor counts, especially for water-damage-associated species like Chaetomium or Stachybotrys, that’s a meaningful finding.
- Identify the species present. Some mold species are more concerning than others. Stachybotrys (often called “black mold”) requires aggressive remediation. Other common species may require less intensive action.
- Act on positive results immediately. If testing confirms elevated mold, begin professional mold remediation without delay. Moisture control must accompany any mold removal, or the problem will return.
- Don’t over-interpret negative results. A negative or low-count result after water damage doesn’t guarantee your home is clean. Hidden mold in wall cavities or under flooring may not be captured by air sampling alone. Review recent mold remediation outcomes to understand what thorough remediation actually involves.
- Schedule clearance testing after remediation. This final step confirms the work was successful and gives you documented proof that your home meets acceptable standards.
EPA guidelines specify that if sampling is needed, it should be conducted by professionals with designed protocols and analysis methods recommended by organizations like AIHA and ACGIH.
Pro Tip: Ask your remediation contractor whether they use a third-party industrial hygienist for clearance testing. When the same company that did the remediation also does the clearance test, there’s an inherent conflict of interest. Independent clearance testing is the cleanest approach.
Why DIY mold tests rarely give peace of mind after water intrusion
Here’s some hard-won advice from years of working inside Chicagoland homes after floods, burst pipes, and sewage backups: the homeowners who spend $30 on a petri dish kit almost always end up calling us anyway, usually after wasting two to three weeks waiting for results that don’t tell them anything useful.
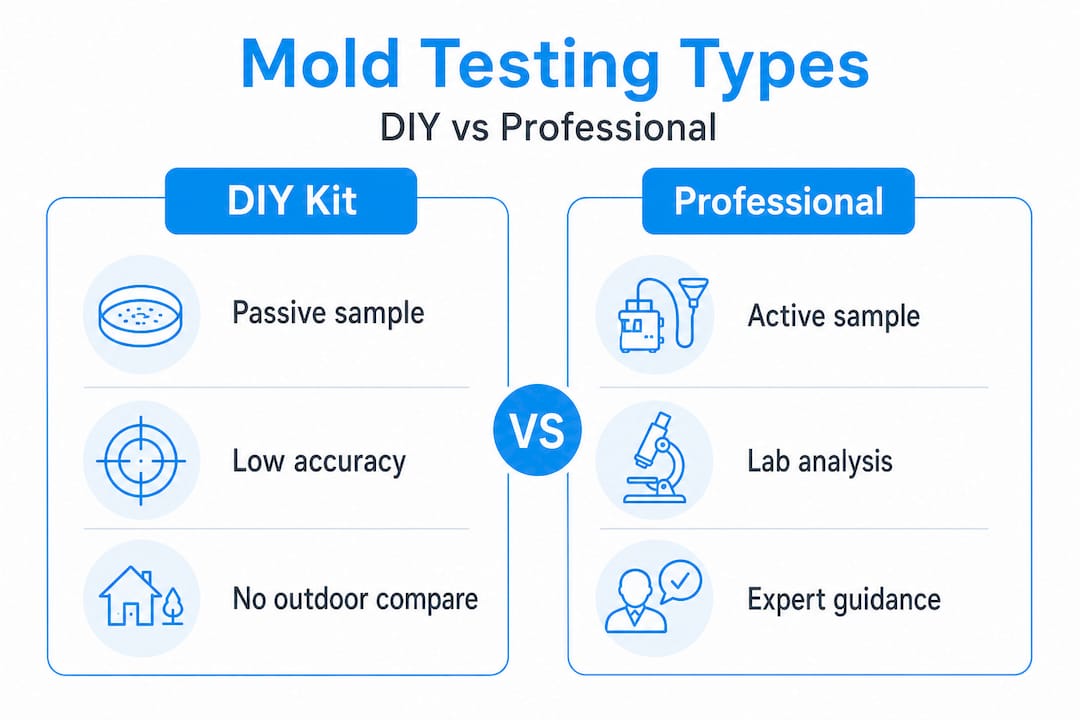
DIY mold kits have a fundamental design problem. They’re passive collectors sitting in open air, which means they capture whatever spores happen to drift by during the collection window. Mold spores are everywhere, outdoors and indoors, all the time. A positive result from a DIY kit tells you mold exists in the air somewhere, which is always true. A negative result tells you almost nothing, because DIY kits cannot prove absence of mold after water intrusion. The results are interpretation-dependent and heavily influenced by where you placed the kit, how long you left it out, and whether the moisture source was corrected before sampling.
What actually works is a different sequence entirely. Dry the structure first. Remove contaminated materials. Then, if there’s still reason to suspect hidden mold, bring in a professional for targeted testing with a proper sampling plan. The goal isn’t a test result. The goal is a dry, clean, mold-free home where your family can breathe safely.
We’ve seen homeowners in Schaumburg, Wheaton, and Elgin spend weeks chasing test results while mold quietly spread behind their drywall. The water damage restoration experts who respond fast and dry the structure thoroughly are doing more to protect your home from mold than any test kit ever could.
Professional help for water damage and mold concerns in Chicagoland
When water intrudes into your home, every hour matters. The difference between a manageable cleanup and a widespread mold problem often comes down to how quickly and thoroughly the moisture is addressed.
At The Clean Genius, we’ve helped hundreds of Chicagoland homeowners navigate exactly this situation, from emergency water extraction to full structural drying, mold assessment, and complete local mold remediation specialists using our advanced Pure Cloud dry-fog technology. We work directly with your insurance company, respond 24/7 to emergencies, and serve communities across the greater Chicagoland area including Arlington Heights, Naperville, Schaumburg, Elgin, Wheaton, Crystal Lake, Hoffman Estates, and dozens more. If you’ve had water intrusion and you’re worried about mold, don’t wait and wonder. Our certified team can assess your situation, handle the drying and remediation, and connect you with independent clearance testing when the job is done. Reach out to our water damage restoration services team today and let us take it from here.
Frequently asked questions
Is mold testing always needed after a leak or flood?
No. Visible mold justifies remediation without any testing needed. Testing is most useful for hidden mold, post-remediation clearance, or when your insurance company specifically requires it.
How soon after water damage should I get mold testing?
Wait until the area is fully dry and cleaned before testing. Drying the home first is the most important step, and testing before that’s complete produces unreliable results.
Can I trust home mold testing kits?
Not for definitive answers. DIY kits cannot prove your home is mold-free, and results are highly dependent on sampling conditions and timing, making them easy to misinterpret.
Are professional mold tests more reliable?
Yes, significantly. Professional sampling with designed protocols and accredited lab analysis produces results that are actually interpretable, defensible for insurance purposes, and useful for making real decisions about your home.